
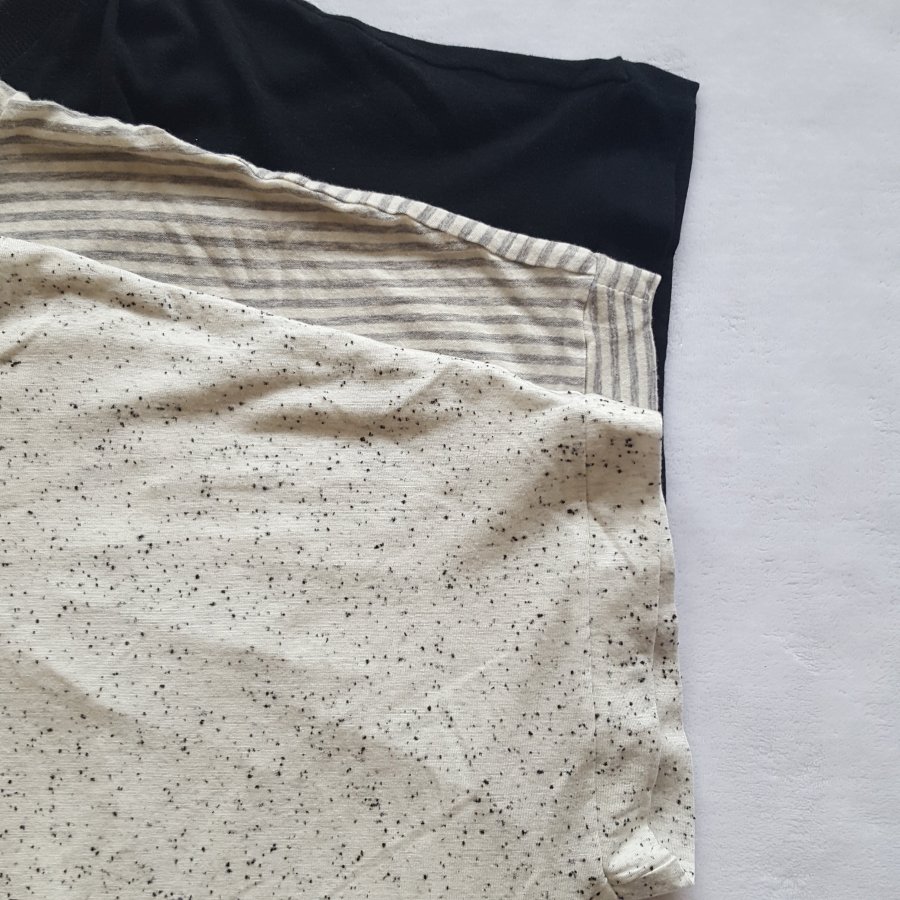
 For a long time, I’ve been searching for the ideal top for work: easy to wear, comfy and versatile. I wanted a knit box top that passes the lean over test (I’m a teacher), has enough detail to pass as a work shirt, but casual enough to wear on a weekend and is basically secret pyjamas. I thought to myself, I pretty much want the Closet Case Kalle, but in a knit and without a collar. And then I remembered that I can do that, so I did.
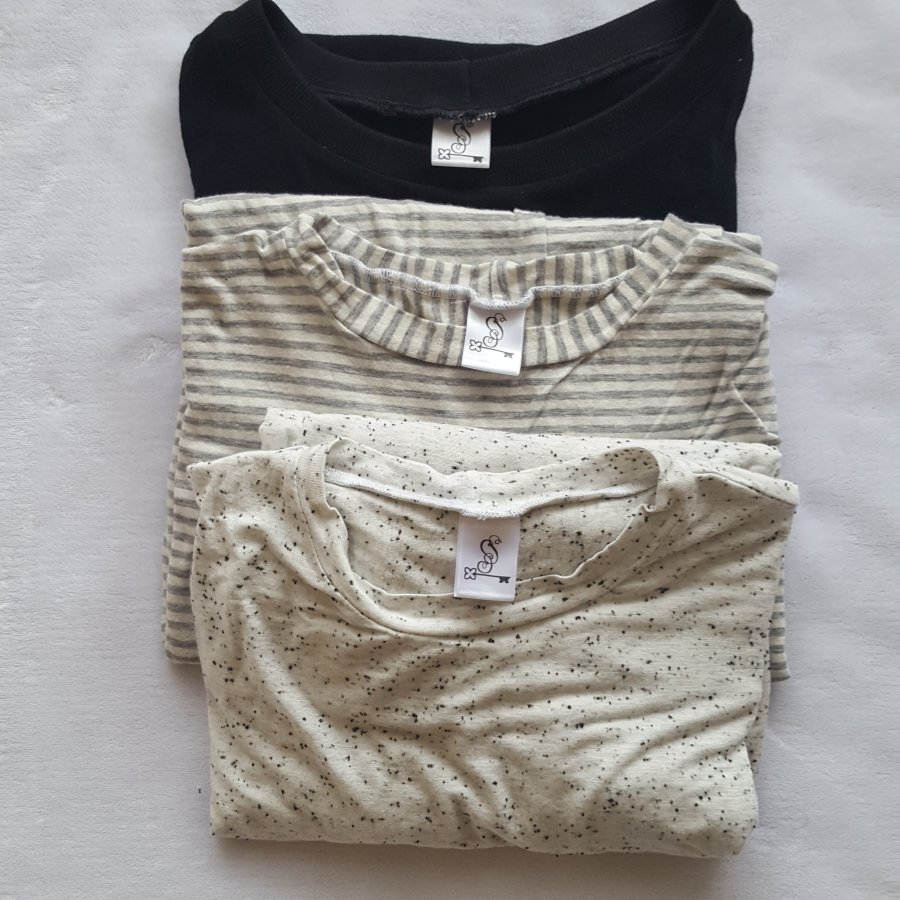
 I whipped up three so I could perfect my method before sharing this hack with you, and I’m pretty confident in this top. It. Is. The. Best. There are shockingly few adjustments to make to this pattern to make it knit-appropriate and the great design details Closet Case snuck in for the woven version still elevate this top in a stretchy fabric. If you are looking for your spring/summer uniform, look no further!
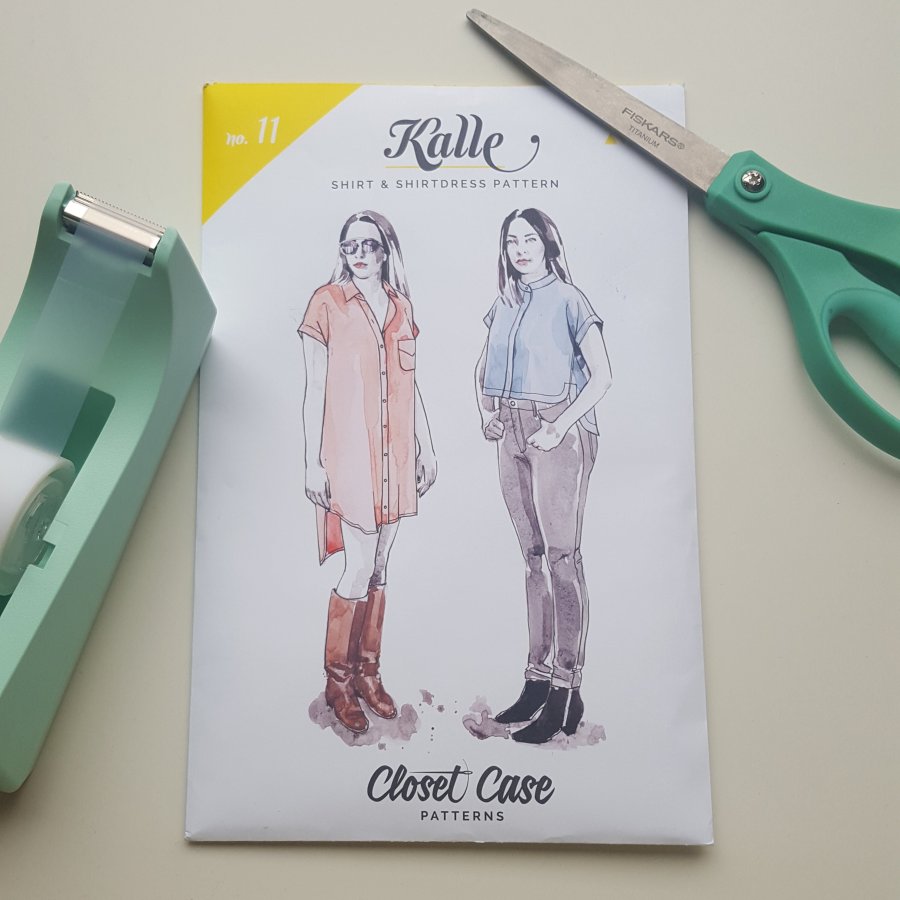
Why this pattern is great:
- Zero fitting or grading is involved. You can literally make this pattern out of the envelope and it will look great.
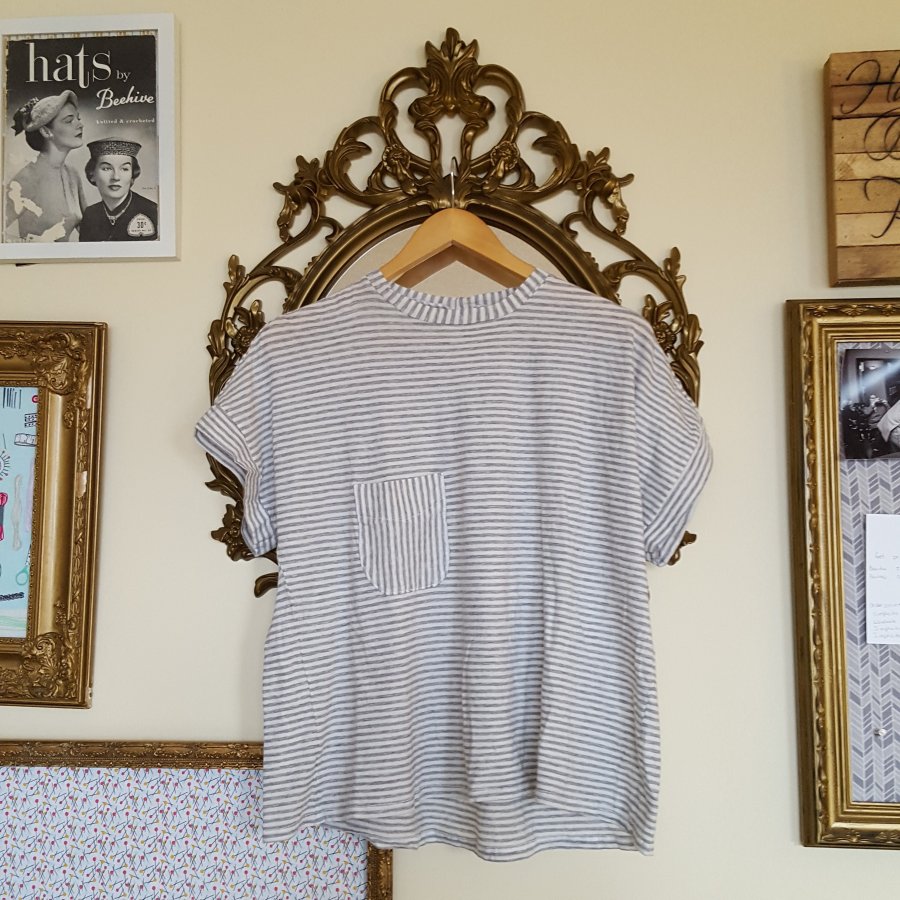
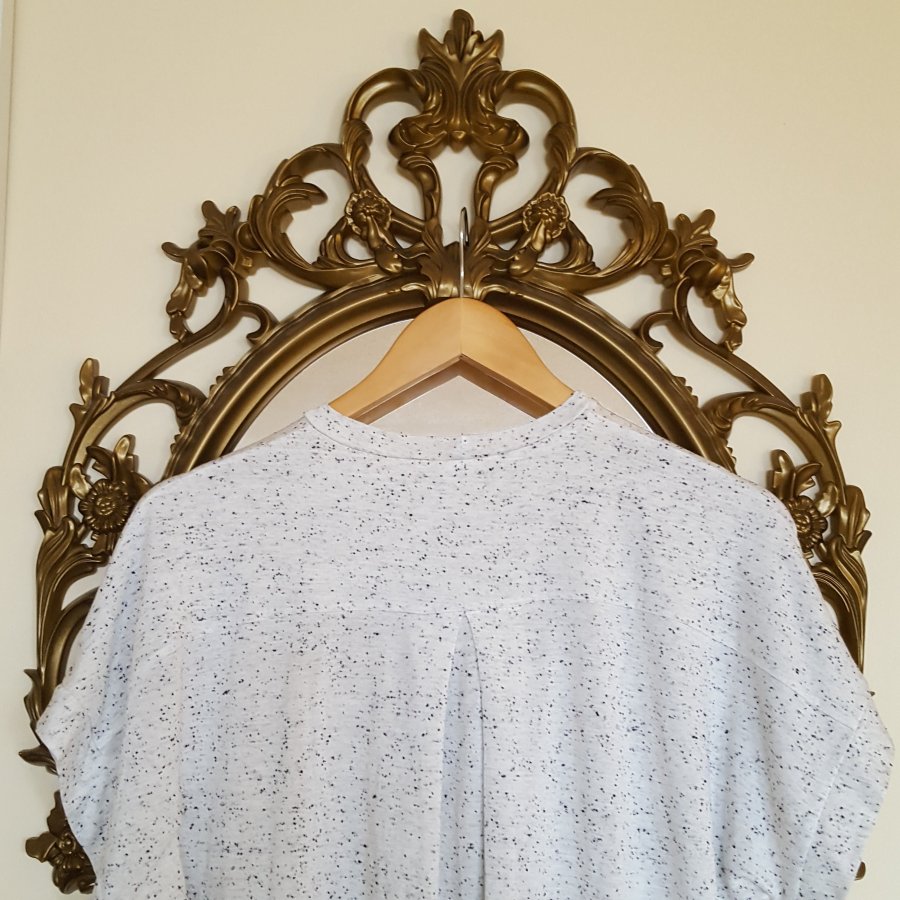
- The sneaky high-low hem. You will cut your pattern out in such a way that it looks like the hem goes straight across, but the yoke, back panel and pleat create a hem that gracefully dips lower in the back.
- The perfect cuffs. Closet Case designed the arm scyes and cuffs to be slightly bigger in the back to get the perfect drape. ALSO the cuffs slant with the drape of the sleeve so that they don’t stick out awkwardly.
Here’s how you hack your pattern:
- Take out pieces B, C, D, H, I, J, and N. I recommend tracing any pieces we change as you’ll want to keep your pattern in tact for a woven, collared Kalle later!
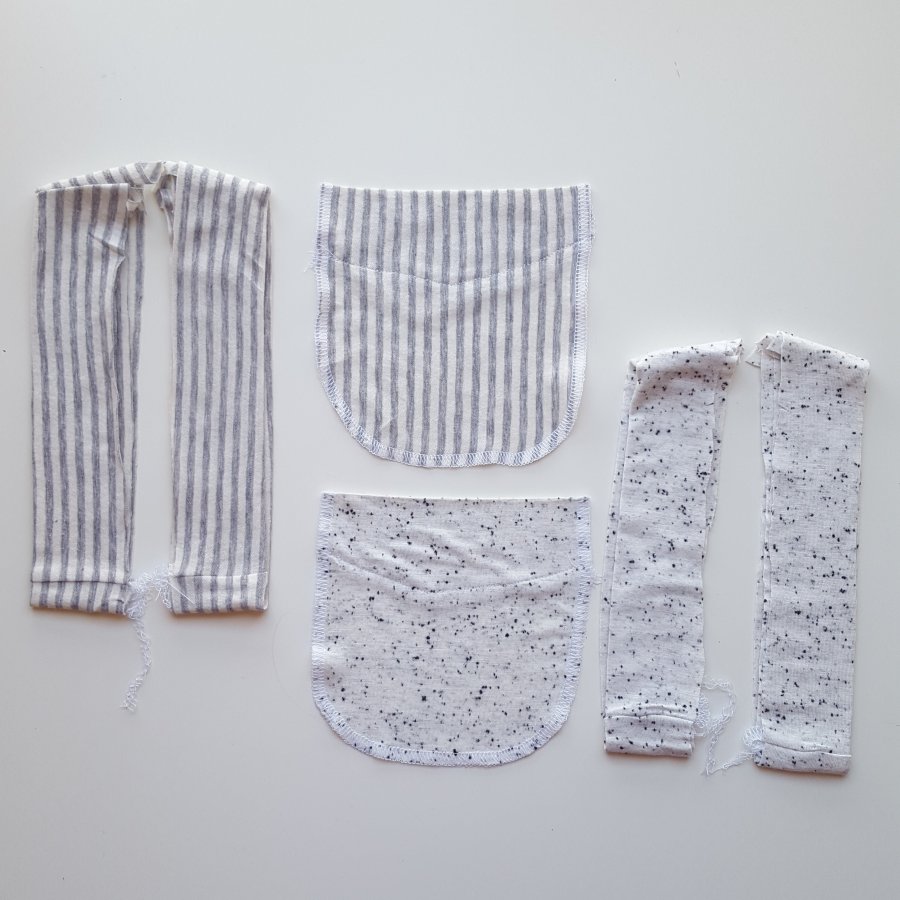
- Cut out D, I, J, N, and set them aside. We will use these pieces (Yoke, cuffs and pocket) as is.
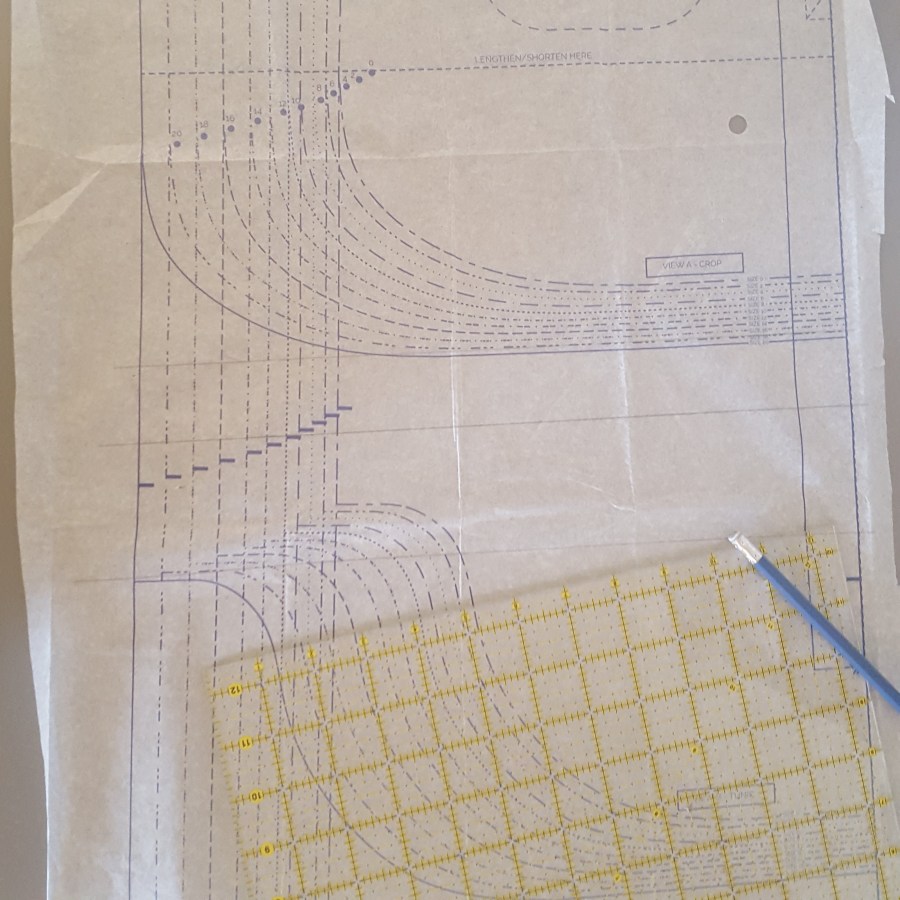
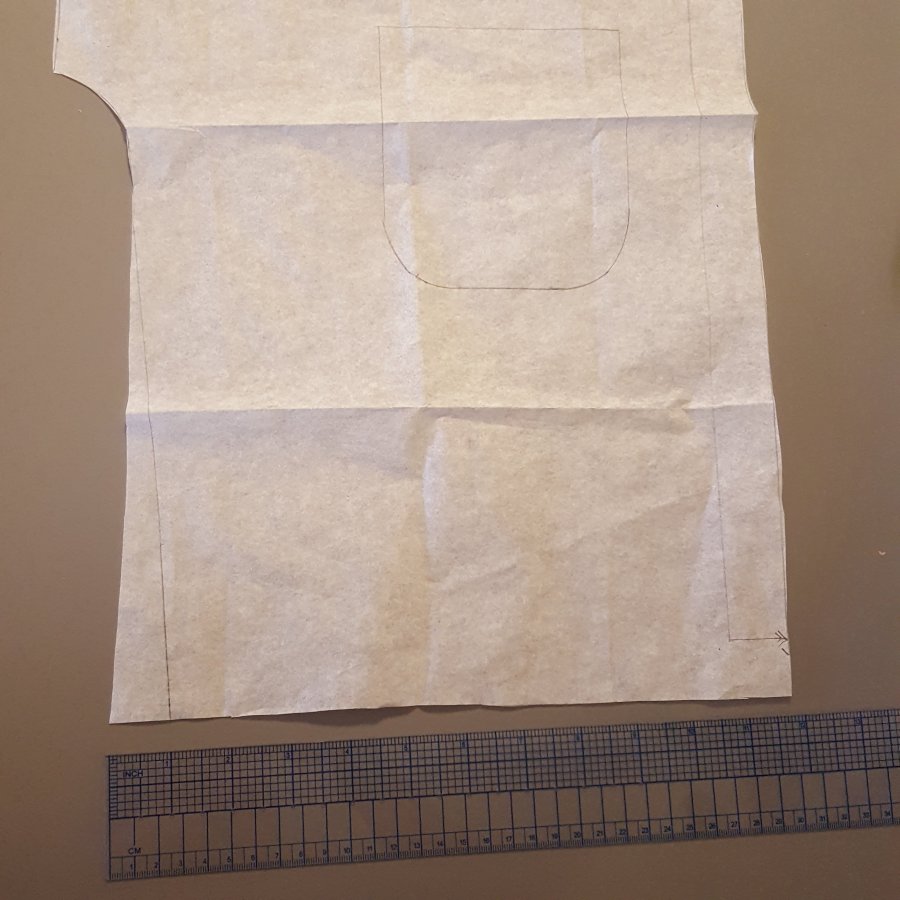
- For pieces B and C, decide how long you want your top to be. I wanted mine to hit at the top of my hip, so I decided it would be two inches longer than the crop (version A). Draw a straight line across at this point, making sure it is perpendicular to the grain or foldline. I went with a 5/8″ hem allowance to make things easier, but if you want more or less, adjust as needed. Trace and cut out pattern pieces.
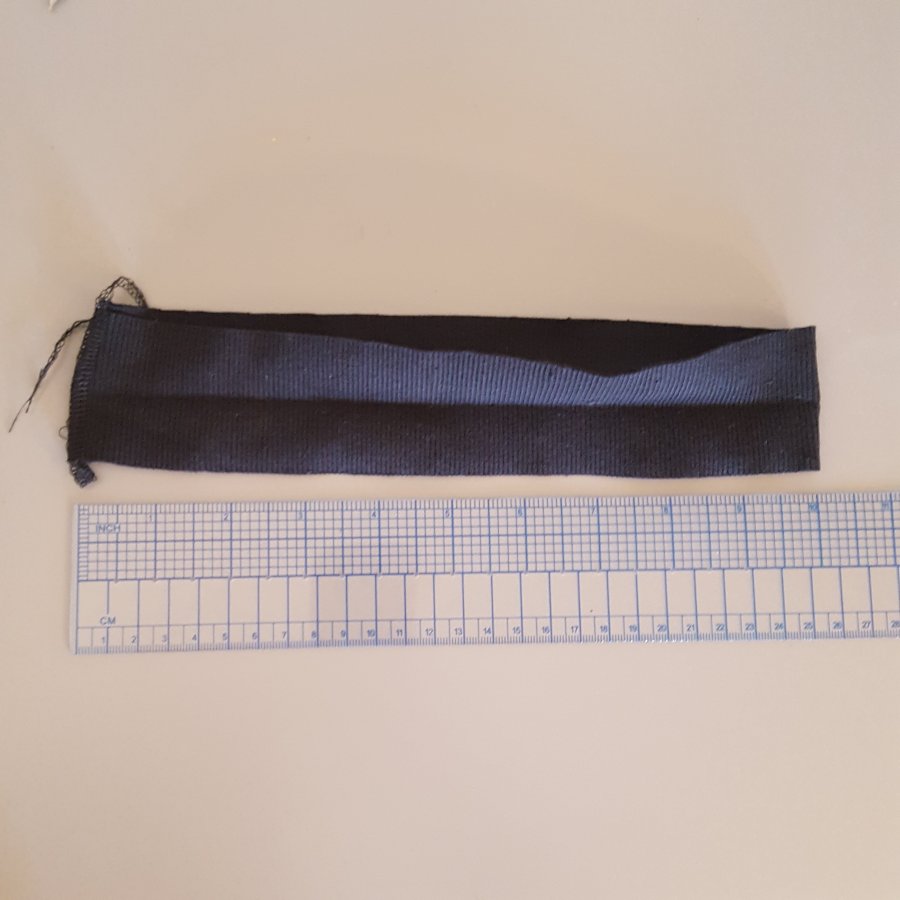
- Piece H is the trickiest. Since we are not making the collar, we need to create a neck band piece and Piece H will be our loose guide. You need to make a rectangle that is as wide as piece H and at least 1-2 inches shorter. Luckily, we are dealing with knits and this doesn’t need to be an exact science. The most important part is that your neckband needs to stretch quite a bit to meet the size of the neck opening. If it doesn’t it will flop down awkwardly. You may even choose to use ribbing if your fabric doesn’t have great recovery.
- When pinning and cutting out your fabric, remember that both B and C are on the fold. I also recommend cutting one (or both) yoke pieces on the cross grain. Tops like this tend to stretch out in the shoulders and by cutting out the yoke on the cross grain, you stabilize this seam. You could also stabilize it with clear elastic tape or some bias tape.
You can easily follow the directions booklet to sew this up, ignoring the instructions for the placket, collar and hem. I do, however, have some notes you should read before sitting down at your machines.
- Check the fit before you hem. Making a muslin isn’t necessary for this pattern, BUT I highly recommend you try the top on before you hem it. I found that the fabric floated out a bit too much around my waist/hip, which I found surprising as my hip is consistently two to three sizes bigger than my bust and I cut the straight size for my bust measurement. This is a super easy fix. Don’t just take in the side seams, but open them up and skim off fabric from the side seam on the FRONT panel only. I took off an inch at each side and the drape is now perfect. I made the same adjustment on my pattern for future box tops.

- Don’t serge the cuff pieces together. The little arrow-shaped end of the cuffs is super important, even in a knit top. In my tester version, I tried to serge this part, but, in the process, stretched it out to a vaguely curved (but mostly straight) seam. As a result, these cuffs stick out a bit. If you plan on using a serger, switch to your regular machine so that you can sew this seam precisely. It’s worth it in the end.
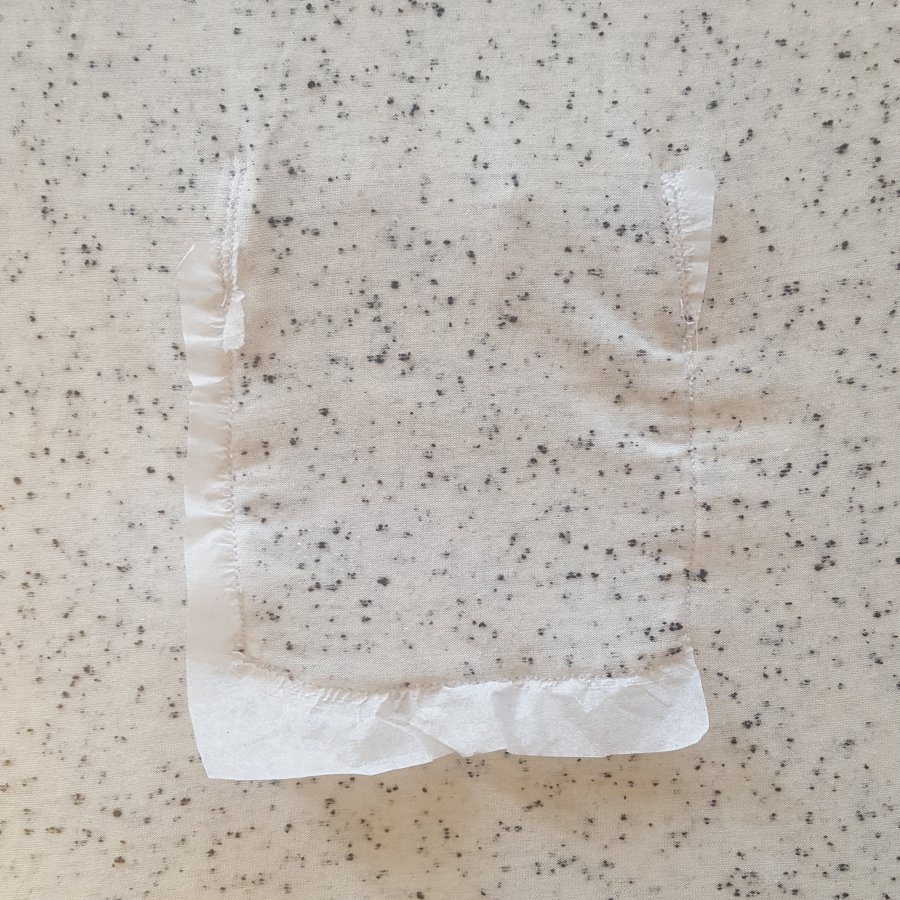
- Practice the pocket on scrap. If you haven’t ever sewn a pocket or patch of knit fabric on more knit fabric, please test it out first. I still do this every time as every fabric is different and reacts to different stitches. It’s super common to get rippling when you do any kind of top stitching on knits. Some ways to alleviate this are: play with different stitches on your machine; stabilize with wash- or tear-out interfacing; place tissue under your fabric to stabilize.
- Do not finish the hem with a band. I (still) don’t have a cover stitch, so I tend to hem knits with a band as I find it looks most finished. In this top, a hem band interrupts the drape of the hem and makes it stick out a bit. Hem in any other way you can. Rock that zig zag if you have to – it will look way better than a hem band.

These are great basic (not so basic) tops to fill a need in your wardrobe! Why do you only make the front smaller when you take in the side seams? I’ve never heard of that before.
[…] I wish so much I had discovered this pattern earlier. I made mine easier to make and wear by converting the pattern into a knit box-top pattern. Seriously my favourite tops […]
[…] away from my hips so I took an inch-wide triangle out of the front side seams like I did with my knit Kalles. Over all, I took off 6 inches at the hips and could definitely take off […]
[…] had already made several knit versions of the Kalle and made many Archers earlier this year, so I had a really good idea of how long I […]
[…] Dawn Jeans, Ginger Jeans, Mandy Boat Tee, Knit Kalle Crop, Nikko Top or Dress, Knit River Dress, Pony Dress, Archer Button […]
[…] My Kalle Hack for knits […]
[…] Knit Kalle hack […]