
 Welcome to the first of many maternity hack posts! Every year, I typically make one dress that will serve as my semi-formal wear-to-all-occasions dress, and, being pregnant, this is one to-do I couldn’t skip. I have several tea party events this spring (the first being high tea at the Canadian Museum of History this past weekend), as well as a graduation and probably other things I have forgotten.
 Because I am not planning on being pregnant again, I’m trying to avoid making garments I’m never going to wear again, so I’m hacking regular patterns as much as possible. I spent a long time pinteresting to find a semi-formal maternity style I actually liked but could also wear again after being pregnant.
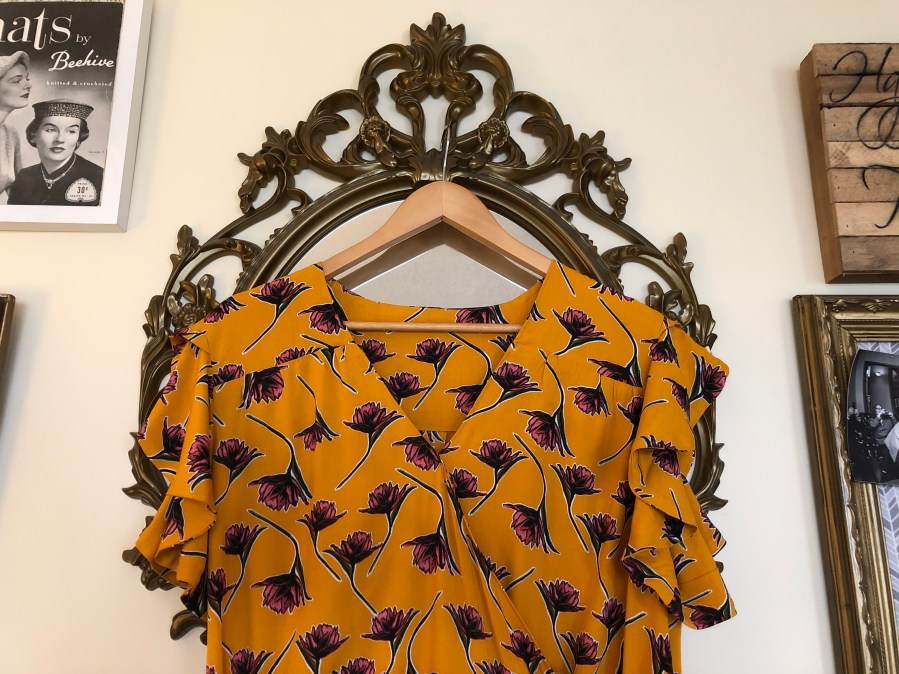
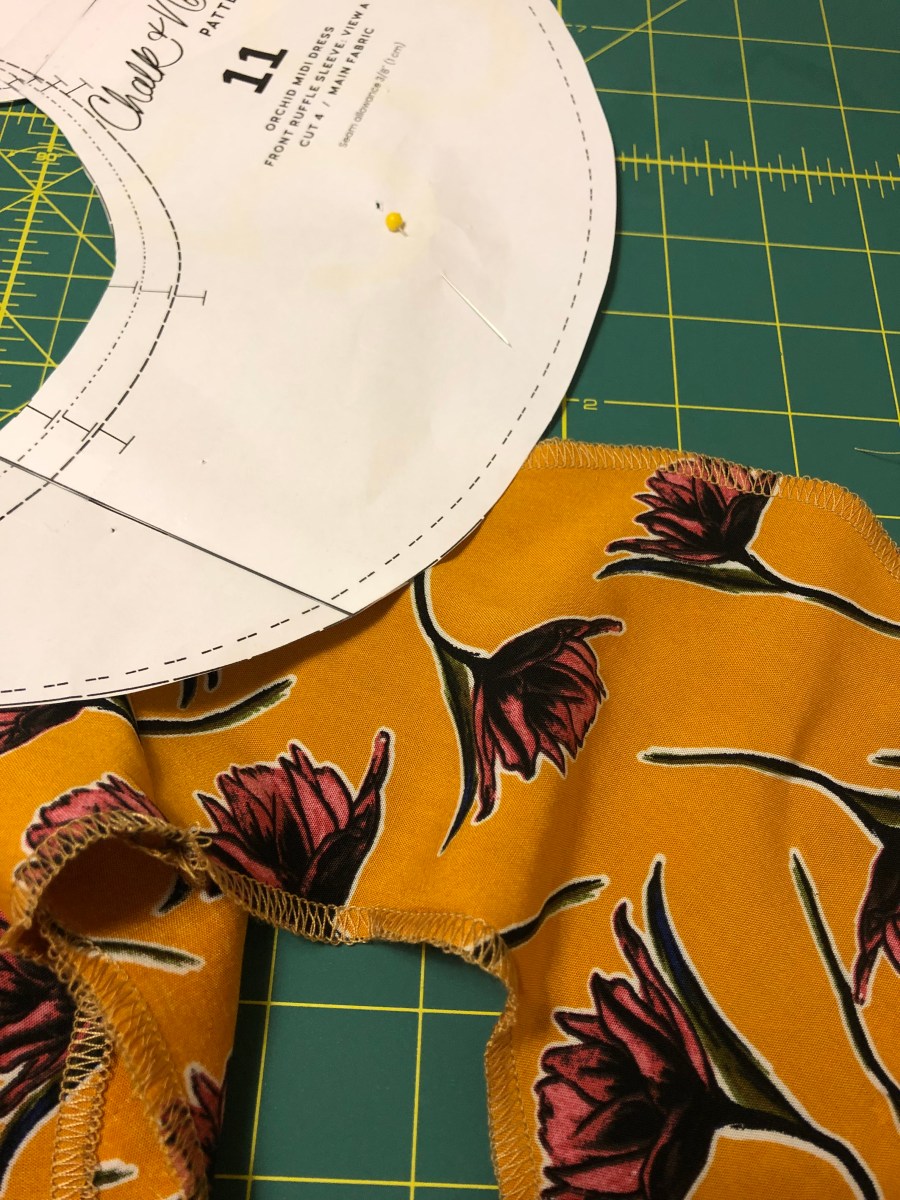
This led me to the Chalk and Notch Orchid midi and am I ever glad it did. I’d never made a Chalk and Notch pattern before and was excited to try a new company.
The fabric is from Fabrications and I am really impressed I actually made something out of a timely fabric that you can actually still buy. (I am a habitual long-planner and sew most things after a year or more on my stash.) This stuff is a mustard viscose poplin that only cost $6.99 per half metre but is PERFECT for this pattern. You all know I love yellow, but I’ve been focussing more on soft neutrals lately, so this was really exciting to work with. It washes well, presses nicely and isn’t sheer. It wrinkles a fair amount when your hot, pregnant bum sits on it for over an hour, but I can deal with that.
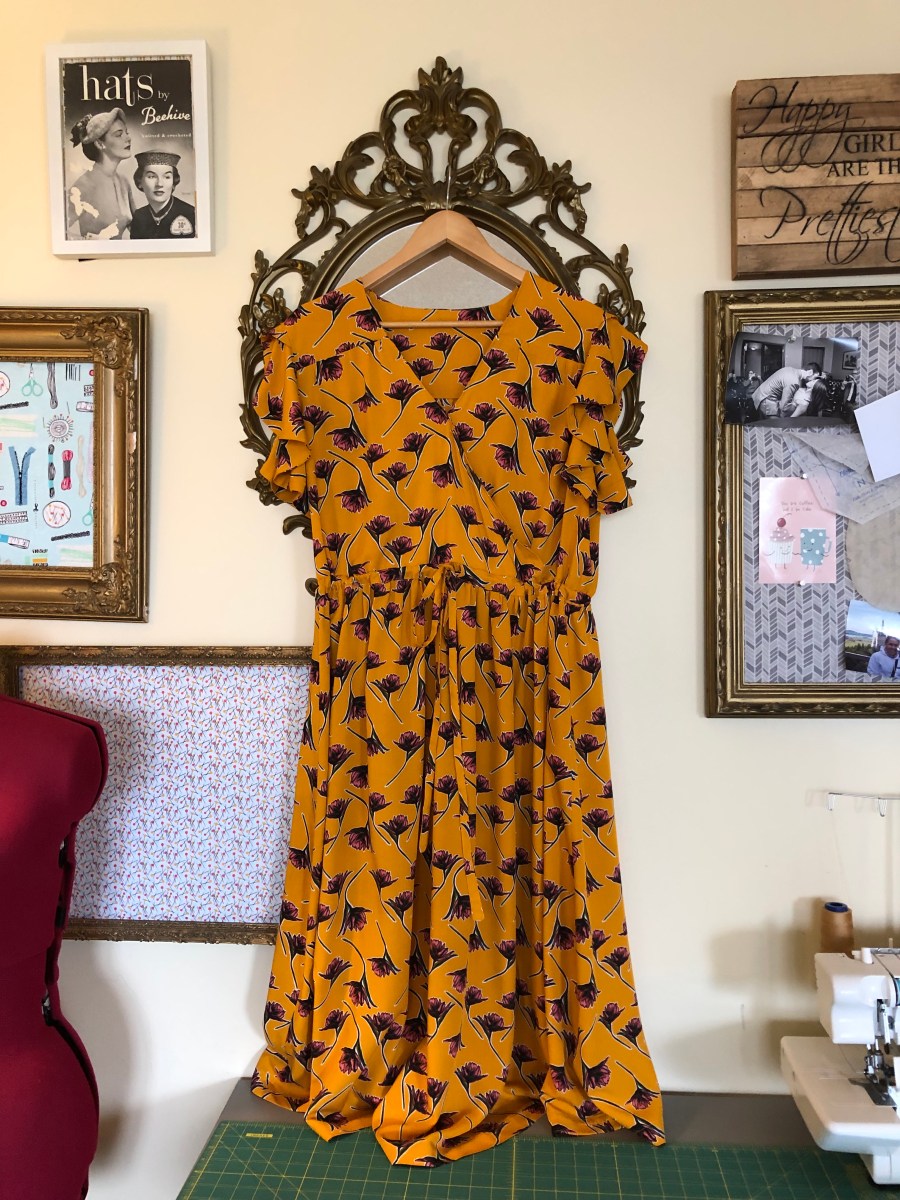
 I didn’t make too many alterations to the pattern. I cut the bodice as I normally would, grading out a size to the waist, but shortened it by an inch. If you plan on wearing this dress in maternity only, I recommend shortening another two or more inches depending on your body, but I want to wear this at my natural waist later. Because I have more bodice fabric bunched up above my belly, the wrapped part of the bodice gapes a bit, so either tack it down or make sure your finishing inside is nice enough to peek out on occasion.
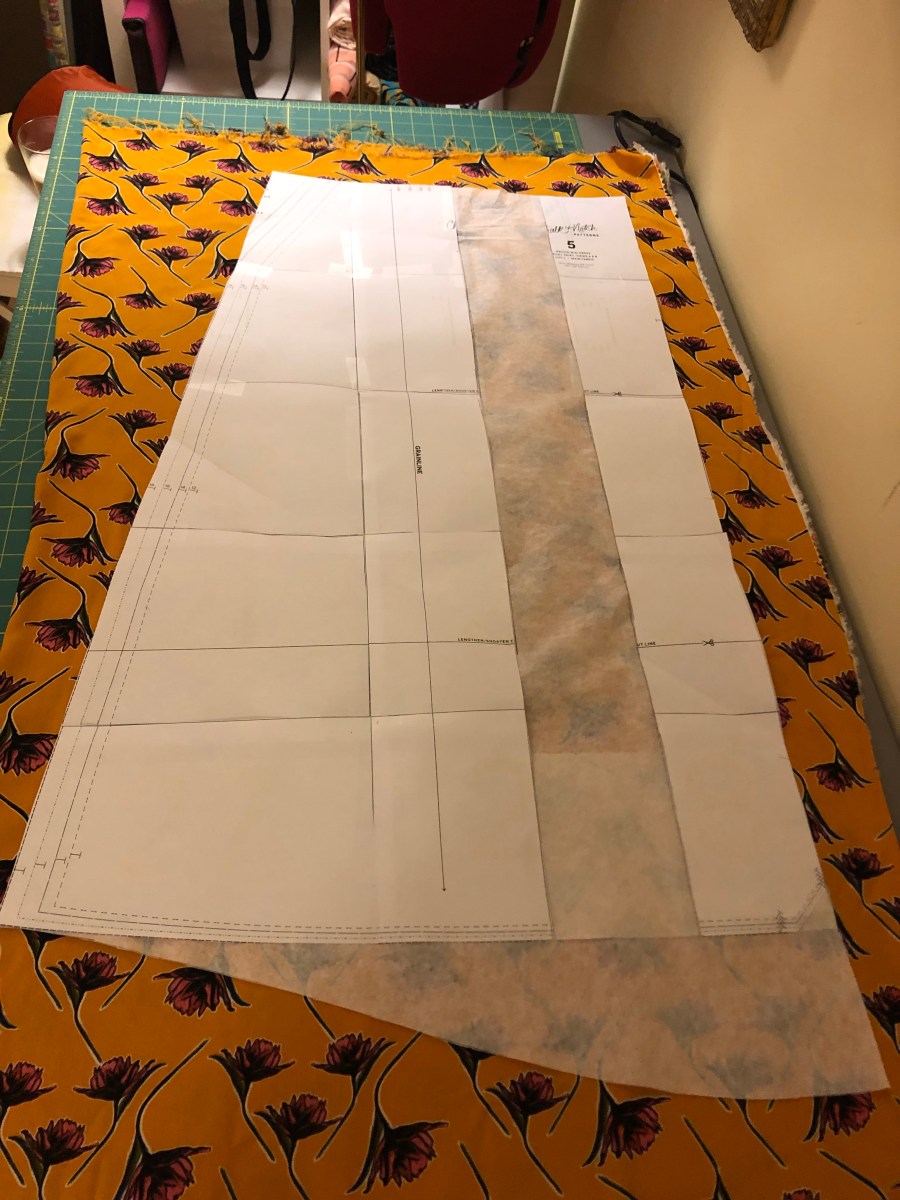 The skirt required more altering. I decided to forego the slit in the front as I figured it would look reeeeeeaaaaally weird on a baby bump, and it also made the construction significantly easier. I also took out the pockets for the same reason. I added an extra eight inches of width to the front to gather later by adding a four inch-wide panel to the front seam and cut it on the fold instead. I also added an extra two inches of length at the centre front in a curve that eased to the normal length at the side seam. This is to avoid the front being way shorter when my belly is big and I can easily re-hem it later.
In the construction, very little changed. I sewed the bodice according to the instructions and found them very clear. One little word of advice about the flutter sleeves. The pattern gives you the option to line them or hem. I chose to line as a I figured my fabric was light and drapes enough, but if I were to do it over again, I would hem. Unless your fabric has ridiculous amounts of drape, I recommend hemming to make sure you lose none of the ruffle.
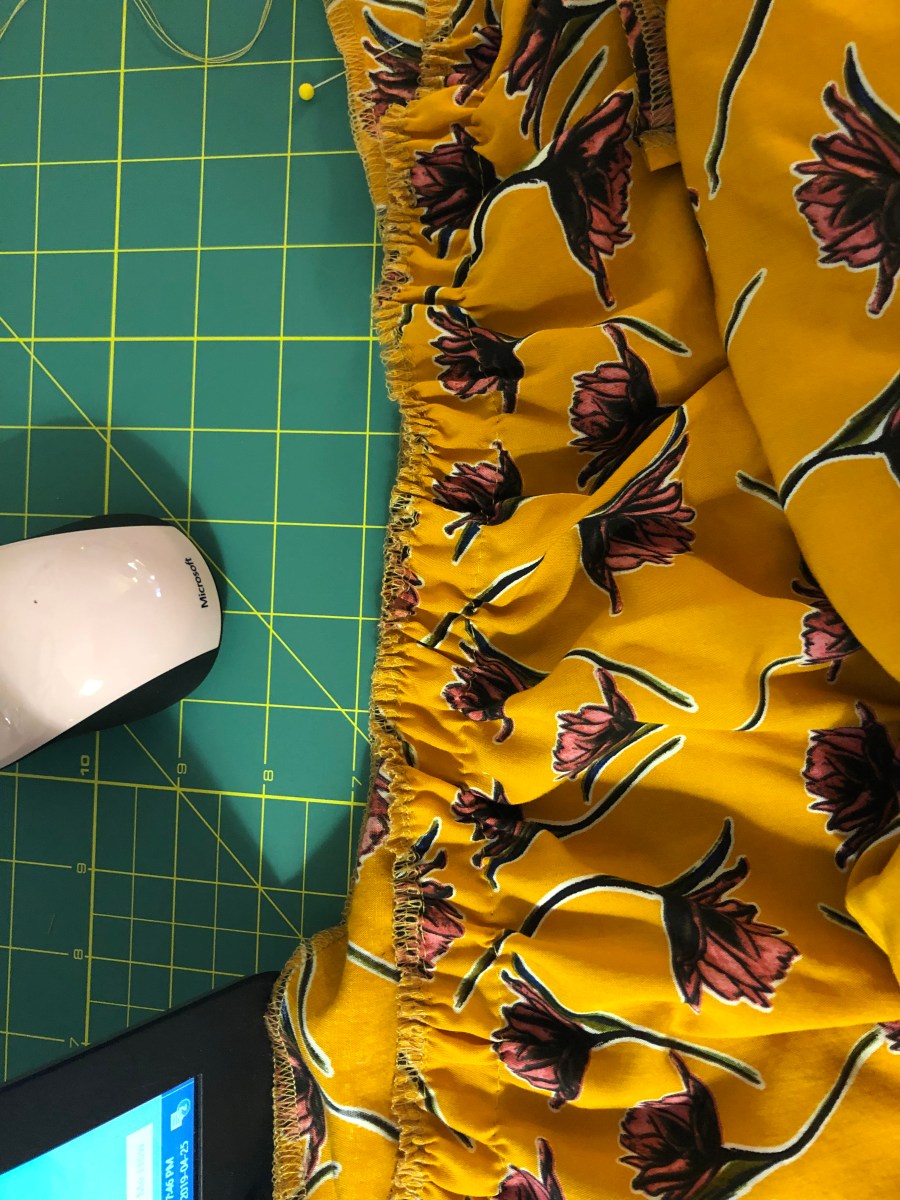
Because I removed the pockets and the front slit, the skirt was ridiculously simple to sew up. I basically gathered the front to the regular size, sewed the side seams, added the drawstring casing and attached it to the bodice. When gathering, start and finish your gathers about three inches from the side seams as you don’t really need it there. I also suggest doing four lines of gathering. Do two lines of gathering around the seam that will attach the bodice and skirt together (the seam allowances 3/8 so stitch at 1/4 and 1/2 inch) but ALSO one line of stitching on either side of where the drawstring casing will attach to the skirt. The casing is an inch wide, so your two lines of gathers will be at 1 1/4 and 1 1/2. This is really important because if you don’t also gather at the bottom of the drawstring casing, you will have uneven or large puckers that just won’t look good on your belly.
I also want to talk a bit about the length. I didn’t shorten the skirt as I love a good, long skirt, but I also wanted wiggle room to see how it all looked on my bump. I’m 5 feet 2 inches, so this meant the pattern ended up ridiculously long. I think I chopped off a solid 3 inches, so keep that in mind, short ladies.
Another note to preggos out there: you may choose to size down in this pattern. At my regular size, I think this pattern would look pretty and flows, but the extra volume in fabric in addition to my extra volume in bazooms and belly make me feel a little bit frumpy, and there is a solid amount of ease of you to play with.

[…] Woven River Dress, Orchid Dress, Fulton Sweater Blazer, Jasika […]
[…] Orchid Midi […]
Talk to me about that neckline!! I’m looking at buying this dress and wondering if one could sew a small hook there to open up the neck to make it nursing friendly too!