
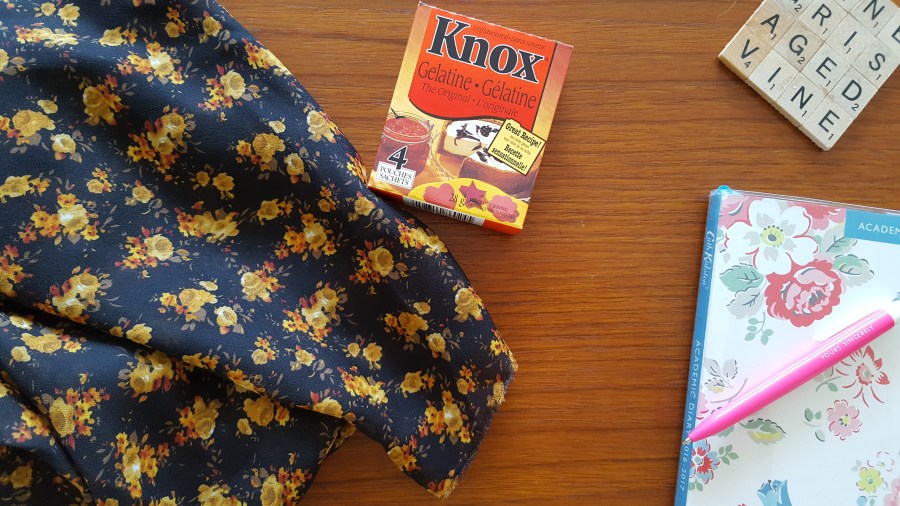
 You may remember the Hong Kong finish in the yellow jacket I made a while ago. I used a beautiful matching printed fabric I had been hoarding to make a dress or blouse out of. I knew that wearing this jacket with that eventual top would look fantastic, so I decided the extra time would be worth it. Until I realized this beautiful yellow rose print was the shiftiest, fray-i-est fabric ever. And then I had to cut bias strips. Cue maniacal laughter.
These bias strips were the bane of my existence. Not only did the shiftiness of the fabric ensure that cutting any straight line, let alone on the bias, would be next to impossible, but it stretched so much when cut into bias strips that it rippled, frayed and often stretched to be too narrow to actually bind the seam.
I let a few months pass before I decided to attack that fabric again and research how in the heck to deal with this monster fabric. In my research, I came across this Threads article all about stabilizing with gelatin (or gelatine, depending on where you are). Because it was cheap (a couple of bucks for several packets that will last me ages) and convenient (a 5-minute walk to the super market instead of an hour-long ride to the fabric store), I decided I would give it a whirl!
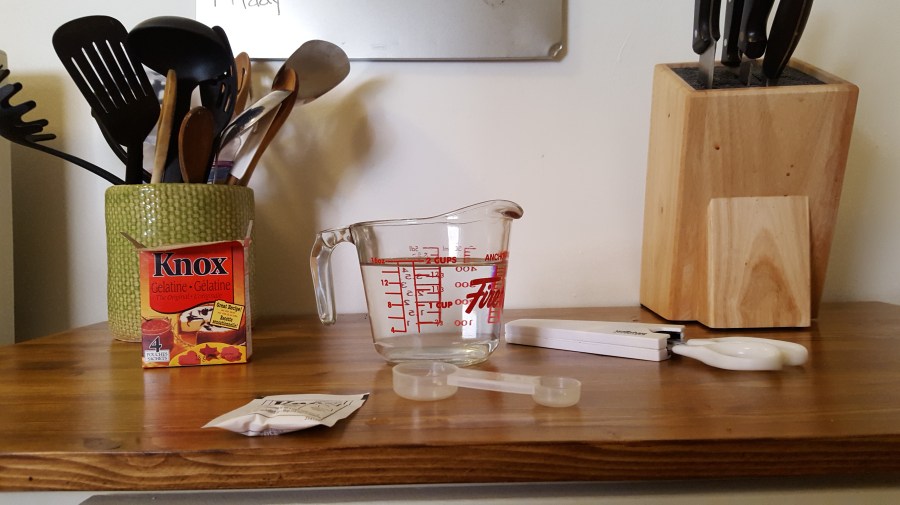 I started by dissolving 1 tsp of gelatine into 16 ounces (or two cups) of water, just like the article said. I then put a stock pot with a quart of water (or about 4 cups) on to boil. Looking at the quantity of water and the amount of fabric I had (about 1 1/4 metre), I decided to immediately double it. Looking back, I could easily have tripled or quadrupled it, but double was just enough.
 After letting the gelatine solution sit for 30 minutes, I stirred it into my pot of boiling water and took it off the heat. Once it had stopped boiling, I put my fabric in and let it sit for an hour.
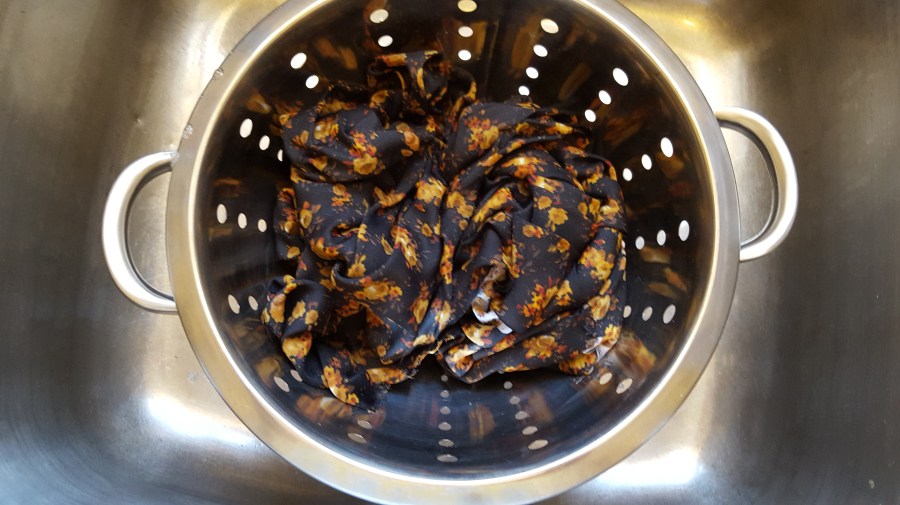 After the hour, I thought I would continue using kitchen things for sewing and decided to dump my fabric out of the pot using a strainer. This was super practical and easy and I absolutely recommend it.
Rolling tightly but gently, I squeezed out as much of the excess water as possible. If this isn’t how you’re wringing the sweaters you hand-wash, begin immediately. They dry infinitely faster.
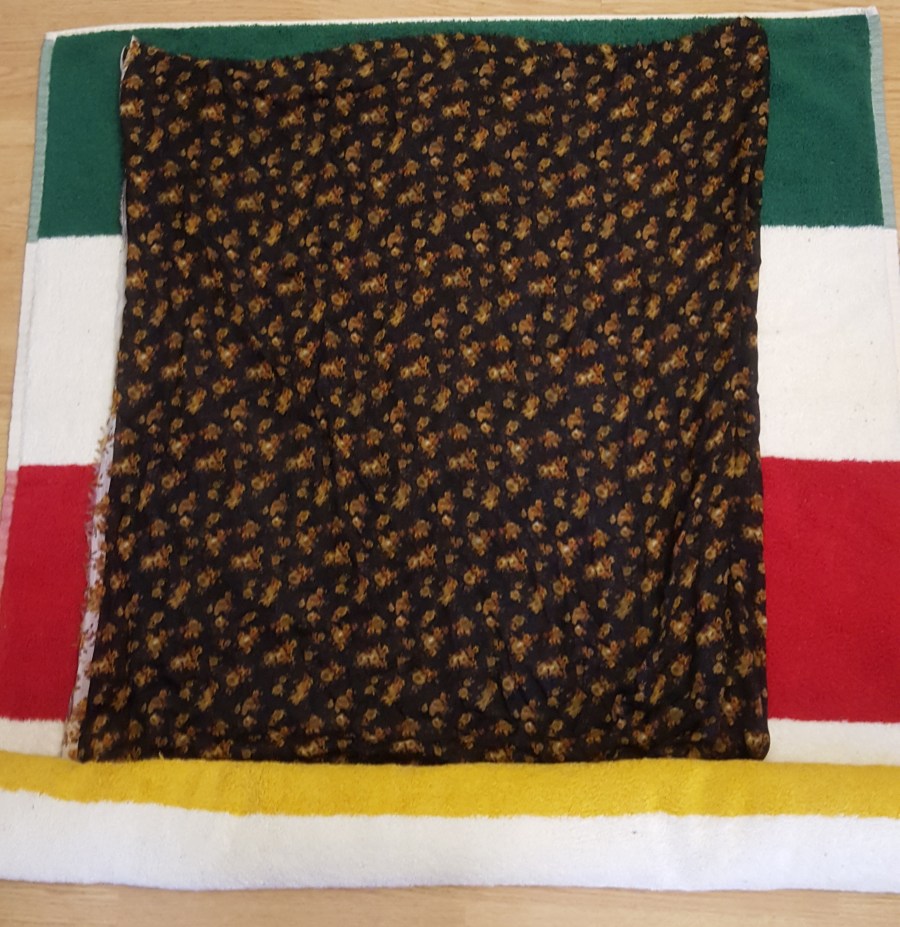
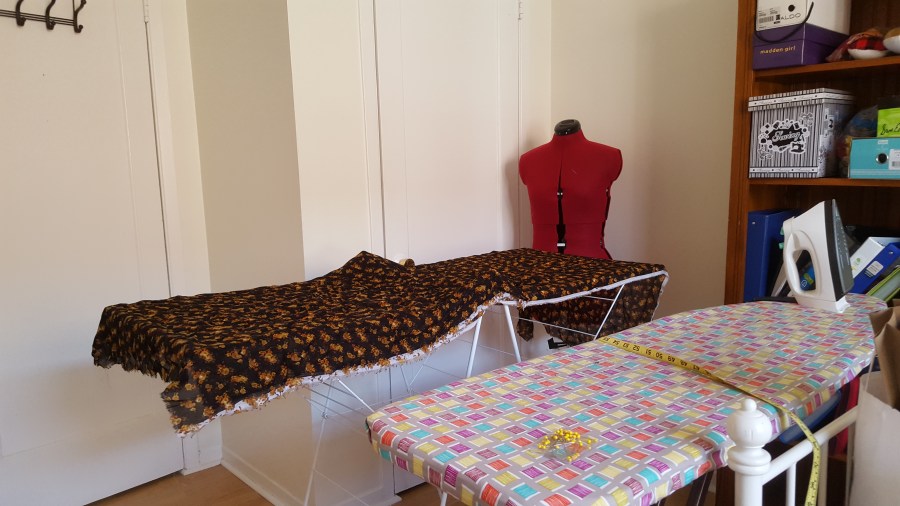 I then laid the fabric out on a drying rack and waited a couple of hours. Already i could tell the fabric was stiffer and had more body. Cutting out was way, way easier once the fabric was stabilized. I had several parts to cut on the bias, including bias tape to bind the arm holes and the difference from last time was incredible.
As I sewed, however, the fabric lost its stiffness and became drapey again. If I were to do this again, I might experiment with using a bit more gelatine in order to have longer-lasting stability. With that said, however, I think this experiment was a success!

[…] Try temporarily stabilizing shifty fabrics using gelatin. […]