
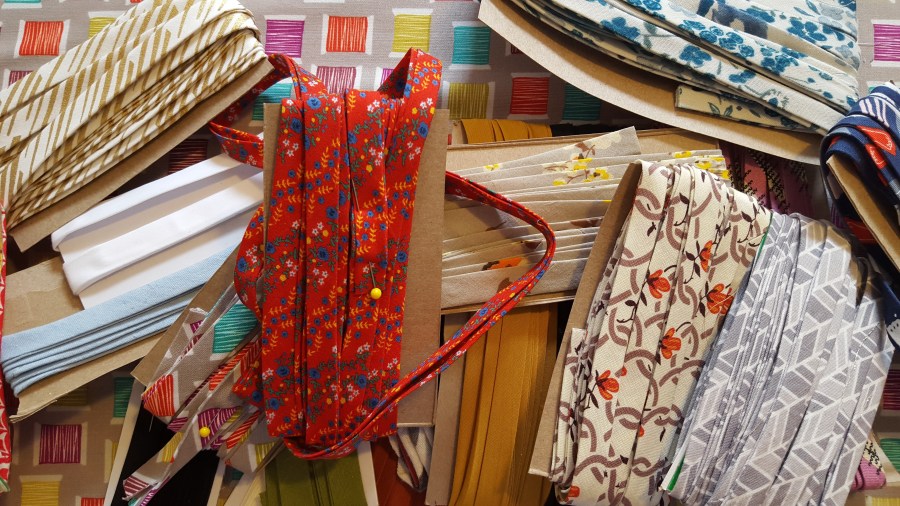
 It’s no secret that I love bias tape. I discovered about a year ago that you could make your own bias tape and it pretty much blew my mind. I LOVE adding little contrasting details, or making things match perfectly. Needless to say, I have been using every opportunity to bind something with bias tape, and as a result, have researched extensively and developed my own method to doing a bias binding. If you’ve struggled to catch the back side of the tape, or can’t manage to stitch in the ditch, this post may help!
You can really easily sandwich the fabric you’re binding in your double fold tape, but I find that it tends to look sloppy, or I can’t get the seam/tape to sit straight on both sides. Instead, I take a few extra steps, and my bindings look perfect every time.
On a seam that starts and ends:
 Step 1: Sew the bias tape onto the good side of the fabric, in the crease of the first fold. This will be about 1/4 inch, or the width of your presser foot.
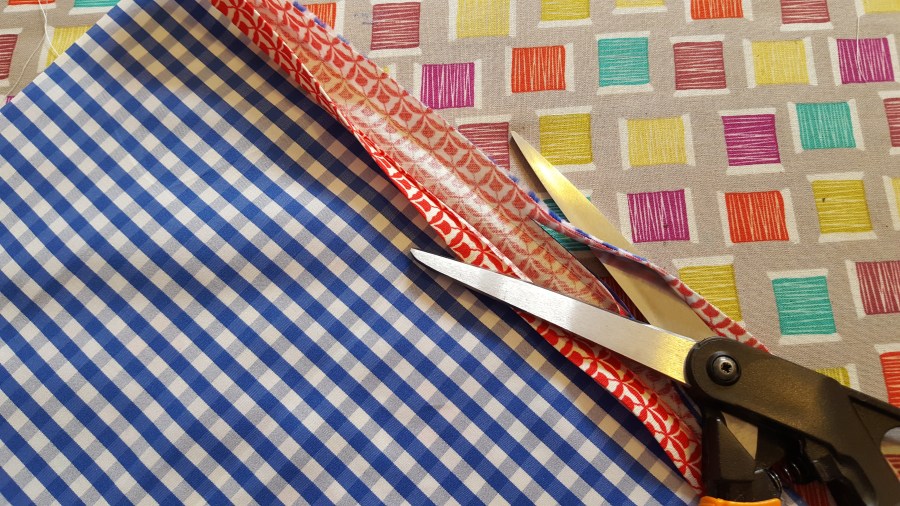 Step 2: Trim. This is the key to making your tape look good. I trim off about 1/8 of an inch. I find it’s just enough to make sure that your stitches catch the other half of the bias tape under your fabric.
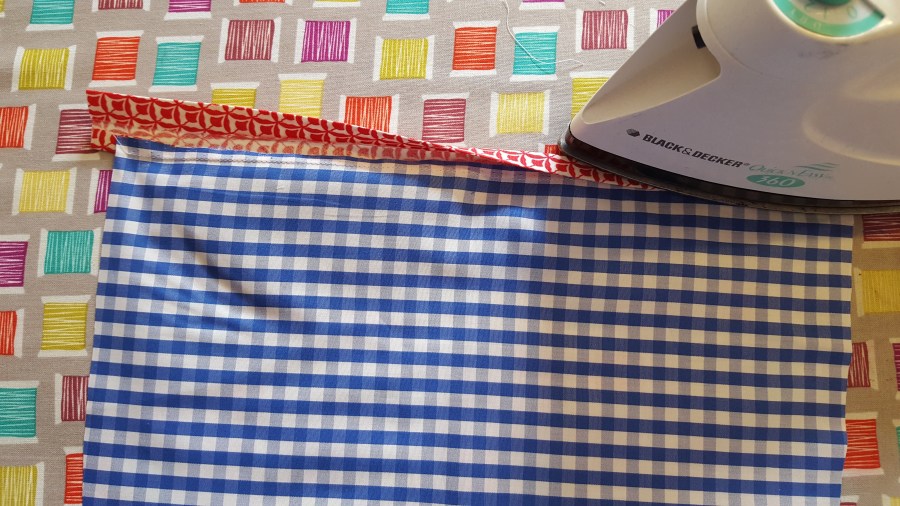 Step 3: First, press the tape away from the fabric. This is extremely important to make sure things lie nice and flat. Next, fold the tape over, making sure to overlap at least 1/8 over the seam. It’s important to overlap to make sure that you catch the fabric on this side when you stitch in the ditch, later.
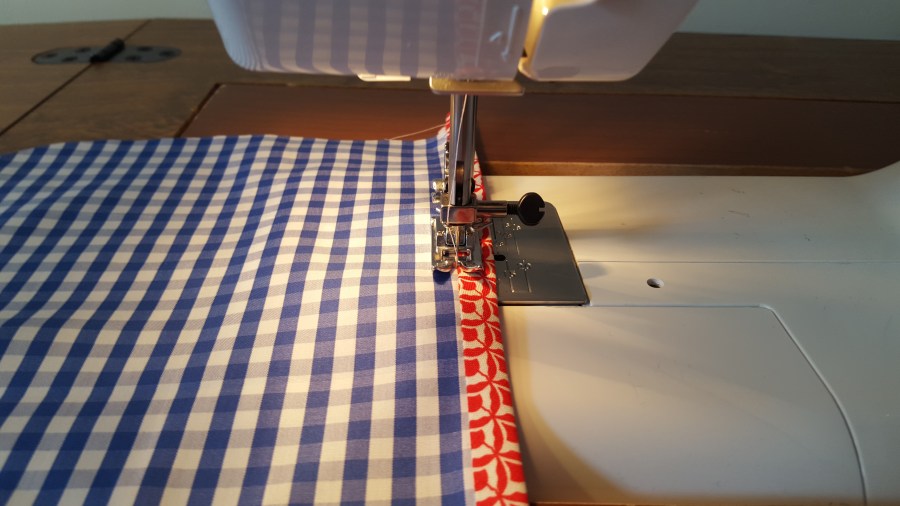 Step 4: Stitch in the ditch. This is the part that has always had me baffled. I have watched so many YouTube videos, and for some reason consistently struggled to make this part look good. I have always had trouble keeping my seam right in that ditch. I’ve learned two little tricks that help me make this part look fantastic: 1) Stitch on the fabric side if you have to, but never, ever the bias tape. It is really, really obvious if you have wiggled even just a little bit. If you thread matches your fabric, you won’t even see it. 2) Don’t watch the needle, watch the foot. I think about this like learning to drive on the highway. If you stare at the yellow line just in front of the vehicle, you’re going to float all over the place. If you fix your eyes 10-20 meters in front of you, it is so, so much easier to keep in a straight line (and in the middle of the lane). When “stitching in the ditch” (Stitching right in that seam attaching the bias tape and your fabric), don’t look at the needle or you will wiggle all over the place.
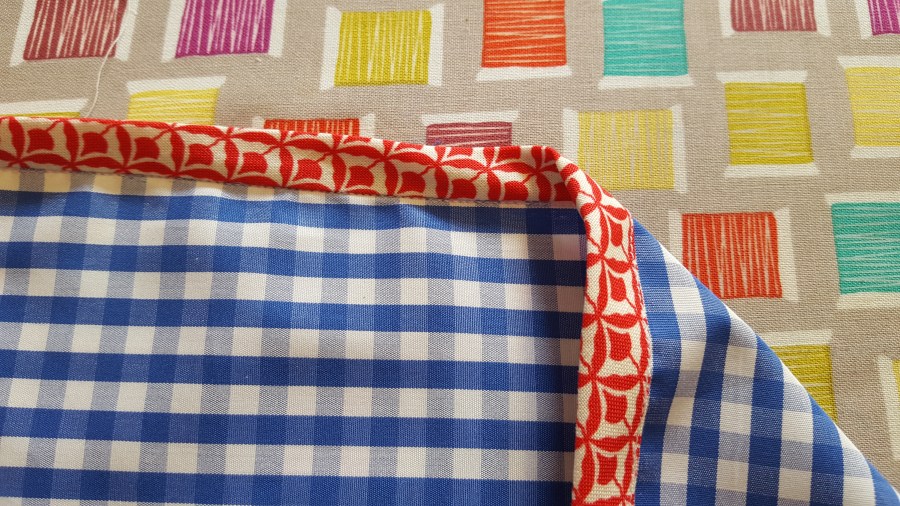 I have exprienced the most success when keeping that seam right beside that little notch in the middle of the presser foot. I keep super straight and never sew on the bias tape. As you can see, the seam on the right side of the fabric (on the left, above) is pretty much invisible in that crease, and on the wrong side (the right, above) has a neat seam, 1/8 inch from the edge of the bias tape.


Tip : The iron is your friend. Bias tape is a wonder because it goes around curves beautifully. All you need is a little steam to make everything lay perfectly flat.
Working in a circle (Ex. An arm or neck hole.)
 Step 1: Attach bias tape to right side of fabric and trim, like Step 1 above. Make sure to leave at least one inch of bias tape to overlap on each side of the seam where you plan to attach the binding into a circle. I usually like to hide this little seam in the back (when working on the neck) or the side (when working on a sleeve).
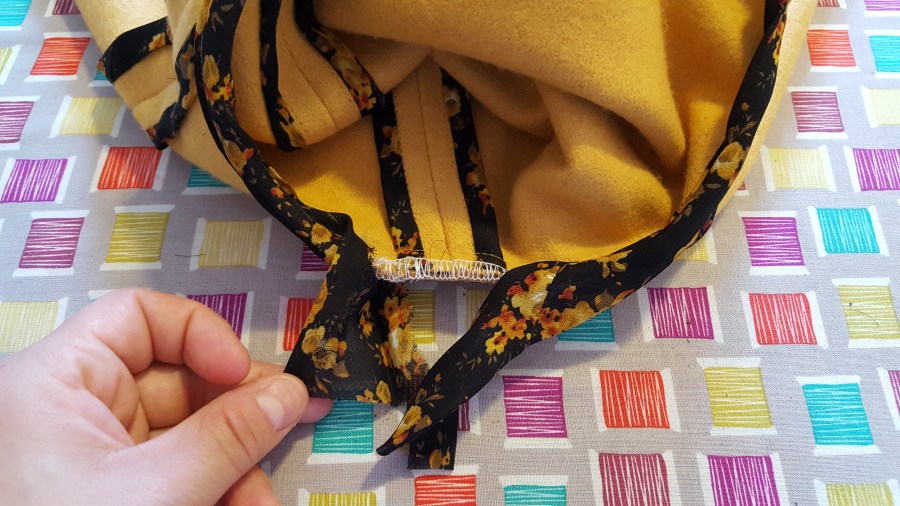
 Step 2: Open up the bias tape and pin both ends, right sides together. This will be awkward, but trust me this works. Sew across and trim.
 Step 3: Flip the bias tape right side out, pin and sew across the opening. Finish as you would using the steps above.

[…] Here’s how I sew a bias tape binding. […]