I’m planning on doing a scallopped hem on my green blouse, and got to the point today where I needed to start figuring out how to do that. I decided it would be wise to try it out on something else before I made a mess of my blouse.
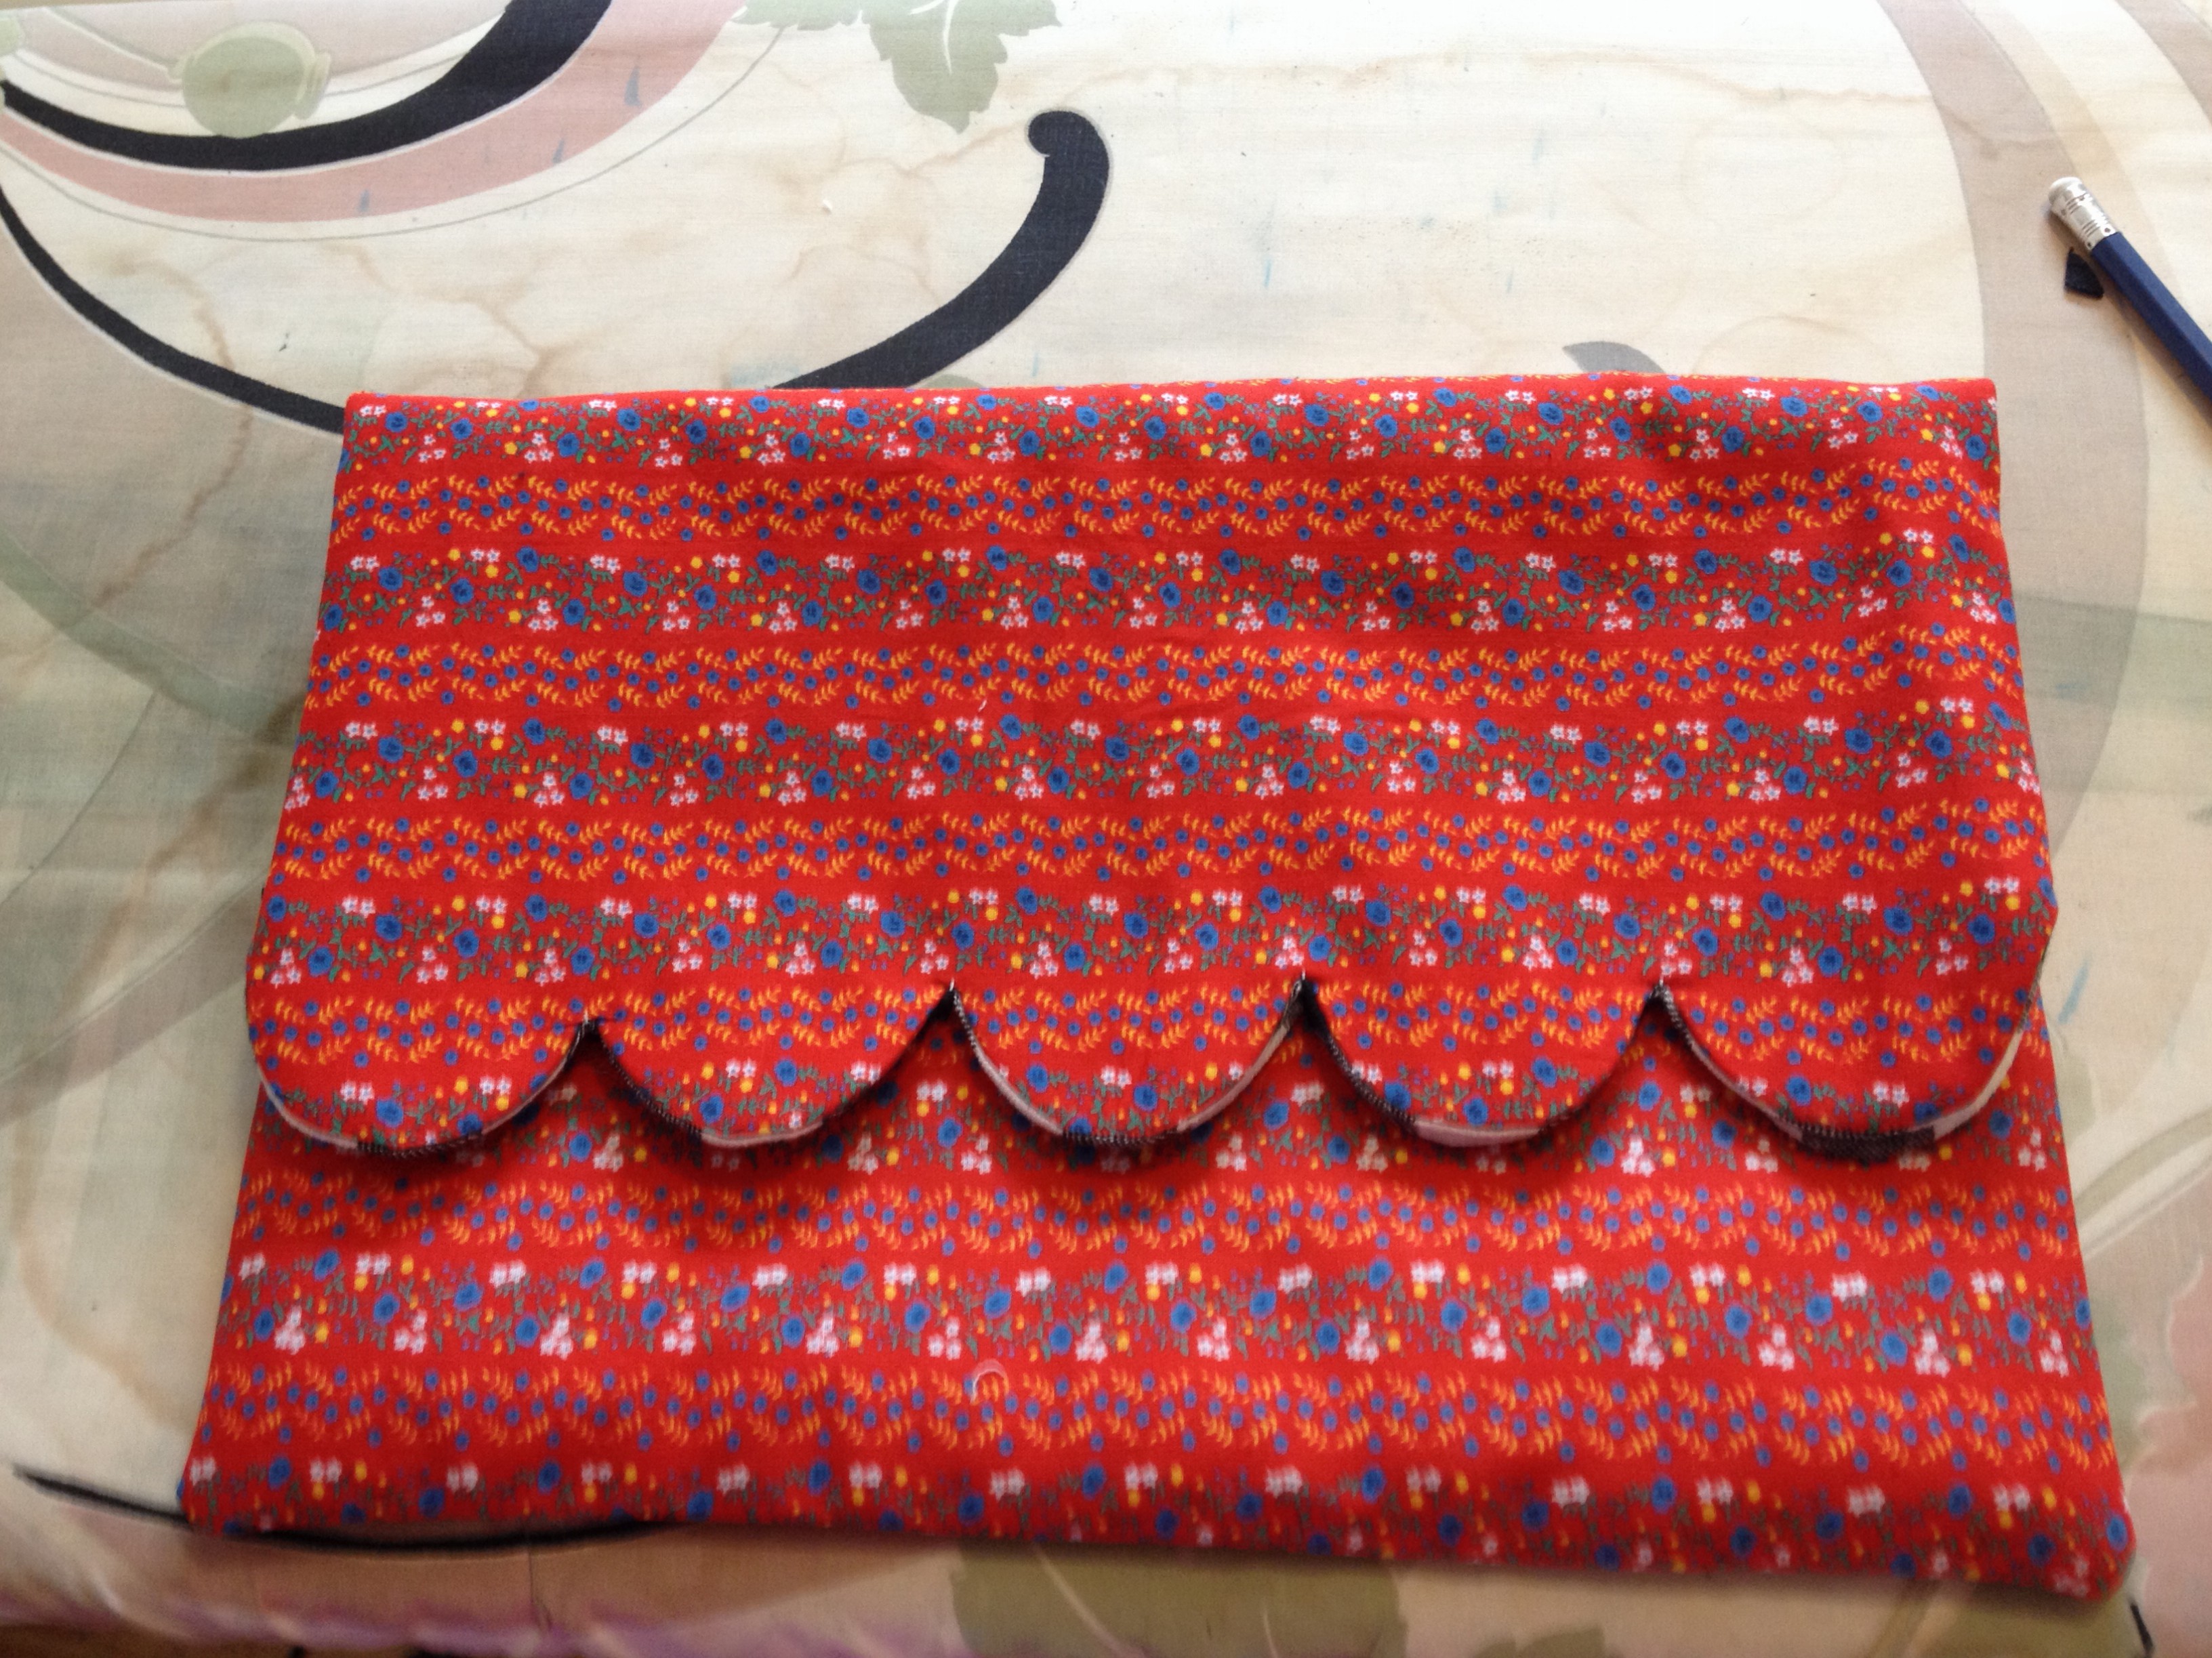
I’ve had this fabric in my box since the school year ended. It was in with all of the donated fabrics we received for the sewing club and every time one of the girls passed it by, I got sad. I decided in June it was too beautiful to leave there all summer. So I took it (shhhhh…)
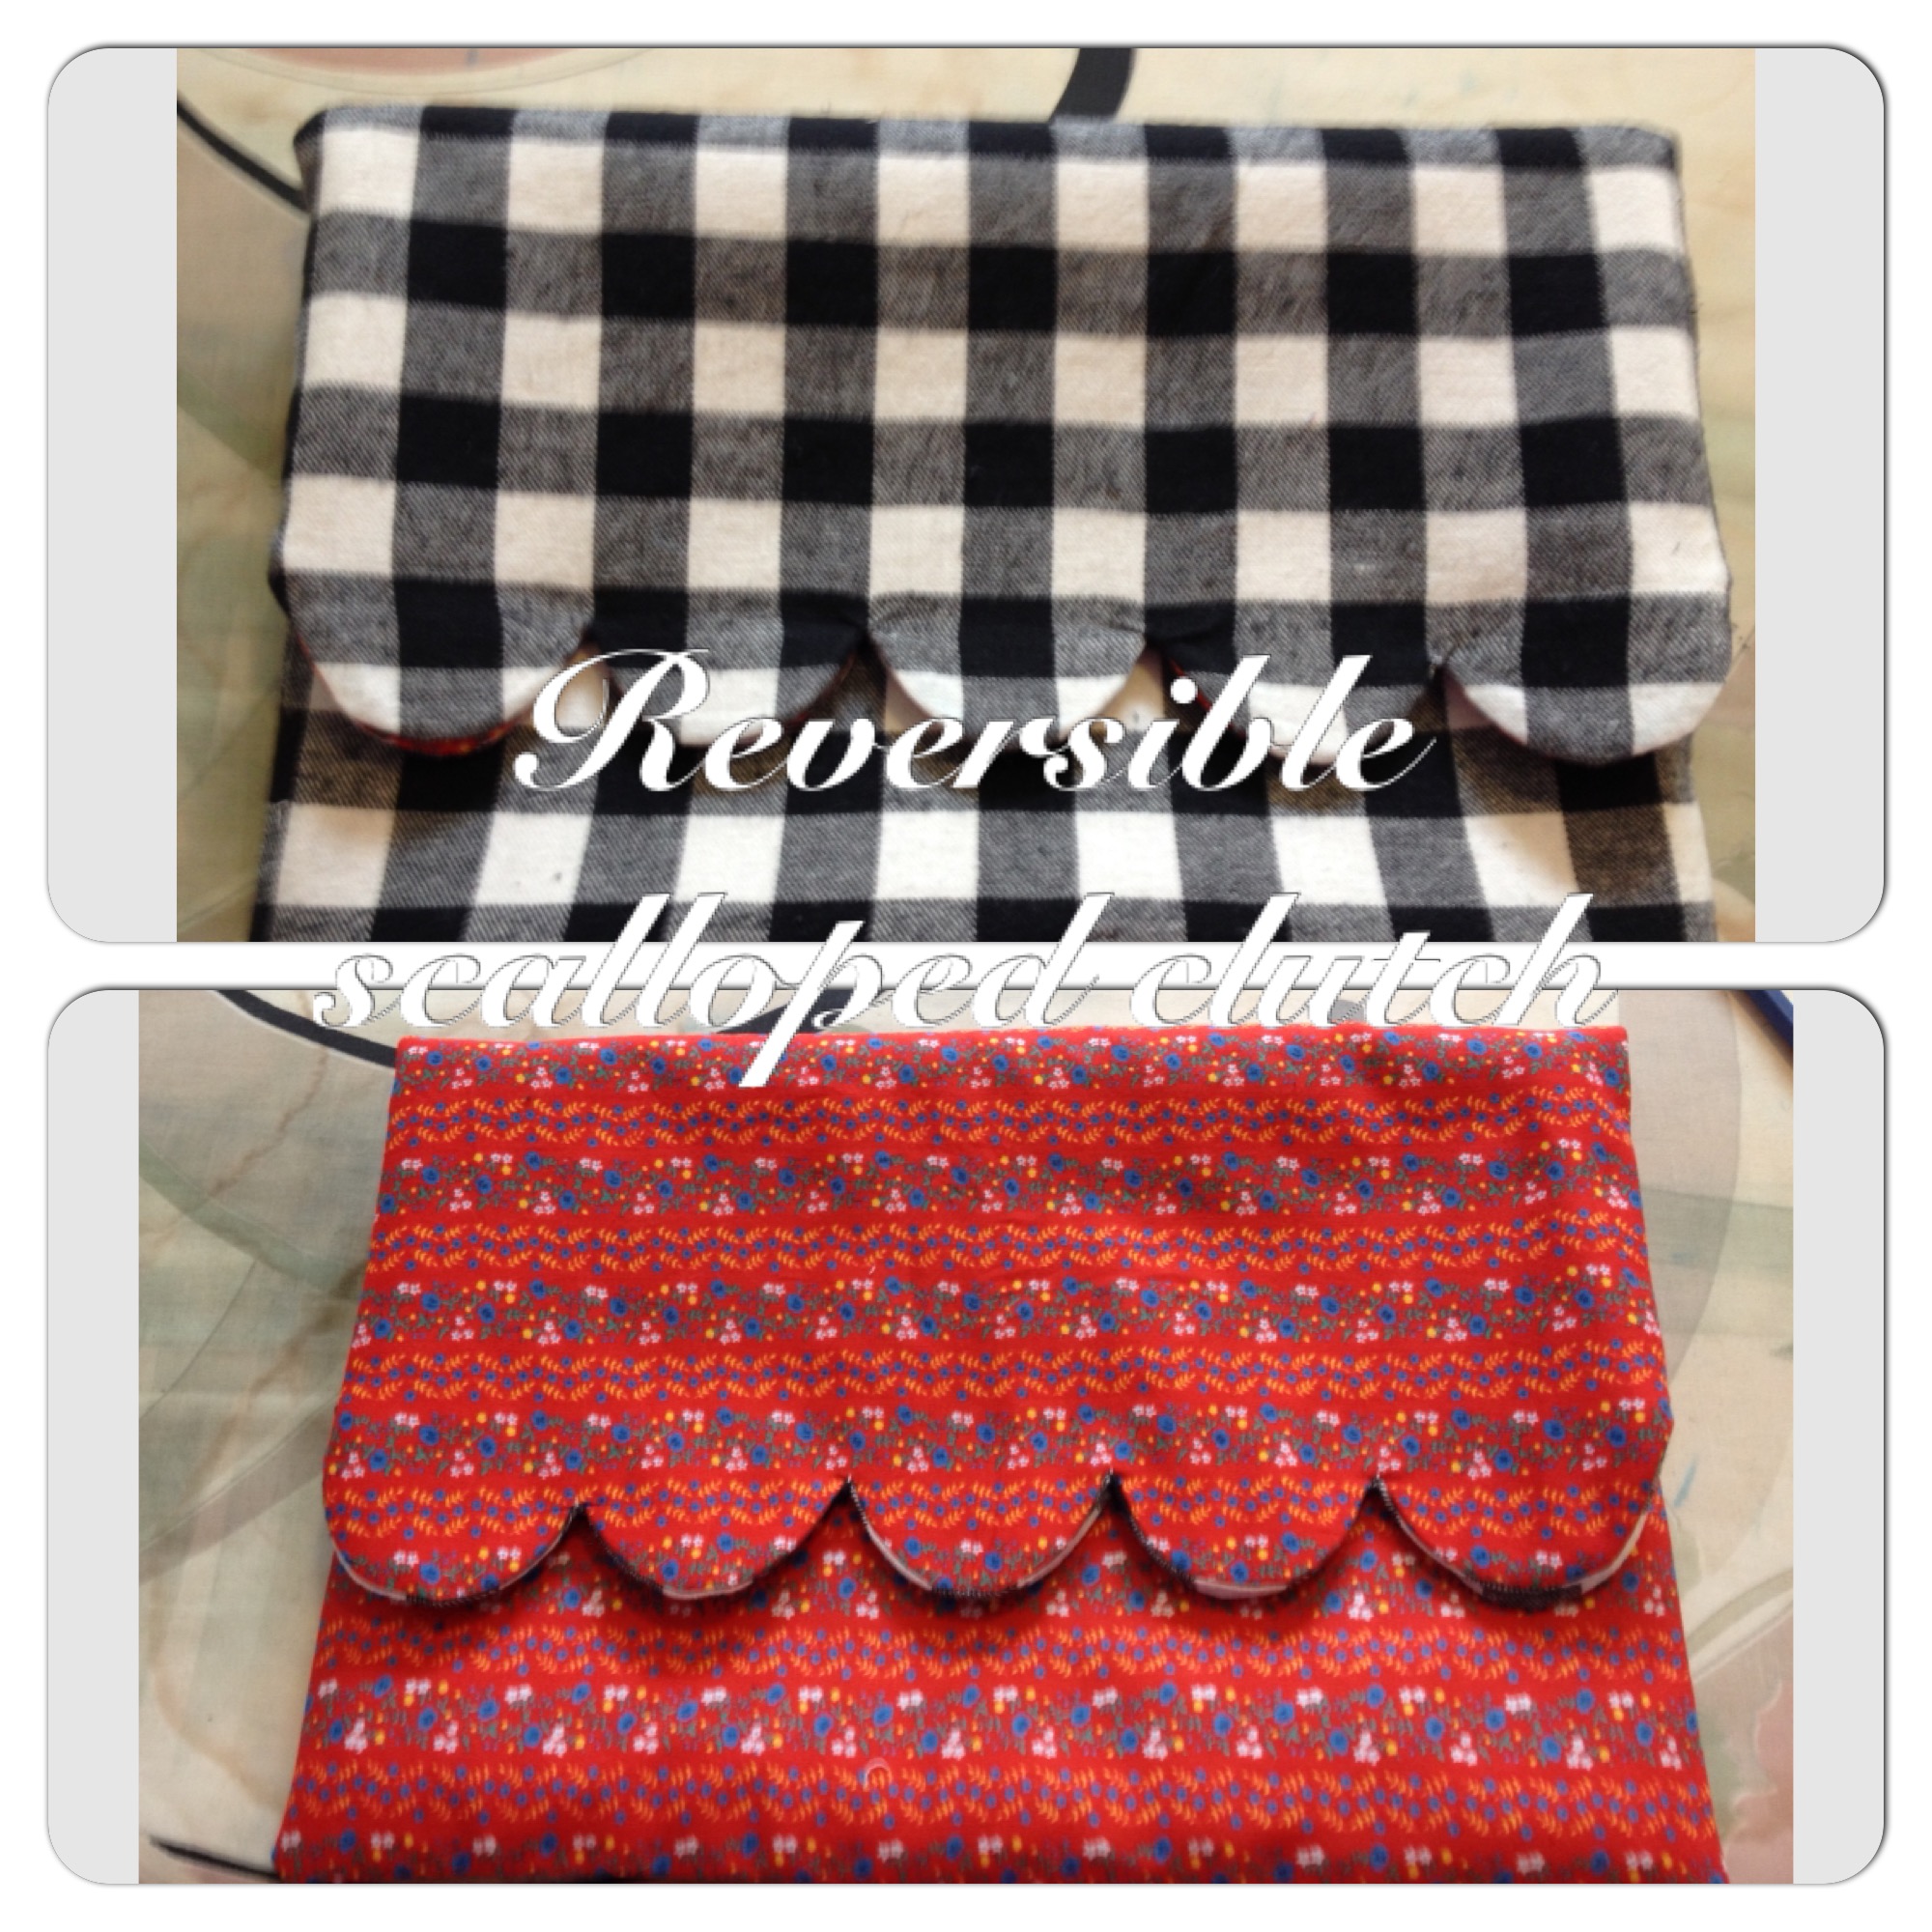
I really like pieces I can wear multiple ways, so I decided I wanted to make this clutch reversible, using leftover gingham from my skirt for the other fabric.
This project can absolutely be done by hand or with a machine for a beginner. If you can sew a line and a curve, you can sew this! For this project you need:
-Good scissors
-ruler
-Needle, thread, pins
-Chalk (in a colour that will show up on your fabric)
-Paper, a pencil and a compass (or something round to trace)
-A half metre each: inside fabric, outside fabric and interfacing (see note below if you’ve never bough interfacing before!)
-Iron
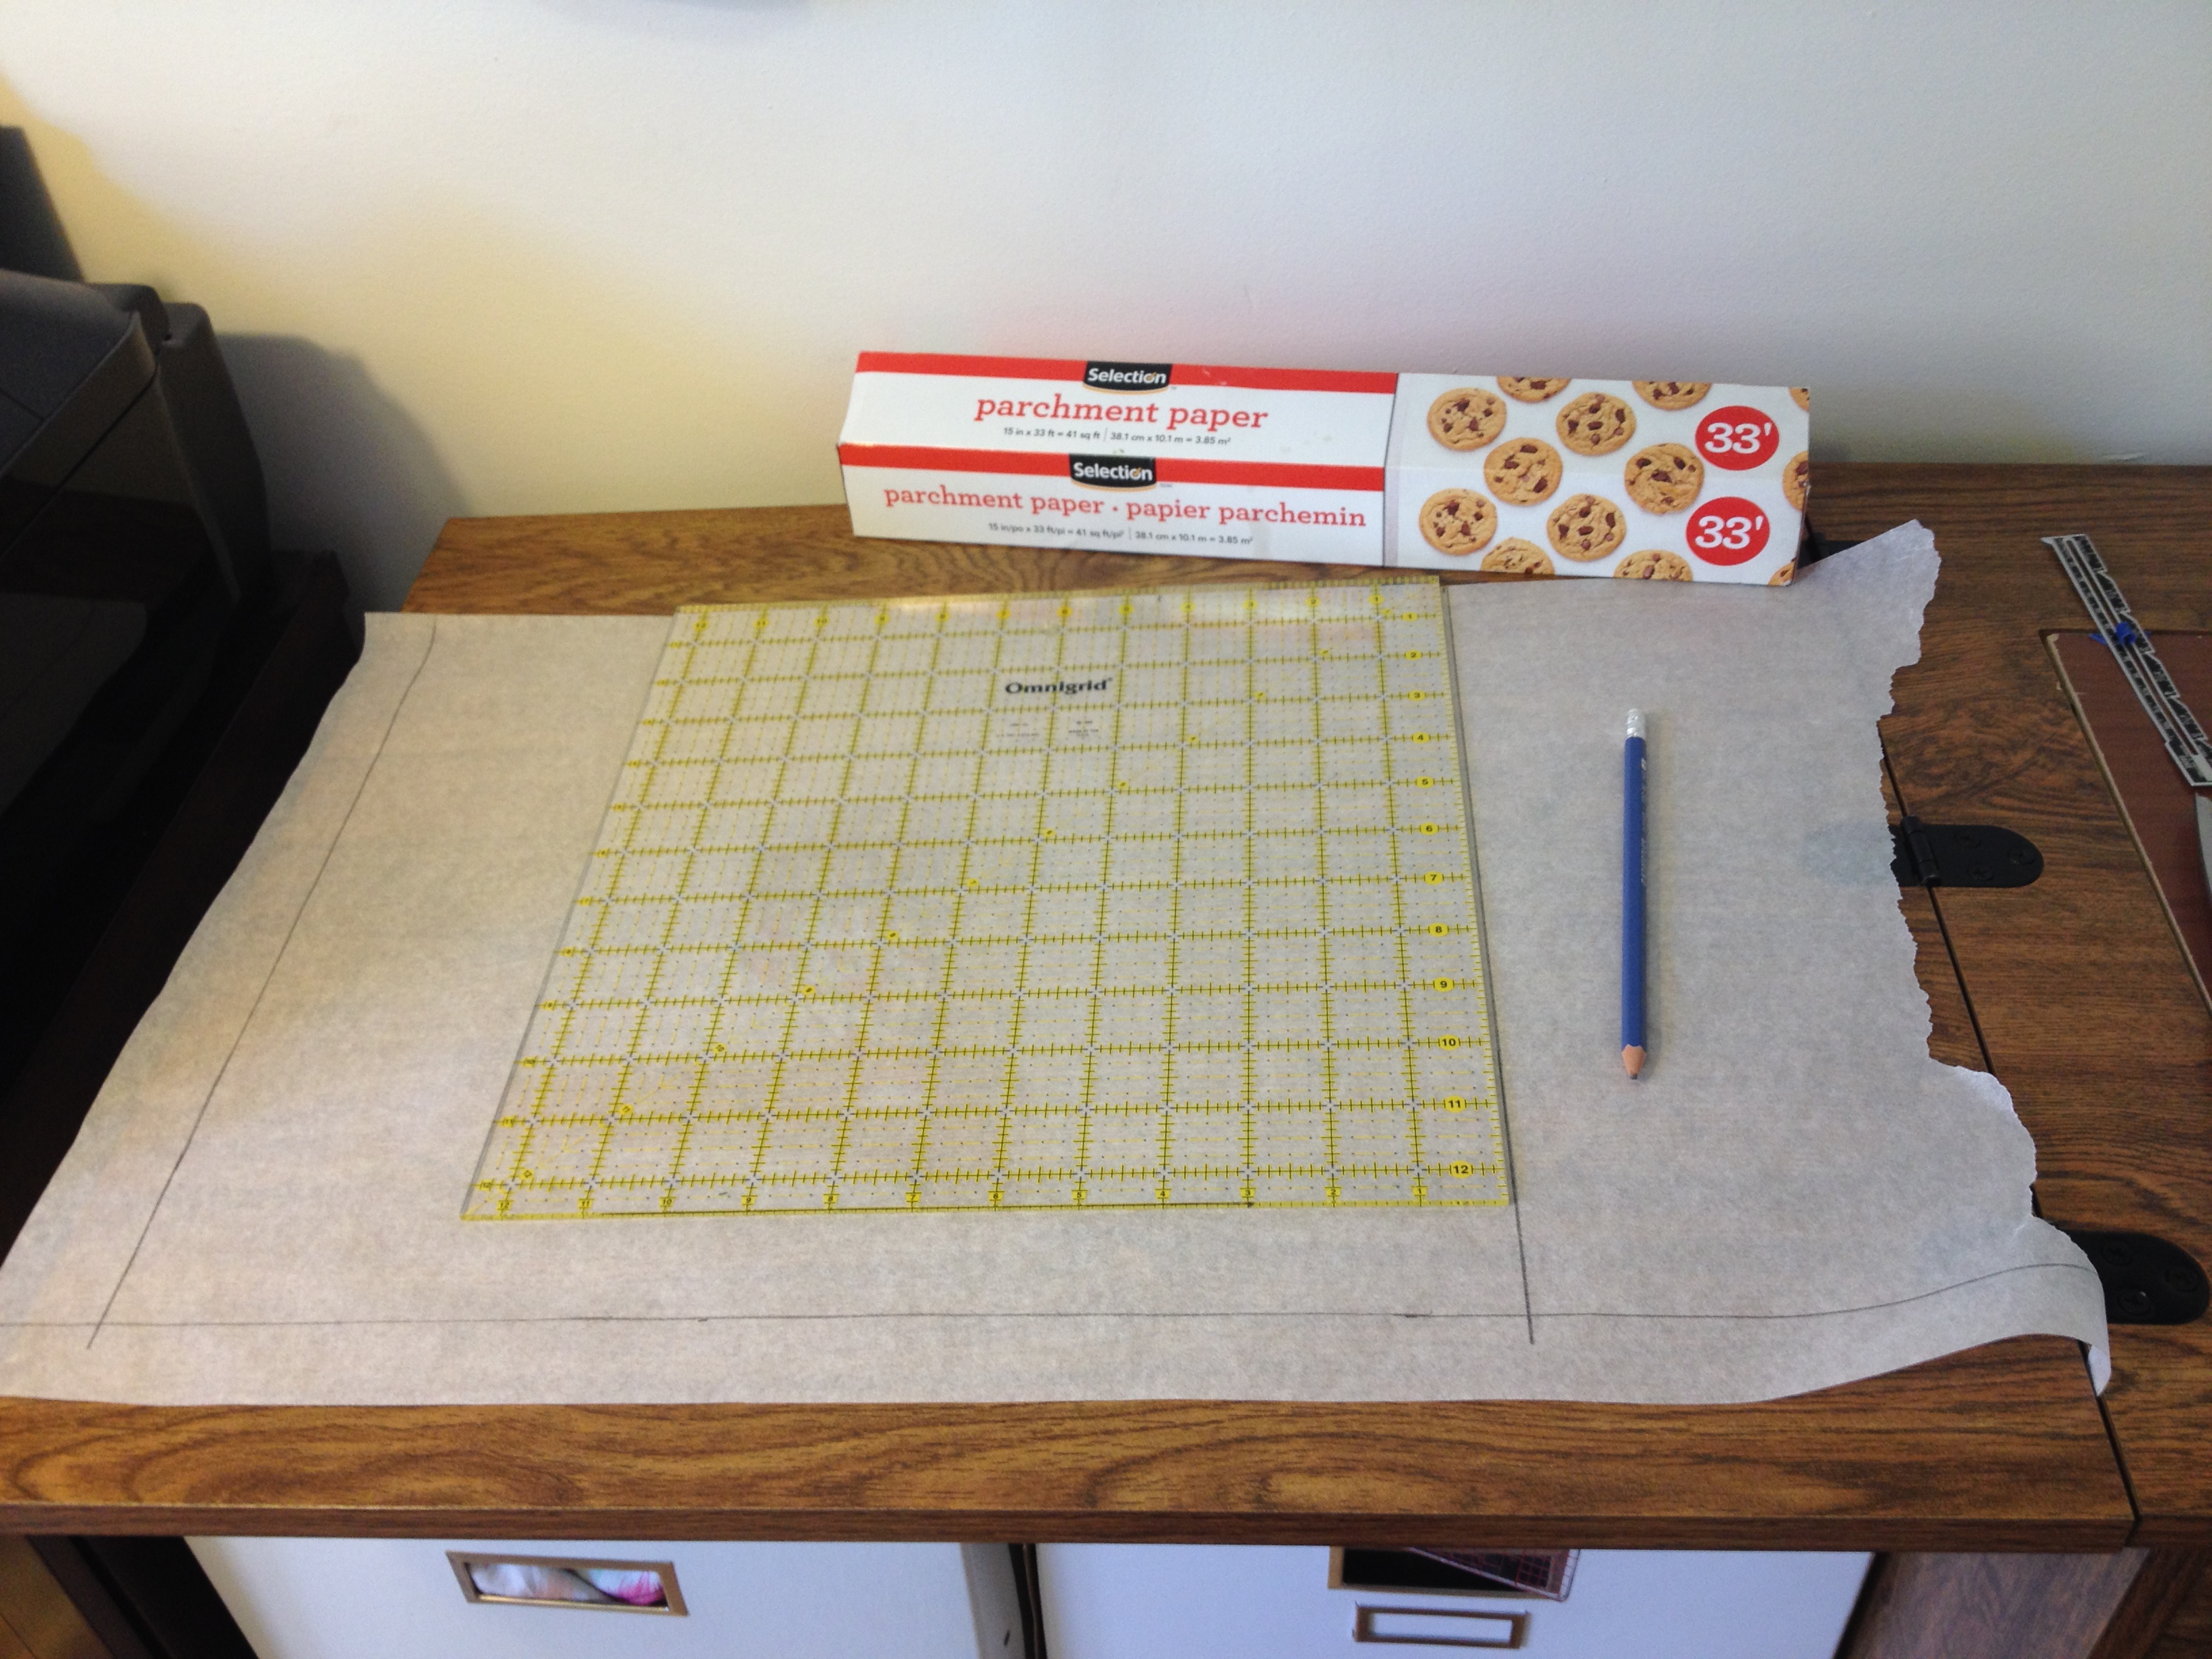
I used a clutch I already had to make my pattern. I find it easiest to take something tangible to decide on sizing. Looking at a ruler and guessing that you want your bag to be 12 inches wide can be deceiving! I used parchment paper to make my pattern and it worked super well. I used my omnigrid to measure, but a regular old ruler will work, too. Just make sure your right angles are actually 90 degress and that your lines stay parallel.
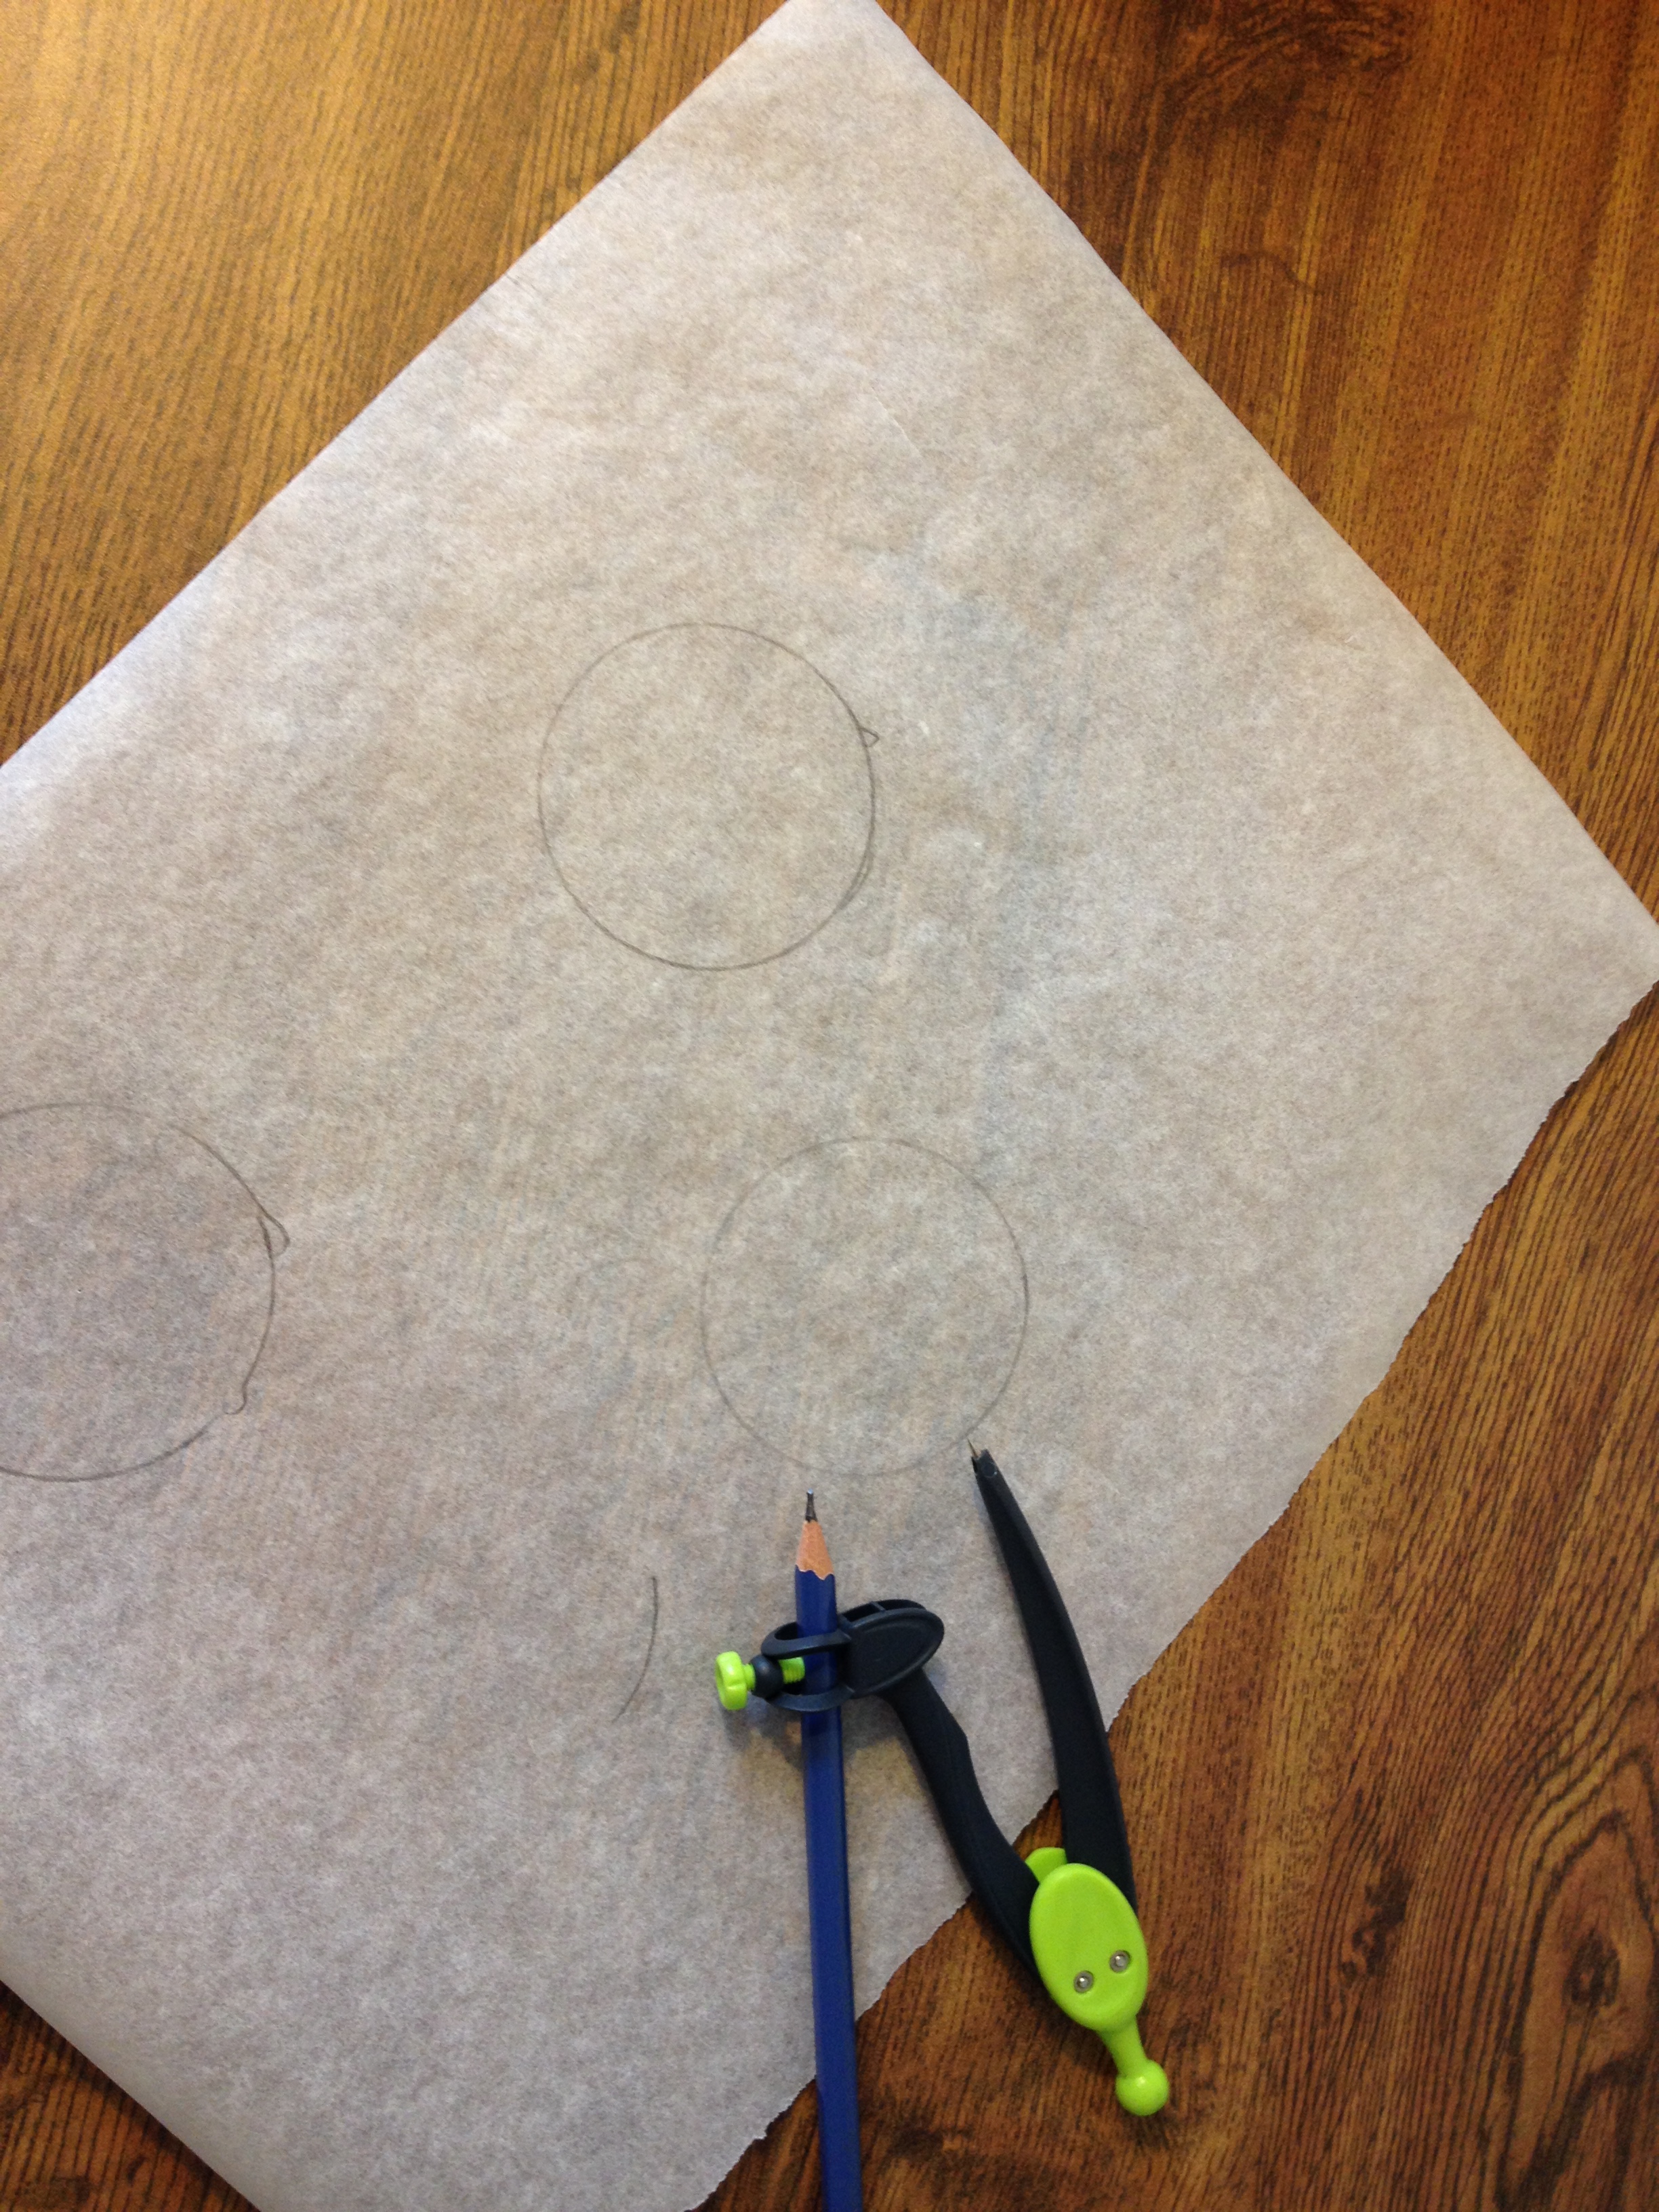
My scallops are 2.5 inches long (I wanted to make sure they stayed centres on my plaid), but you can make them bigger or smaller. You might have to do some math to make sure that you fit them onto the edge – you don’t want to end up with one wonky halfie at the end! I used a compas to draw circles on the parchment paper, then cut them in half.
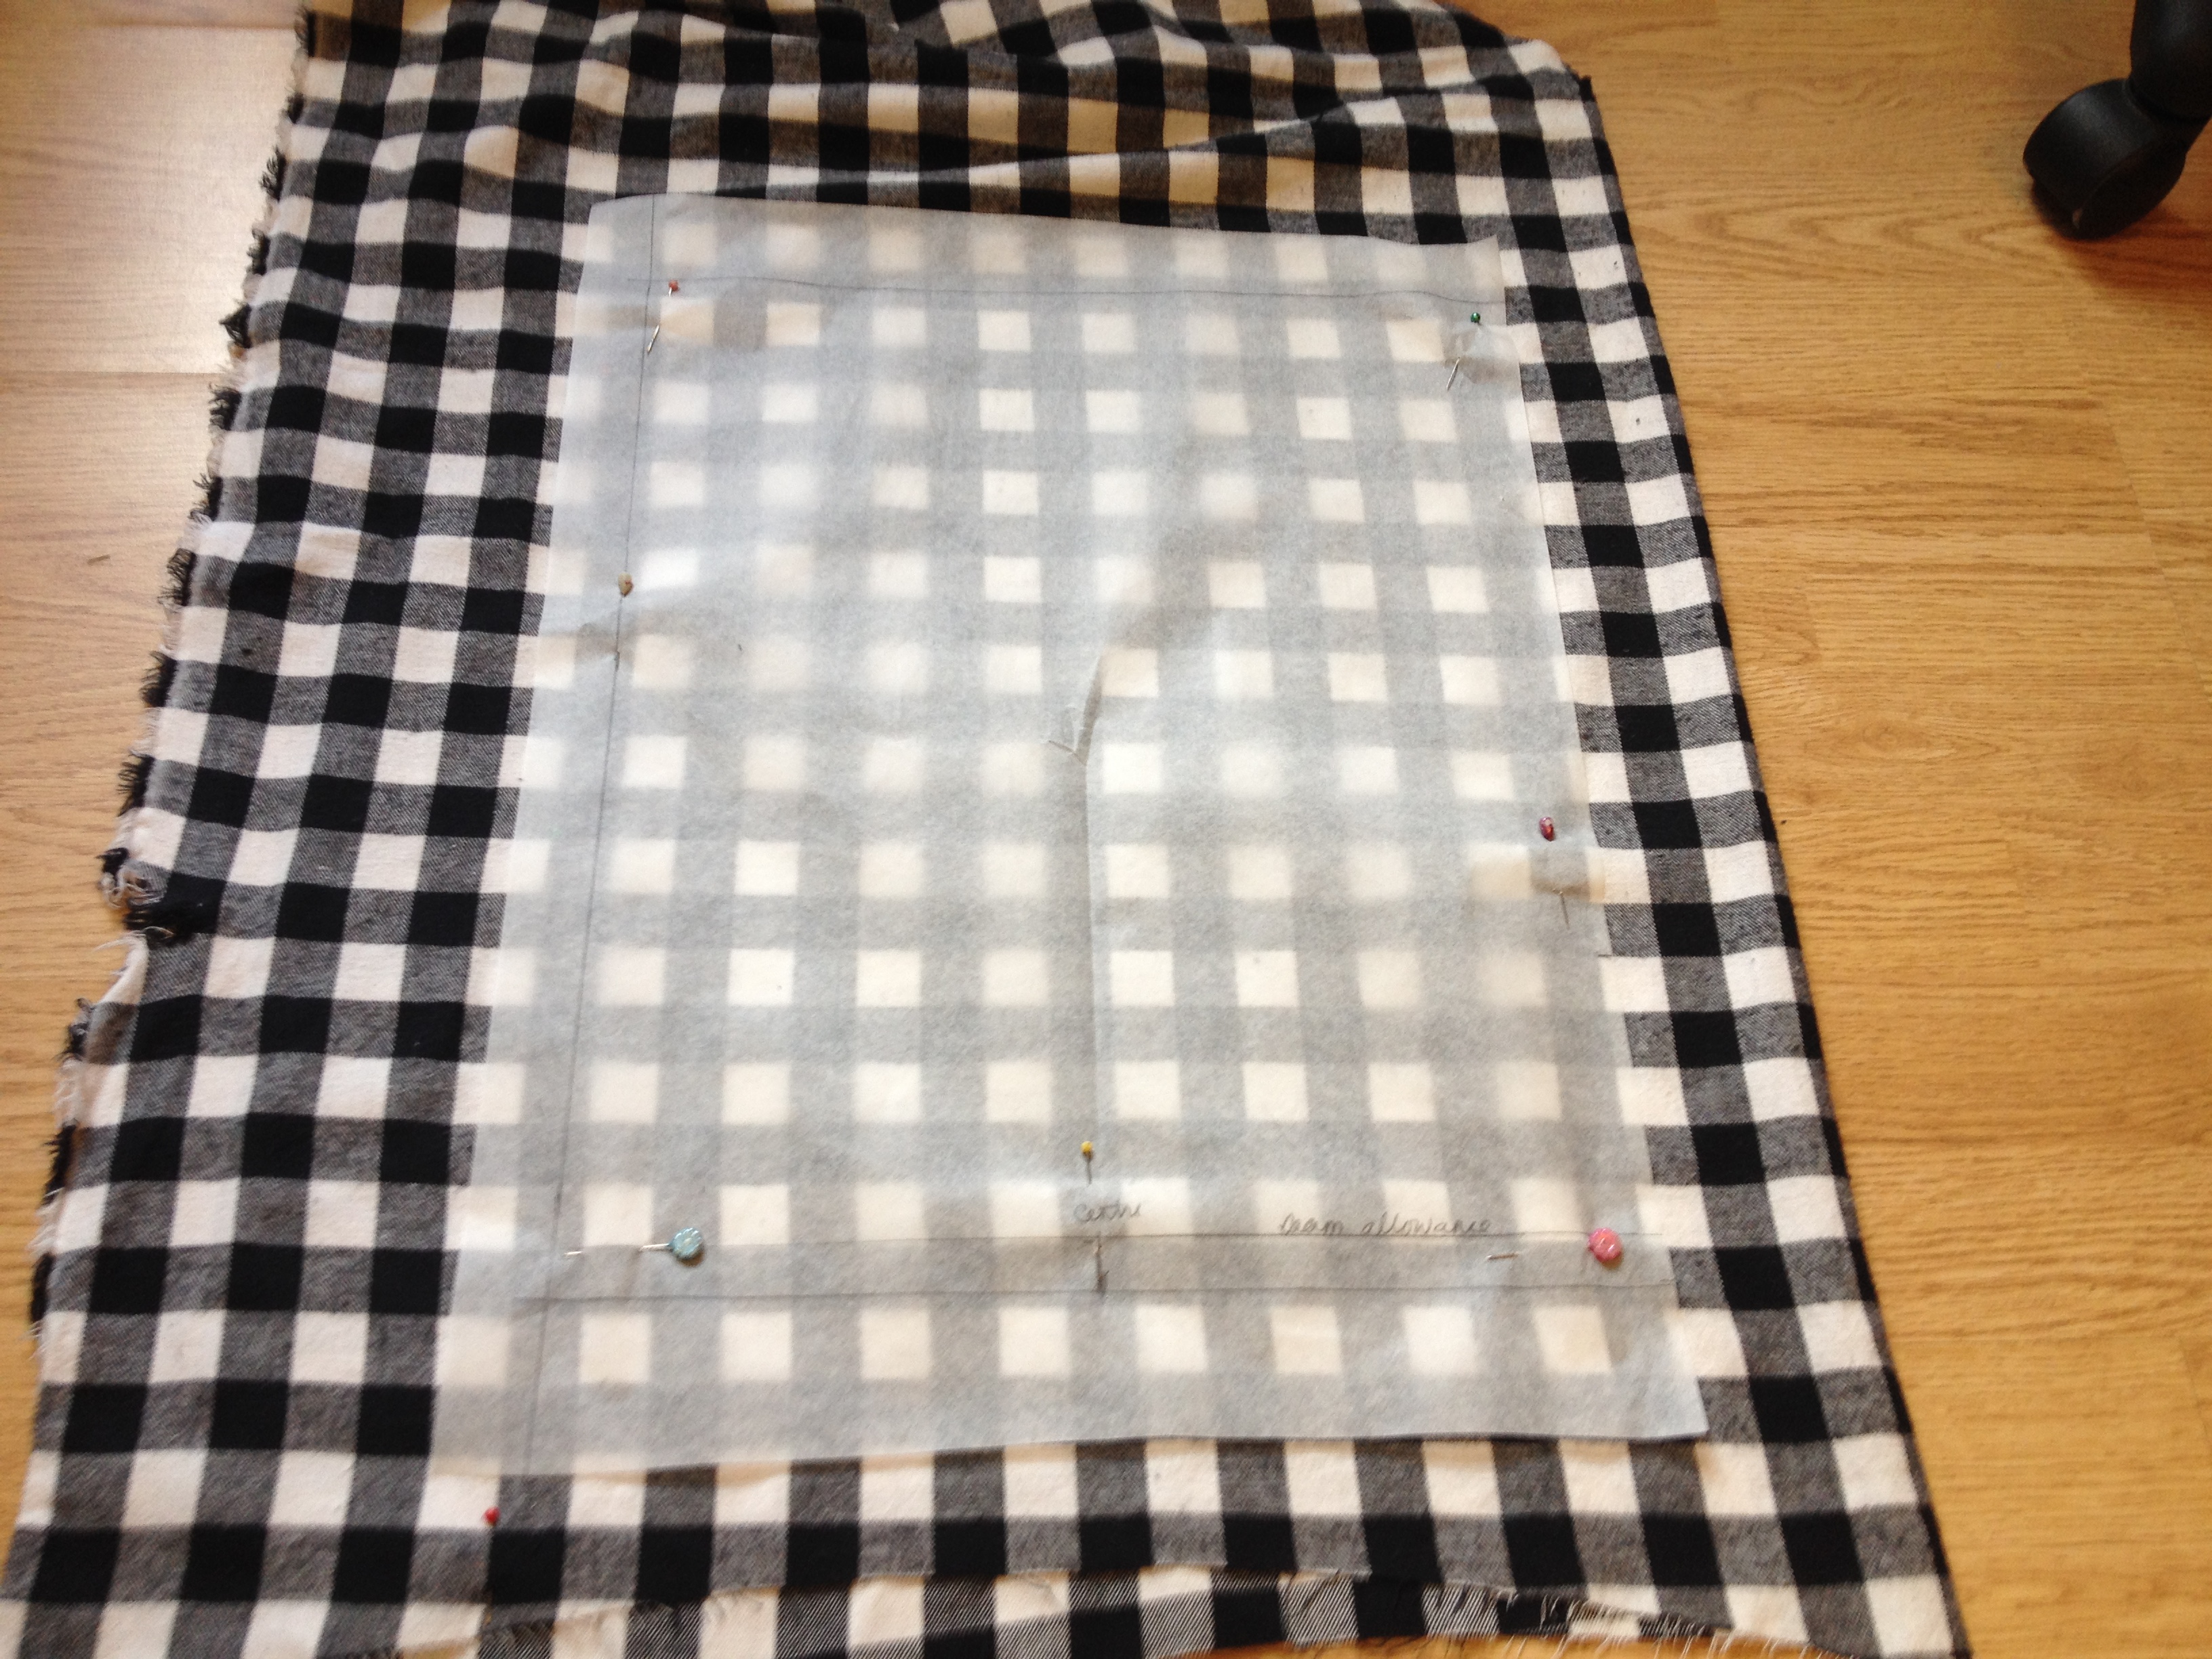
Once I had everything drafted, I cut. If you are working with a pattern (ie. plaid) that would look really weird if not placed right, you can mark the seam allowances (5/8 of an inch) and the centre to make sure it will look right. If you are working with plaid or stripes, I reccommend cutting each piece separately to make sure everything stays straight. Otherwise, fold your fabric in half, matching up the manufacturer’s straight edge, pin and cut! You need two retangles of your outside fabric, two of the inside fabric, and two of interfacing.
What the heck is interfacing!!? you ask? If you’re new to sewing and the idea of going to a real, live fabric store is scary don’t worry! Interfacing is something used inside clothes to stabilize it. You shirt collars, cuffs and blazers all have interfacing. There are about a zillion types of interfacing, but don’t worry about getting the wrong one. For the purpose of this project, you can totally guess what will work by feel.
When you get to the store, ask to be shown the interfacing. You can ask for help (sewing ladies are generally very nice and eager to assist) or figure it out on your own. The one big thing to know is that there are two types of interfacing: fusible or sew-in. Both will work. Fusible basically means iron on, sew-in is not. You will know fusible because one side is slightly shiny – that’s the glue that will adhere to your fabric when ironed. The biggest thing to look for is how stiff and strong the interfacing is. You want something fairly stiff as you want your clutch to be able to hold stuff, but you can pick just how slouchy or structure, depending on your taste. I used horsehair (Yes, it is made of horse hair. Sidenote: my sewing room smelled of barn when I pressed it. It was kind of weird), only because it is what I had on hand from a blazer I never made three years ago. You might want to pick up something stronger, in a “craft weight.” As I said, anything will do really. Just feel the interfacing and decide what you like. Don’t forget the “ends” or “remnant” bin if you’re looking for a bargain. This is where fabric stores throw the little bits of fabric too small to sell on a roll and they often come discounted!
Once you’ve got your rectangles cut, you need to make two stacks of fabric. This is very important to get right or you might have interfacing on the outside of the clutch, or accidentally have the wrong side facing out! Starting at the bottom, place your fabric like this: Outside fabric, right side UP; inside fabric; right side DOWN, interfacing (if you are using fusible, you want the glue side down. Take a second to pin the interfacing to the fabric and iron it on. Once you’ve ironed it, there’s no going back, so make sure it’s straight! You should have two identical piles. I flipped them over to see the gingham on top (so I could make sure my lines were centered), but you don’t have to.
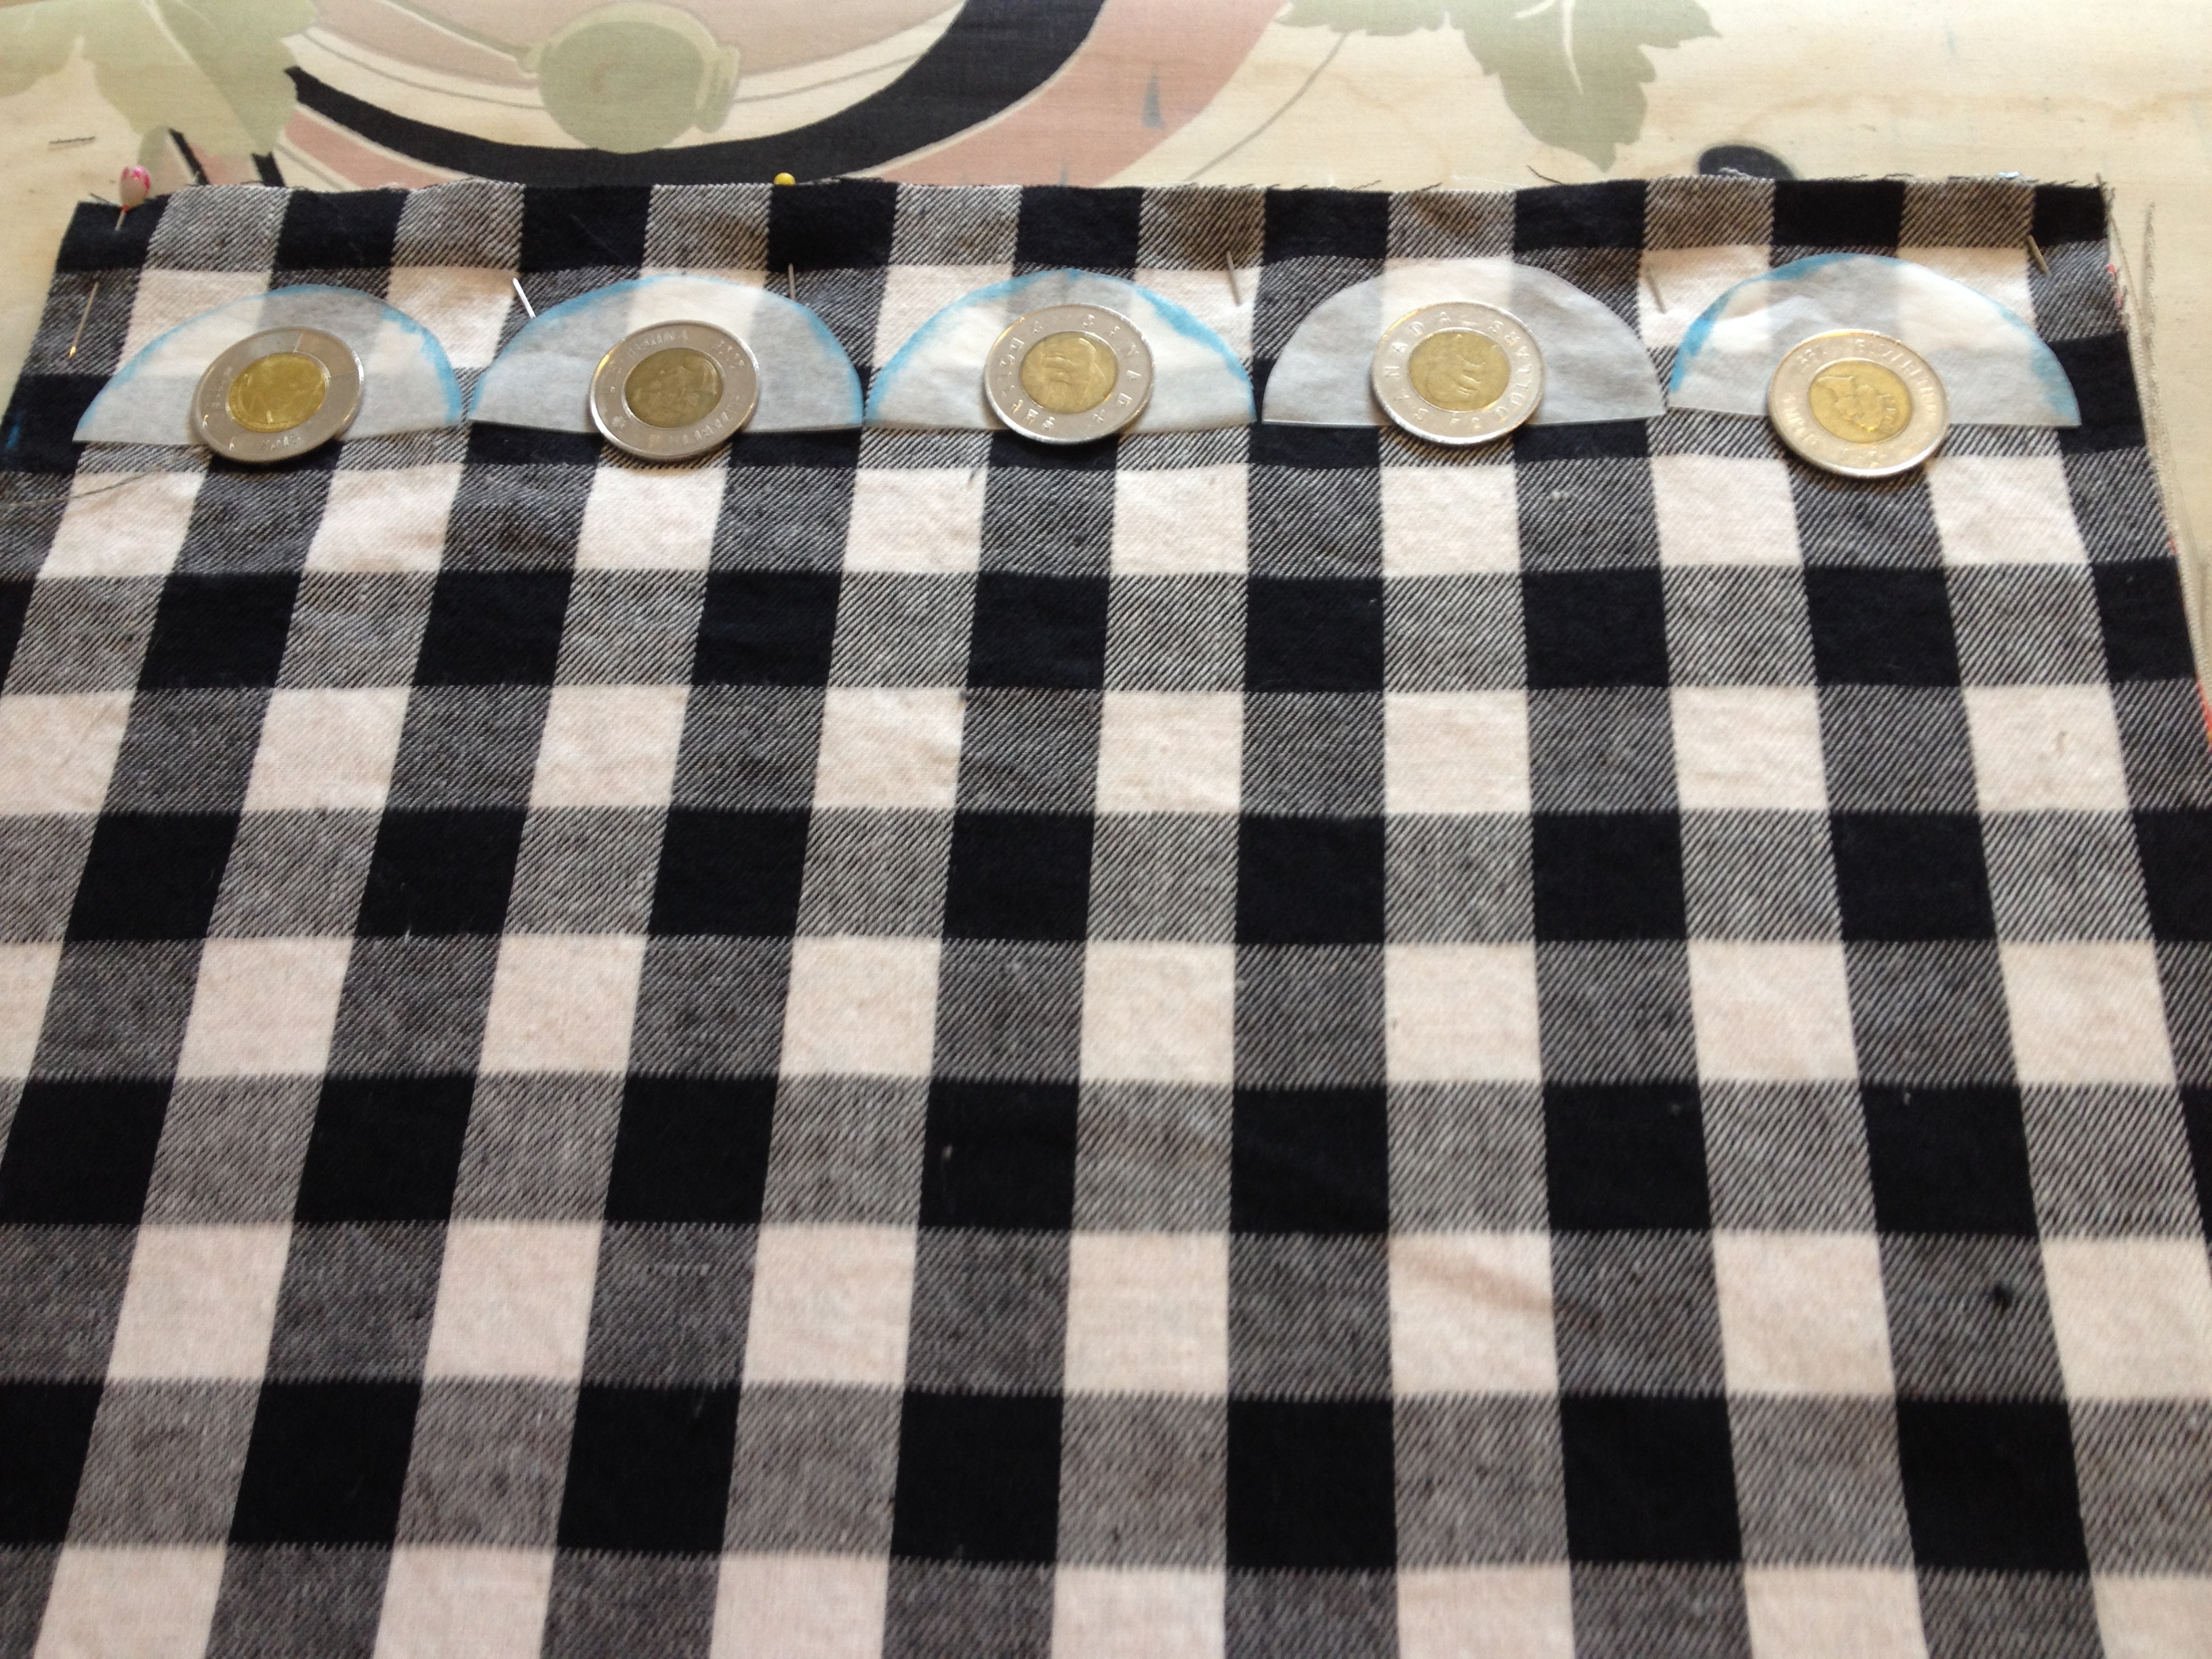
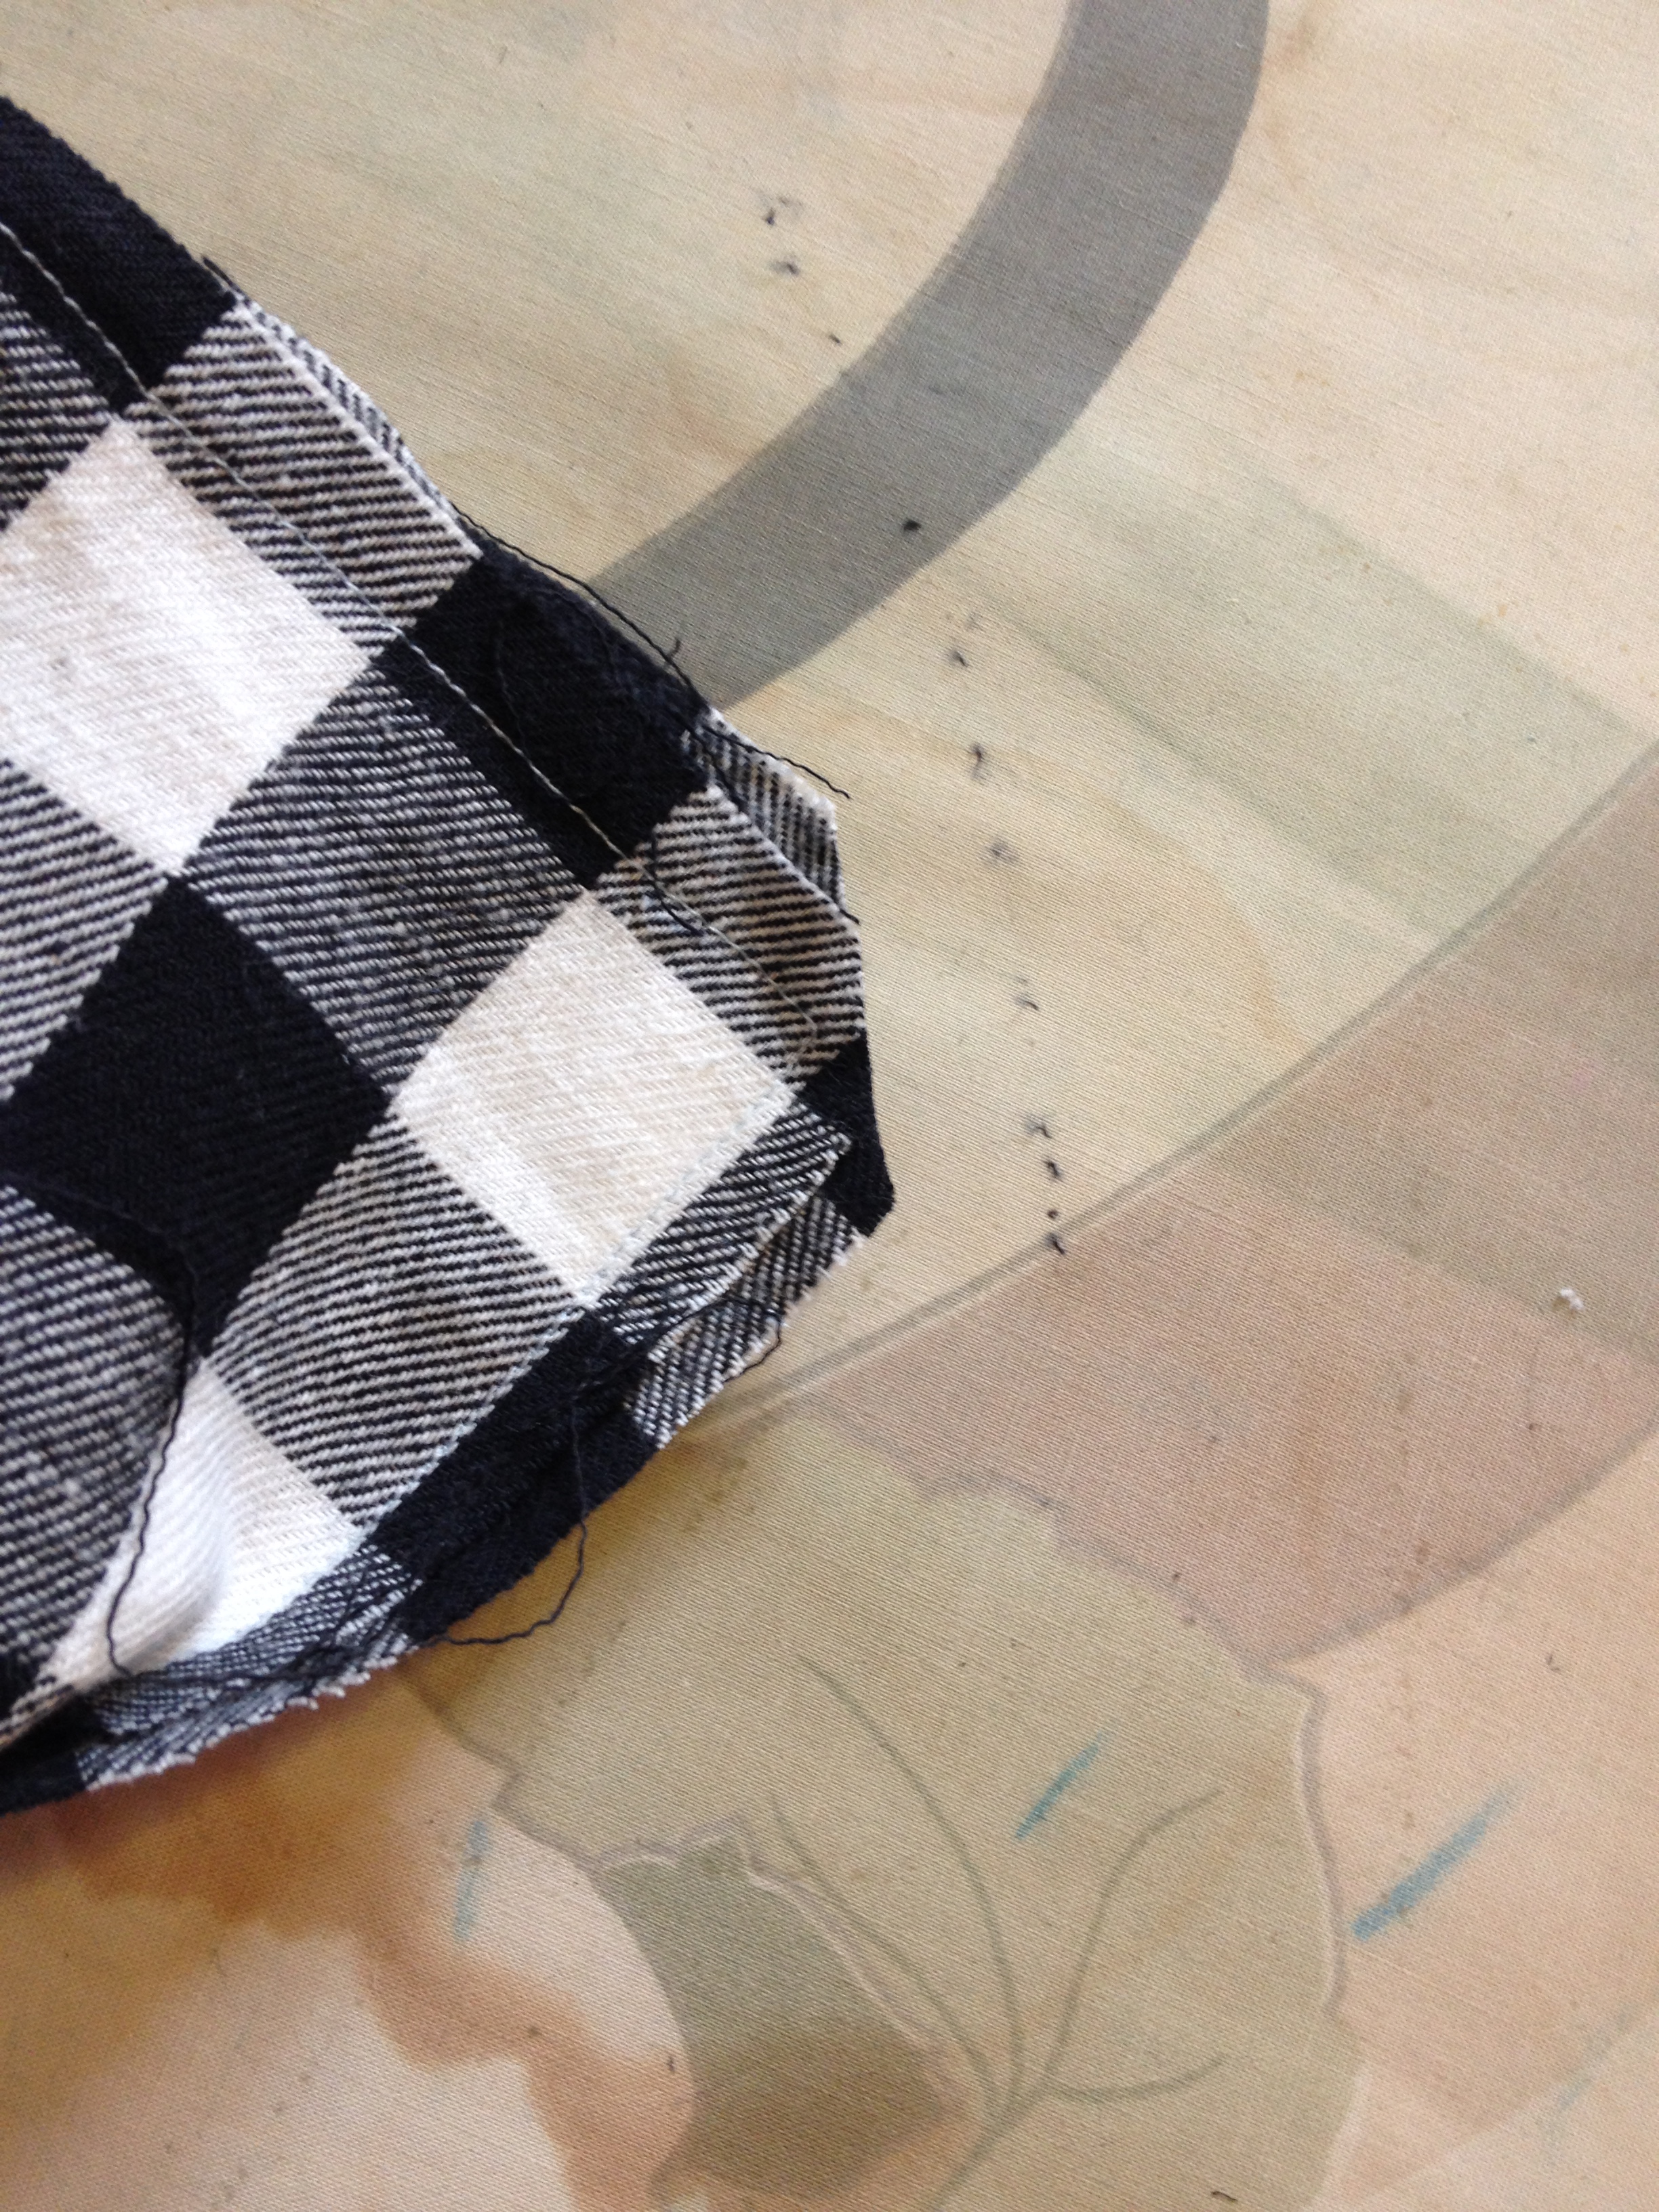
At this point, you will be marking the scallops. You will place your semi-circles across the top of the fabric, starting in the centre. Don’t leave a gap between them – the very point should touch. You will have a gap of about 5/8 of an inch on each side. That is your seam allowance. Also, make sure to leave yourself about a half inch between the top edge of the fabric and the top of your scallops. I’ve seen people use washers as weights, but I couldn’t find any around the house. I used twonies, which was better than nothing, but they weren’t great. You want something heavy enough to hold the paper down.
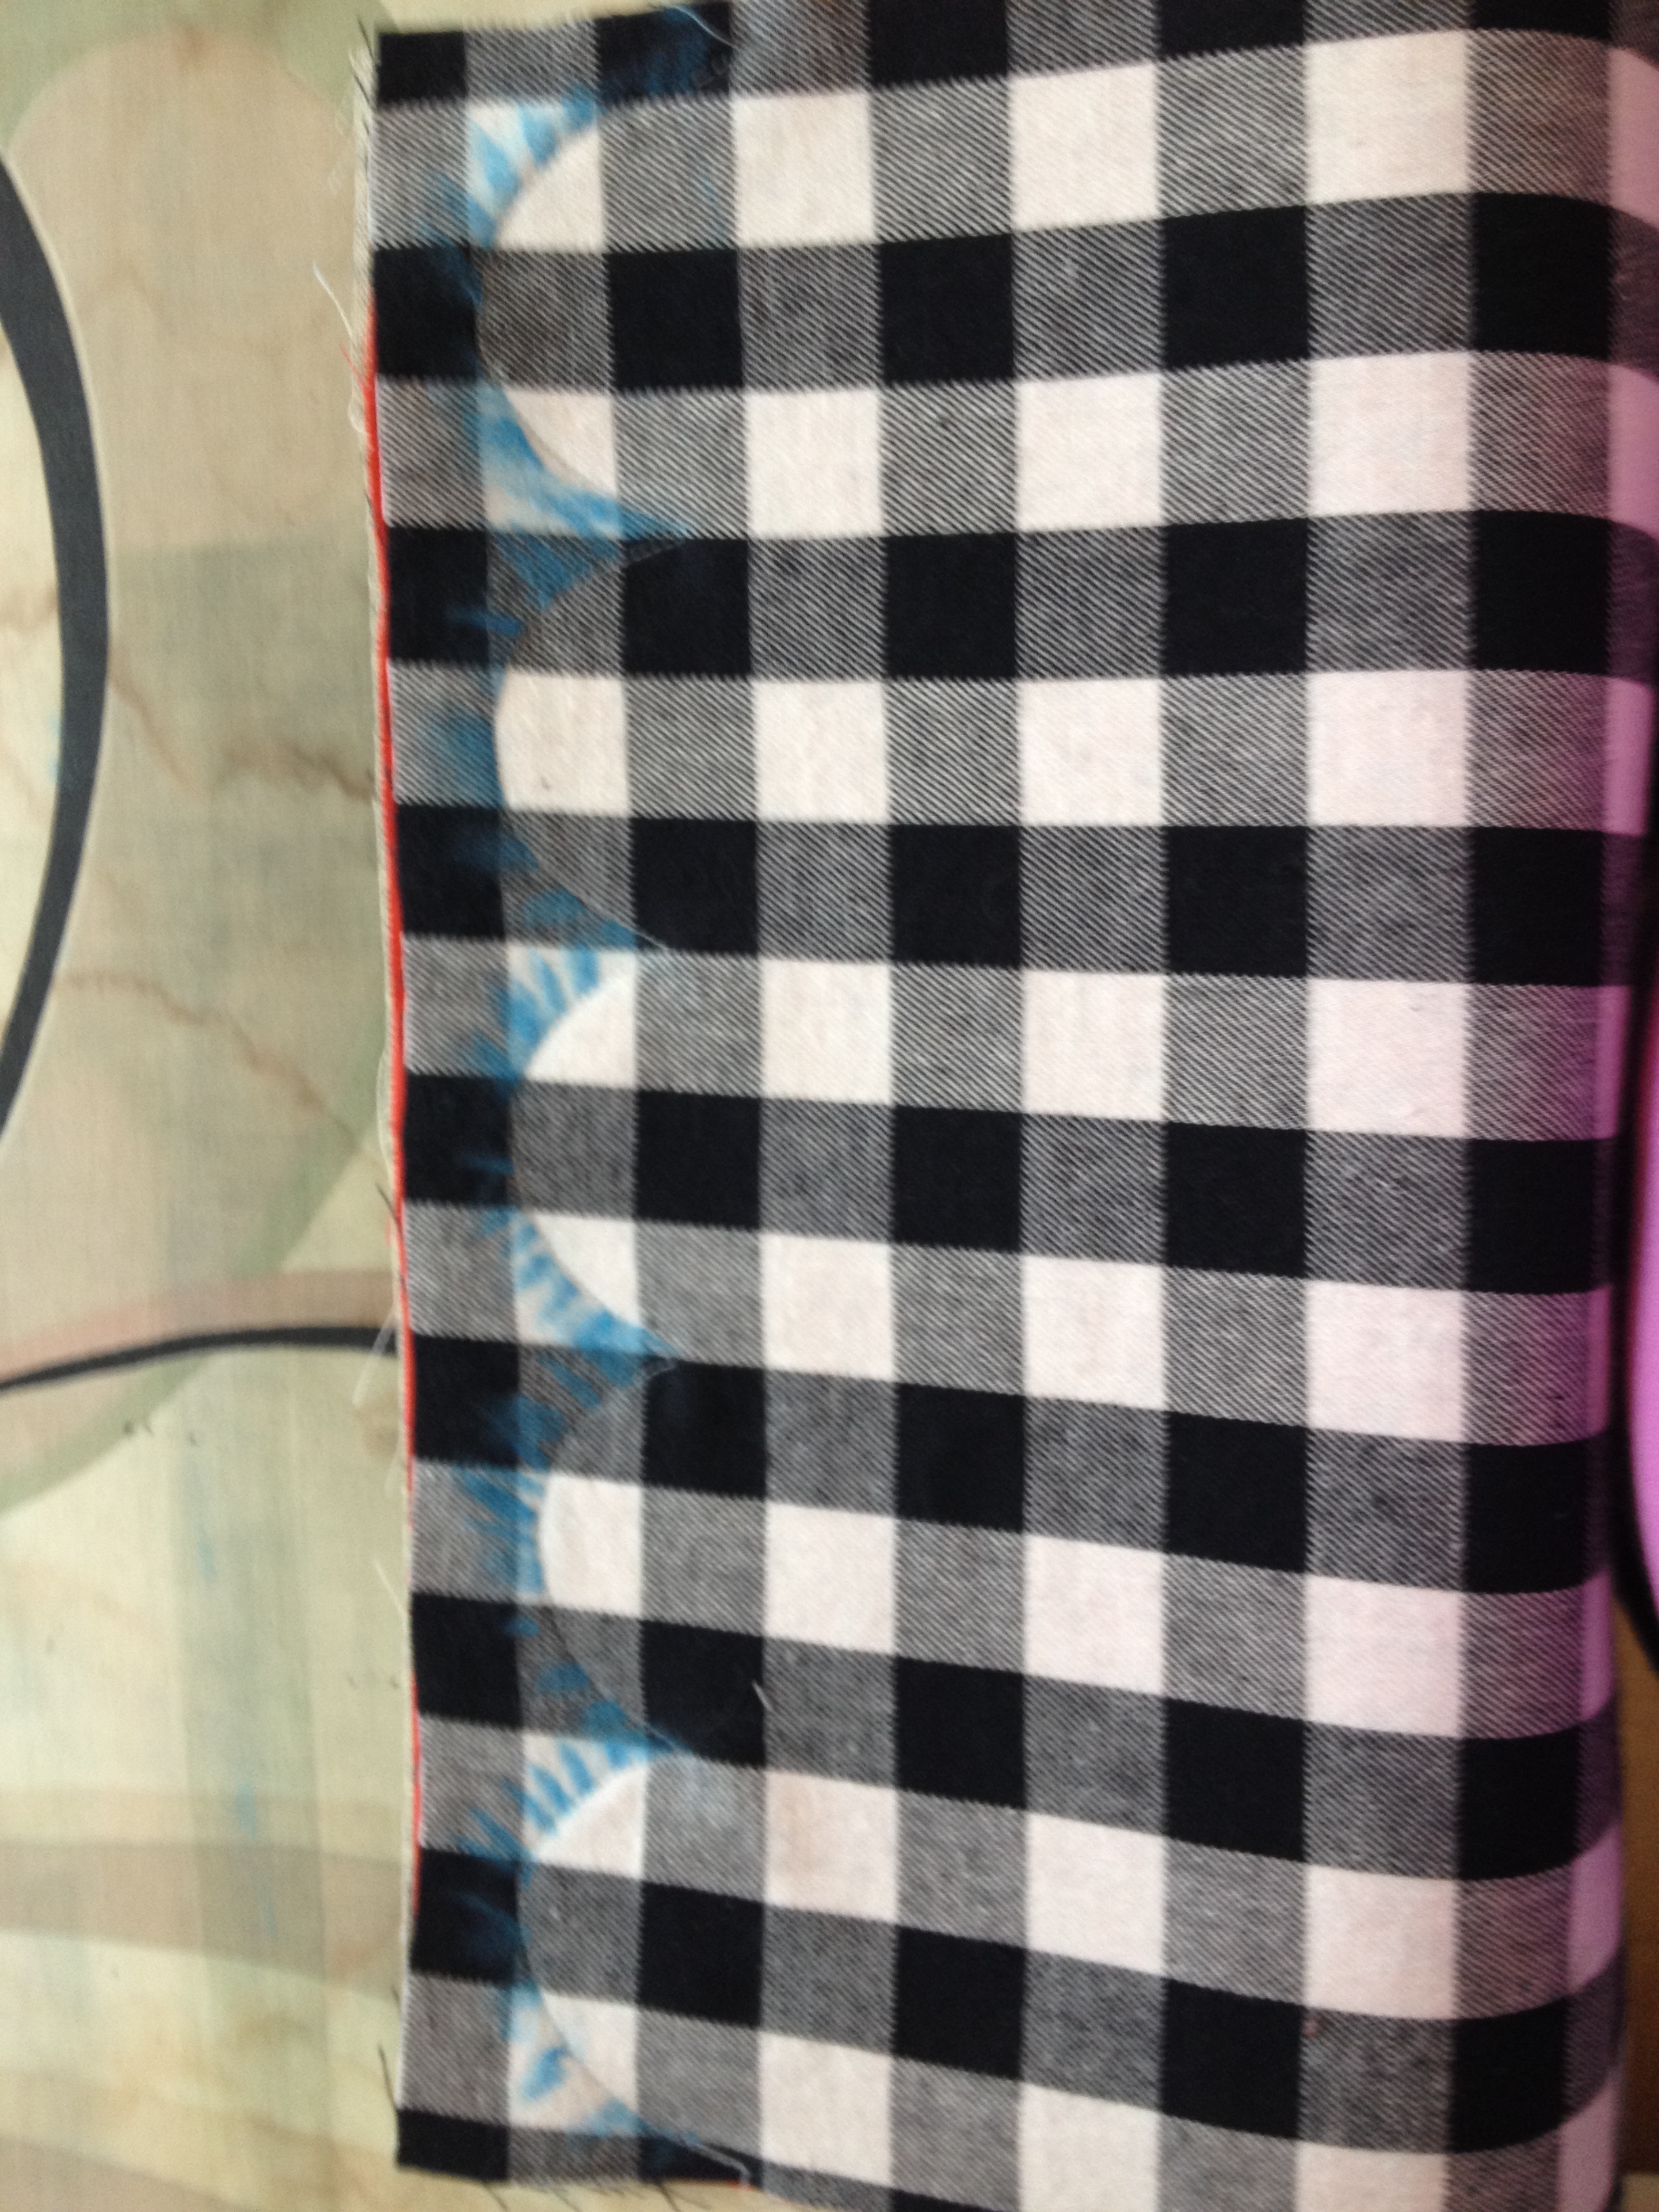
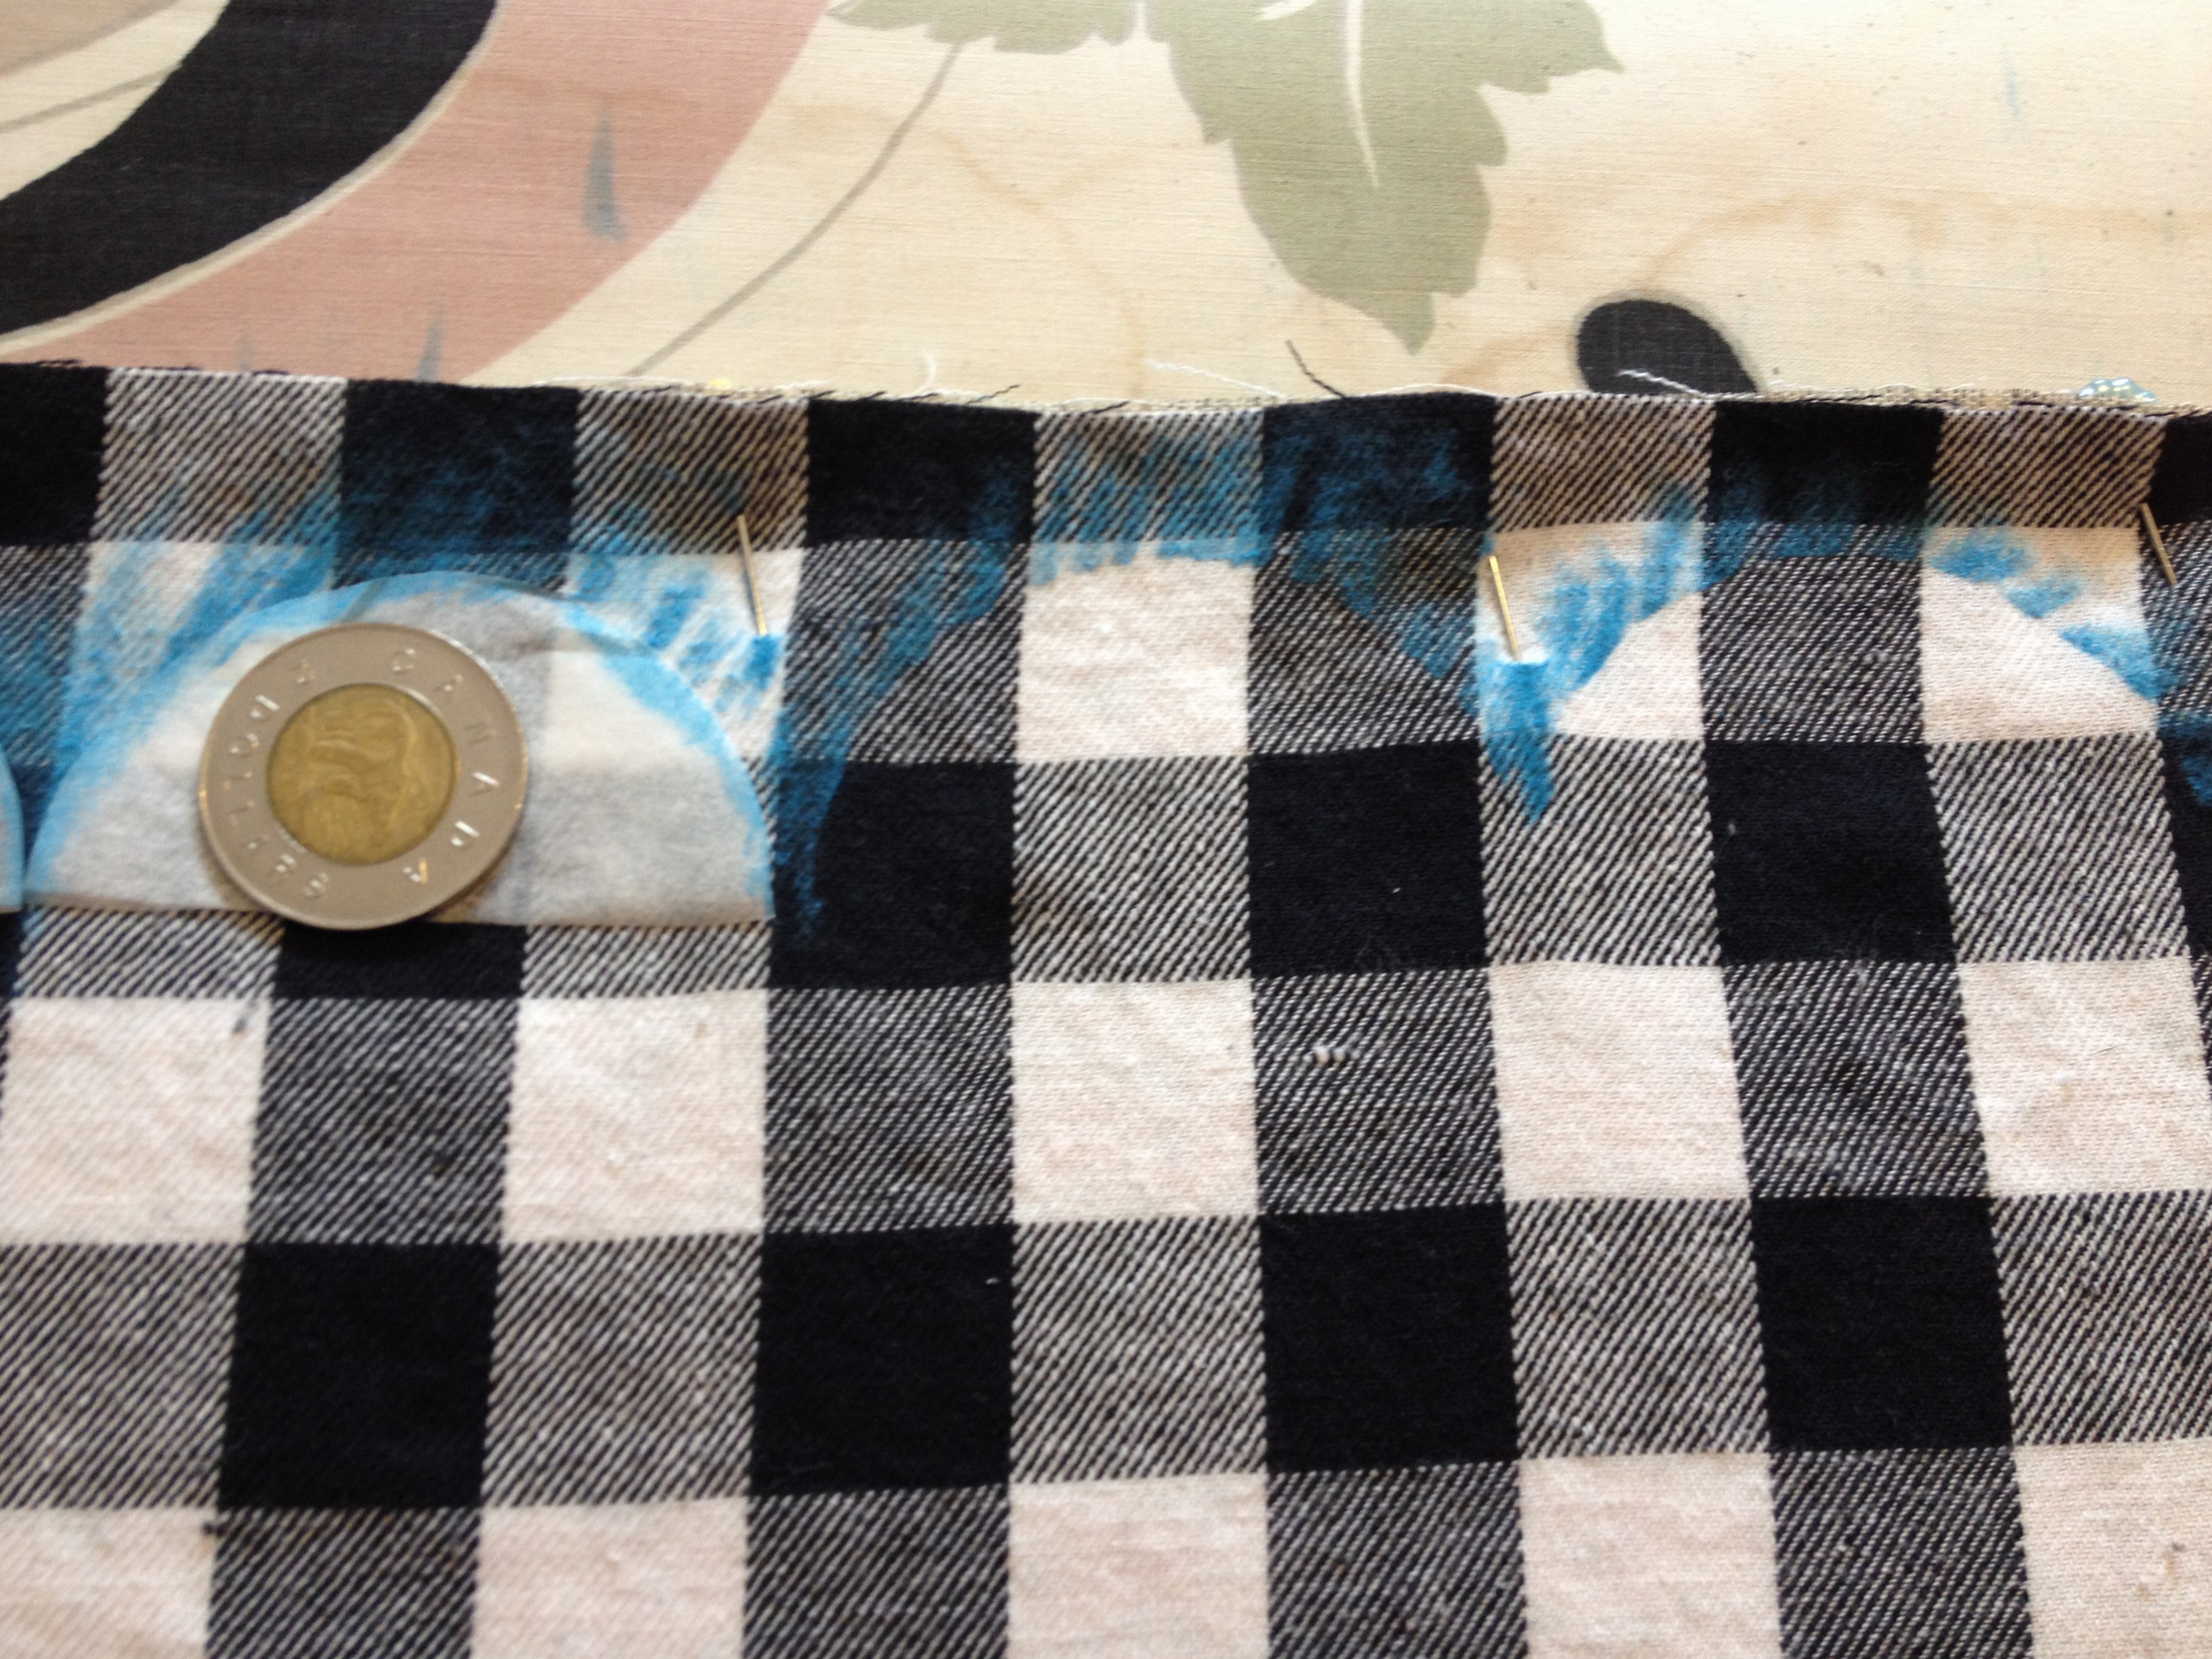 Trace around the edge of the semi-cirles and then take the paper away. You will be stitching right along this line. I found it easiest to trace lines out from the paper instead of tracing around. Whatever works well enough for you that you can see where to sew.
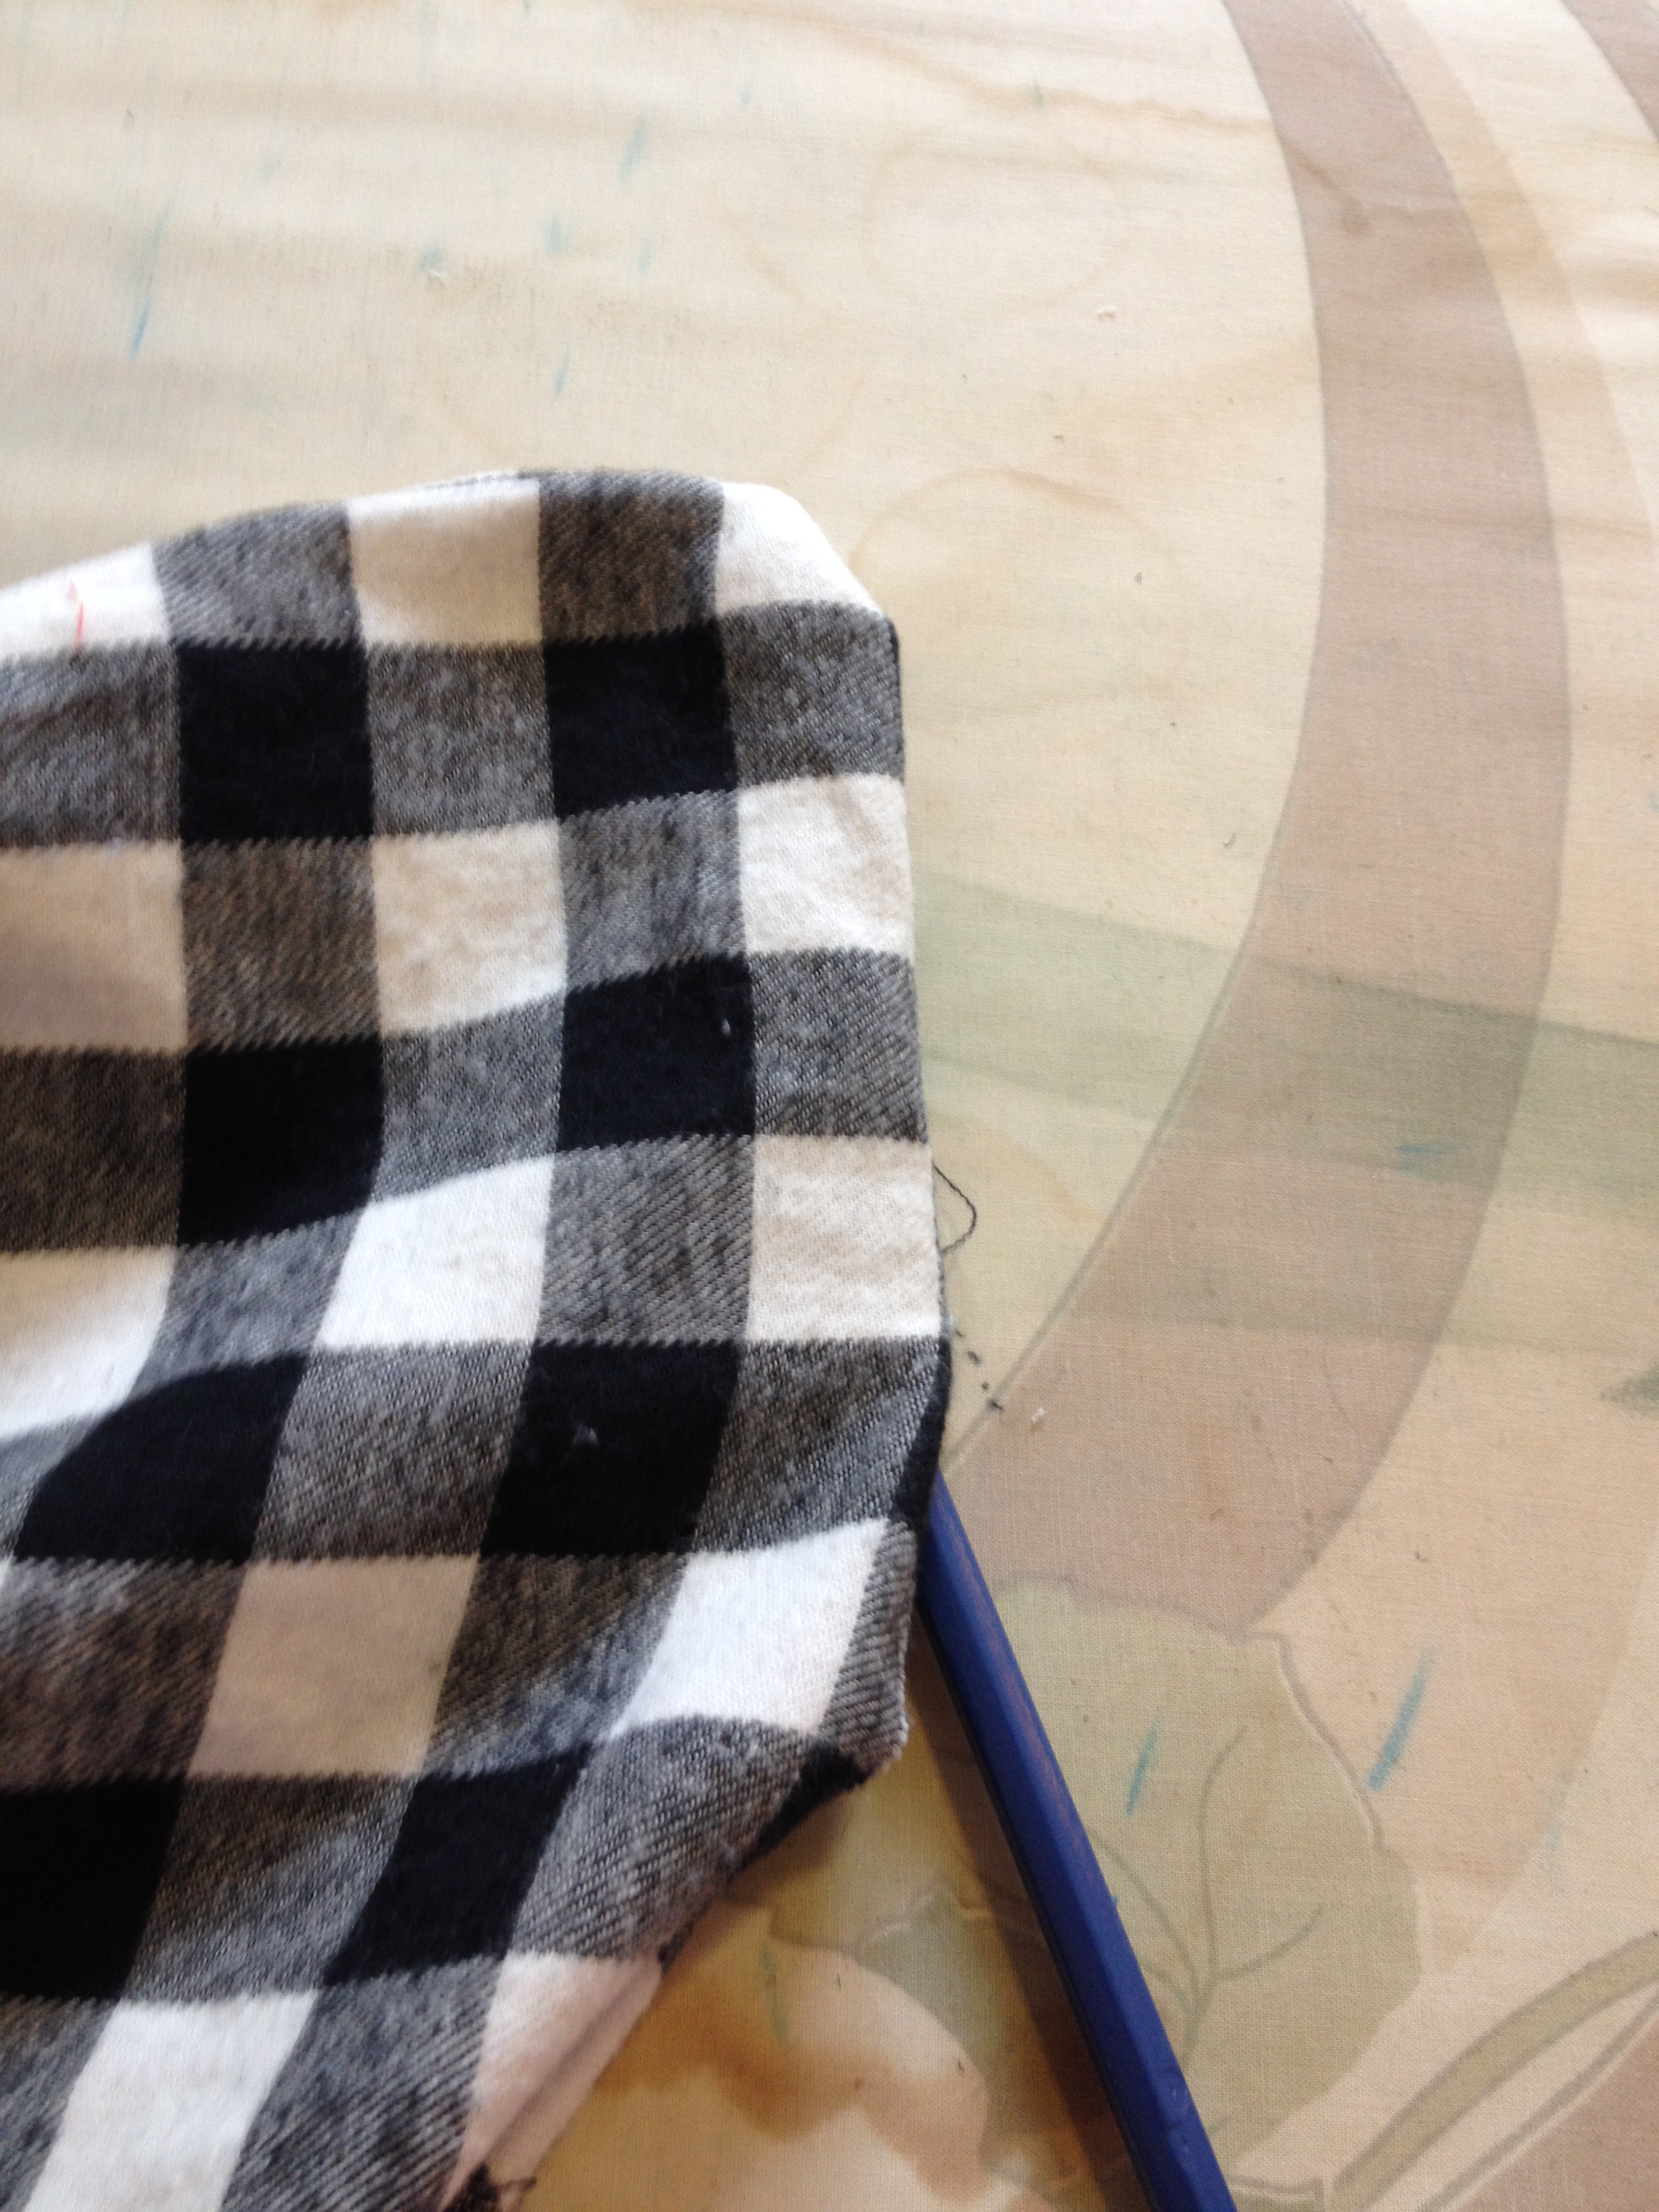
Stitch right along that line. If you are hand stitching, pay attention in the little dips of the scallops. Make sure your stitches are little and neat as these corners are the most important part to get right. If you are sewing by machine, stop at the corner with your needle still in the fabric, lift the presser foot and pivot for a nice, crisp corner.
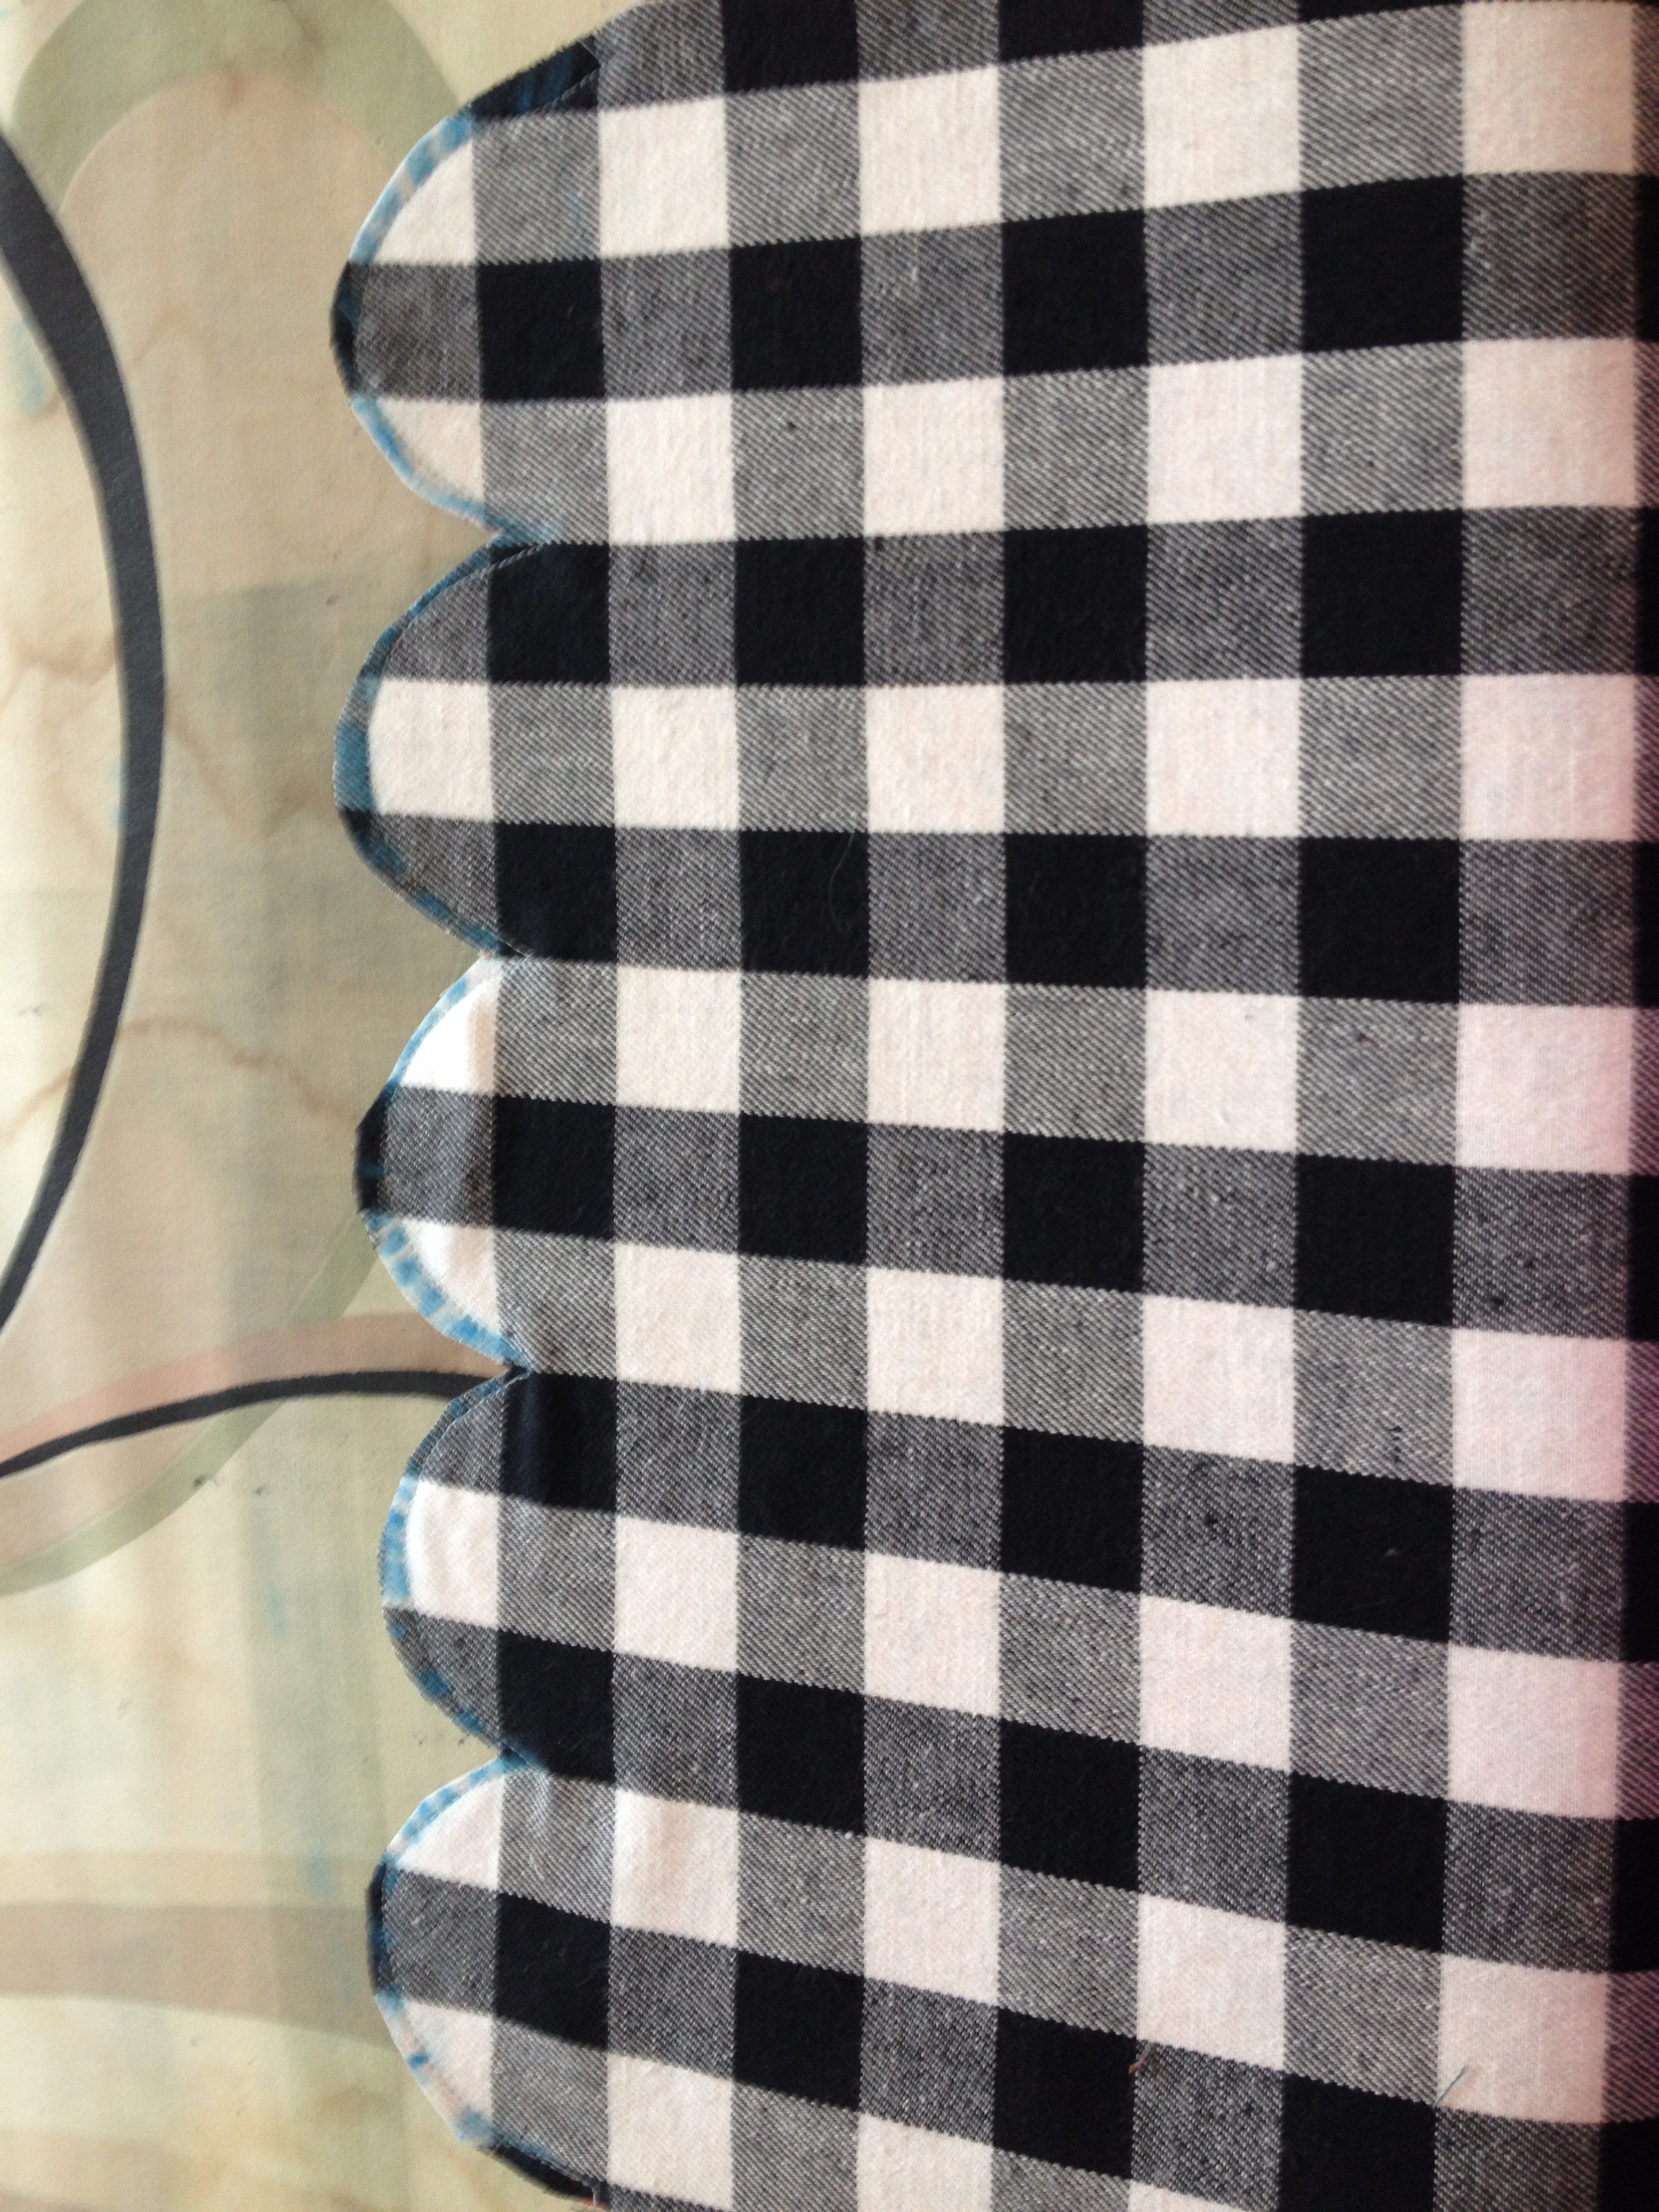
Trim exces material (leave about a quarter inch) and trim into the corners, with one verticle snip, as close as you can to the stitching without cutting the thread.

This is important to make your scallops lie flat.
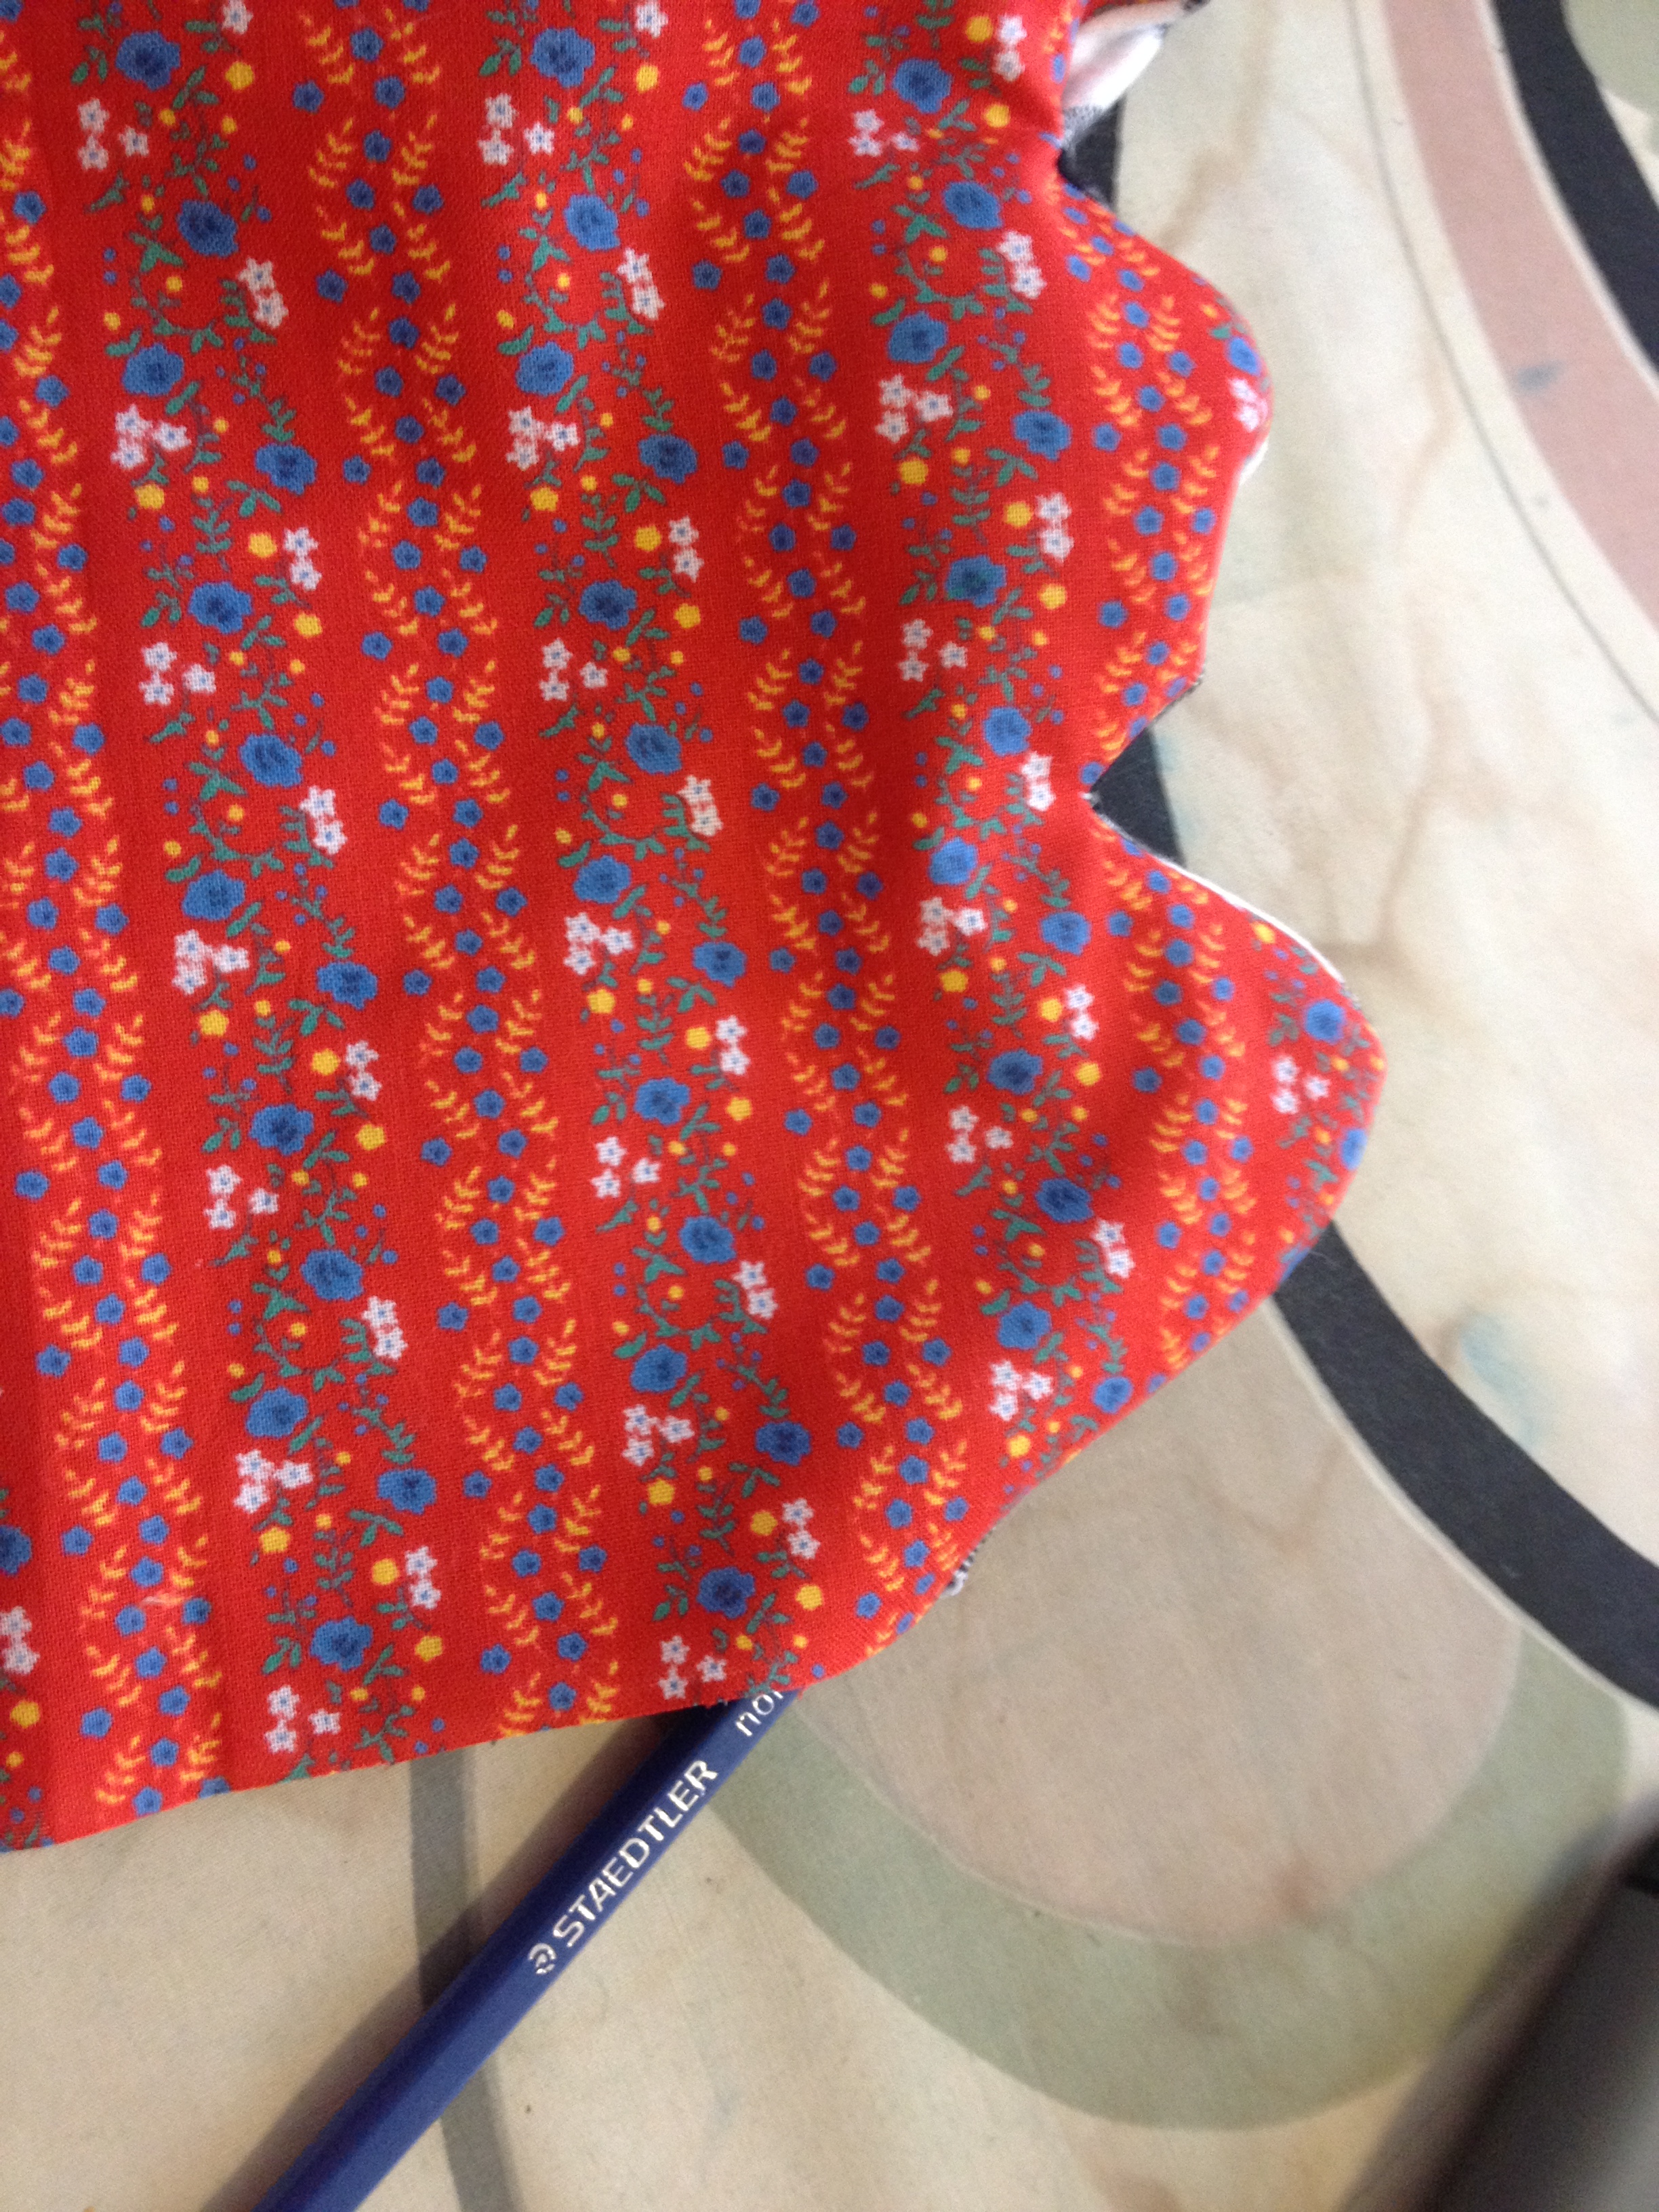
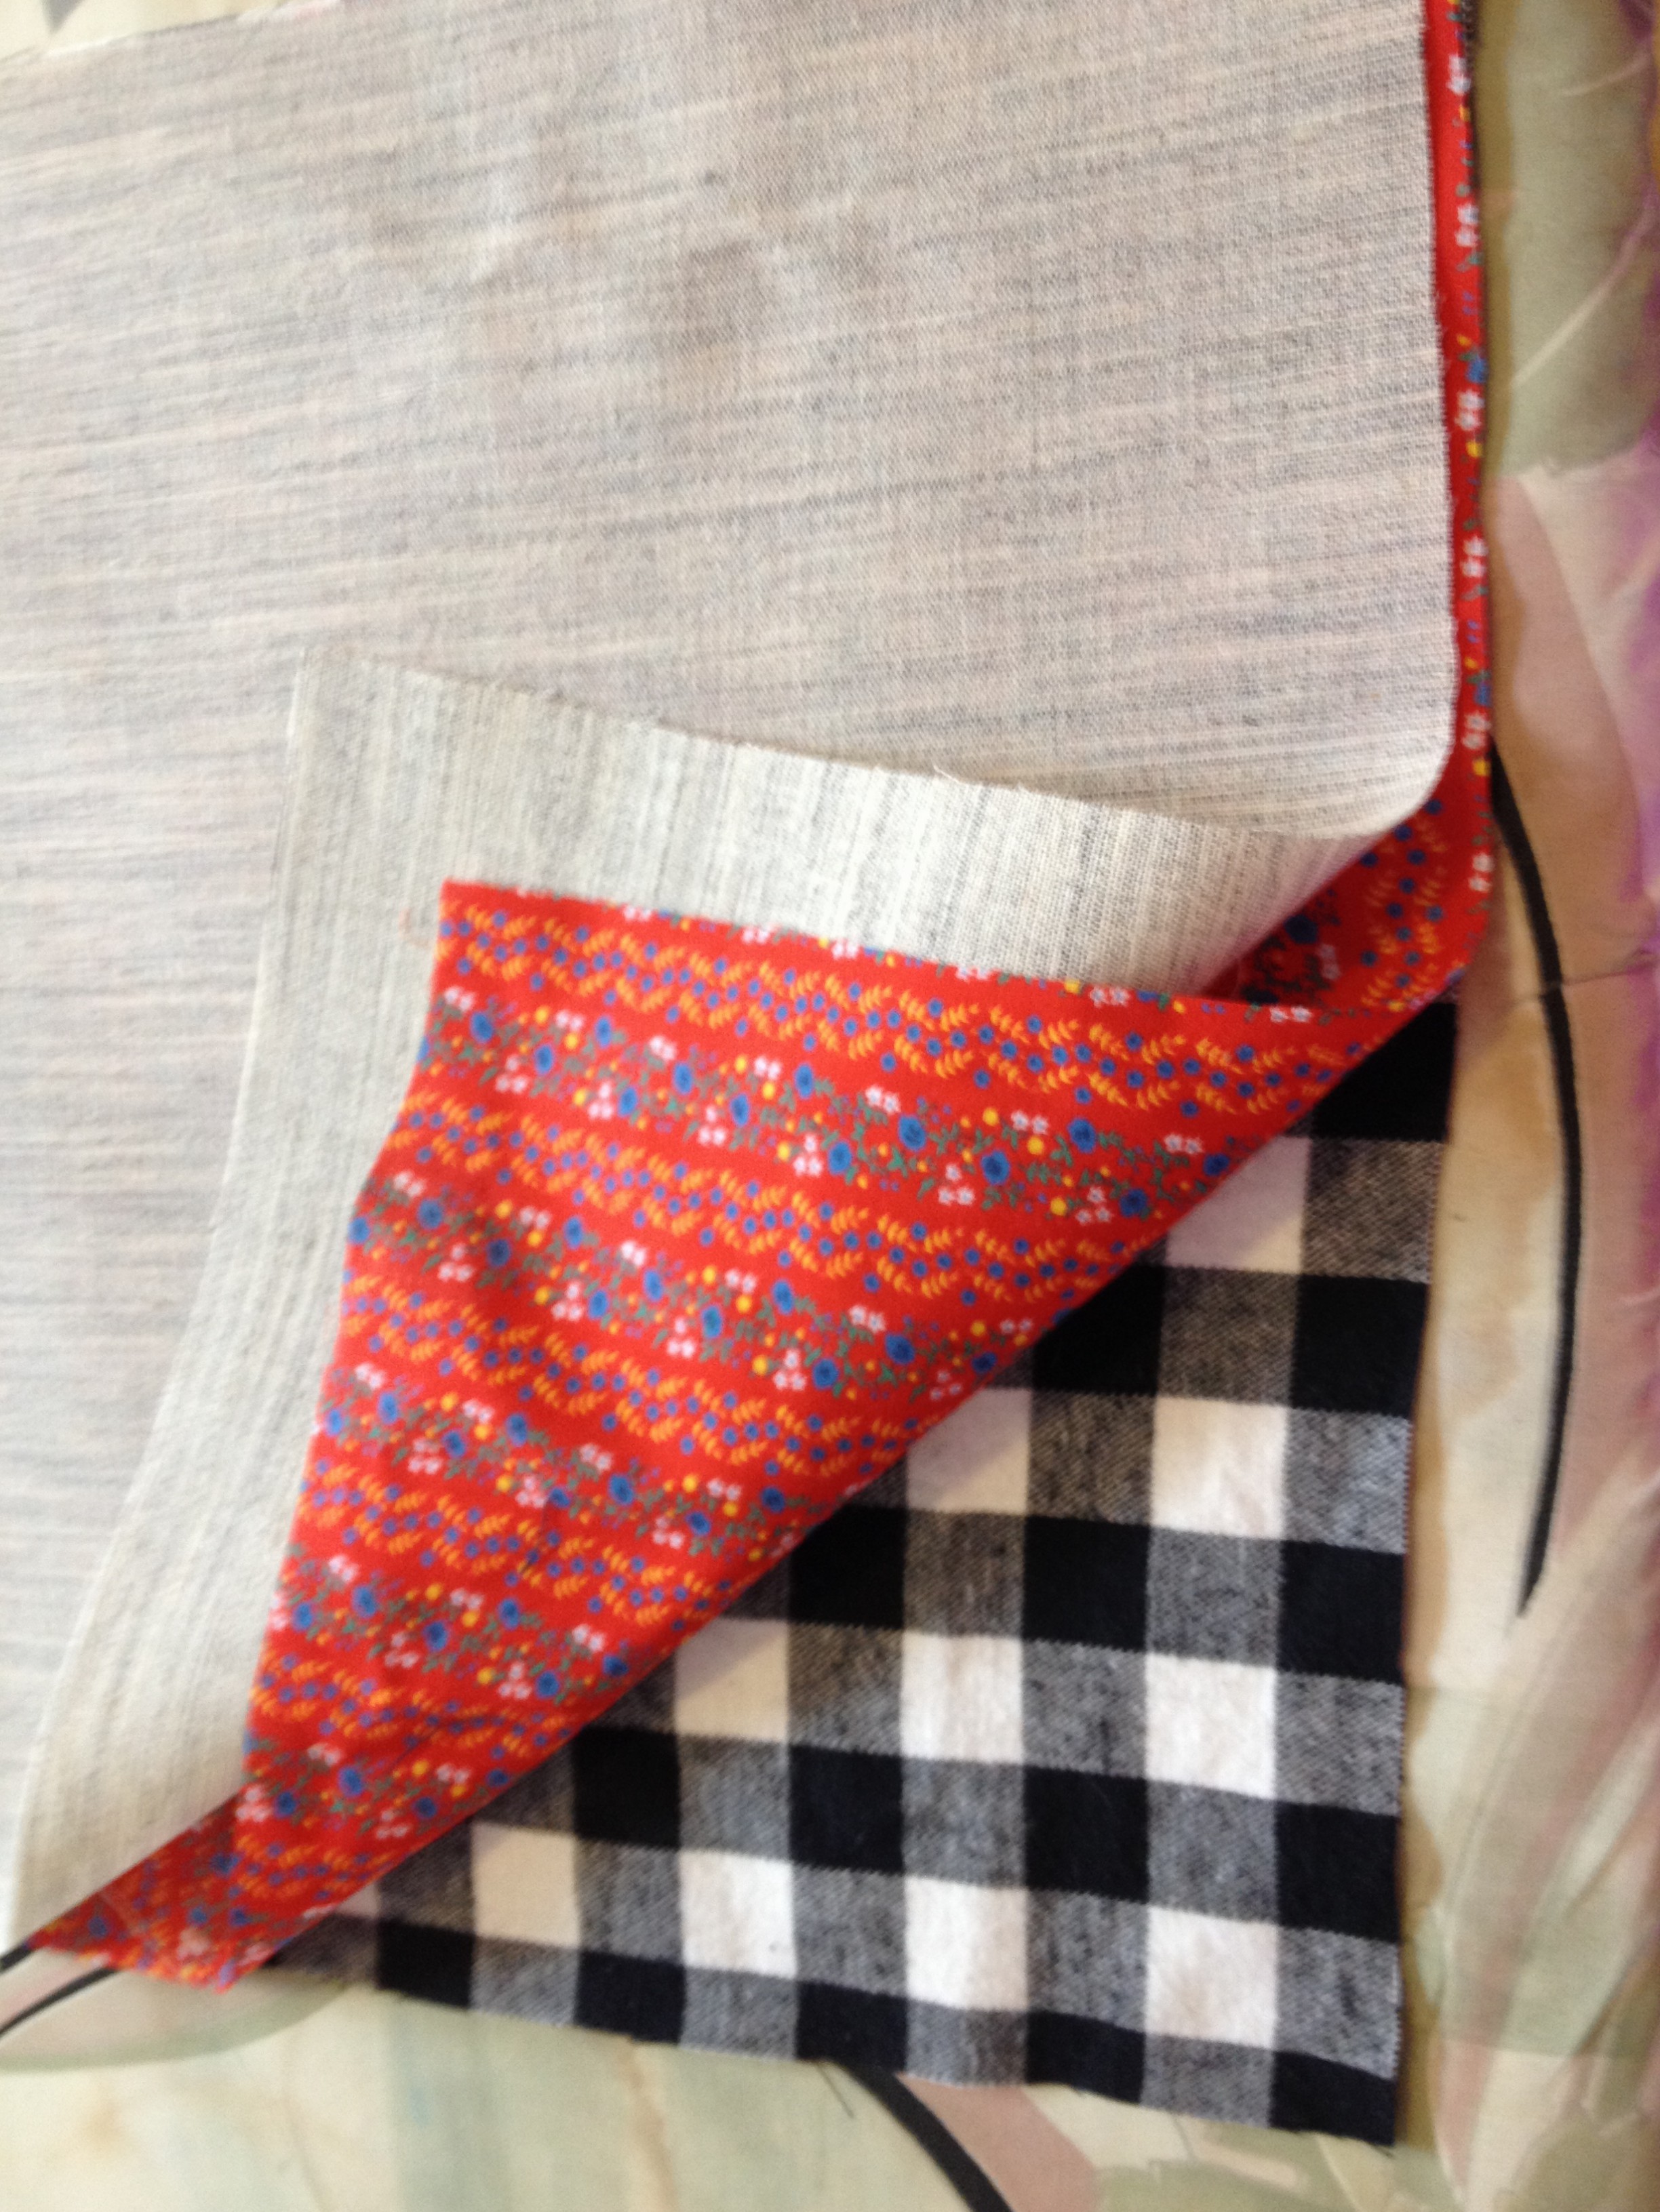
Turn inside out, using a pencil (Eraser side, obvi! You don’t want little graphite marks all over your masterpiece!) to poke out and smooth out anything hard to get at with your finger. Press! Take care that you see as little as possible of the opposite fabric on either side.
Complete the other pile of fabric in the same fashion.

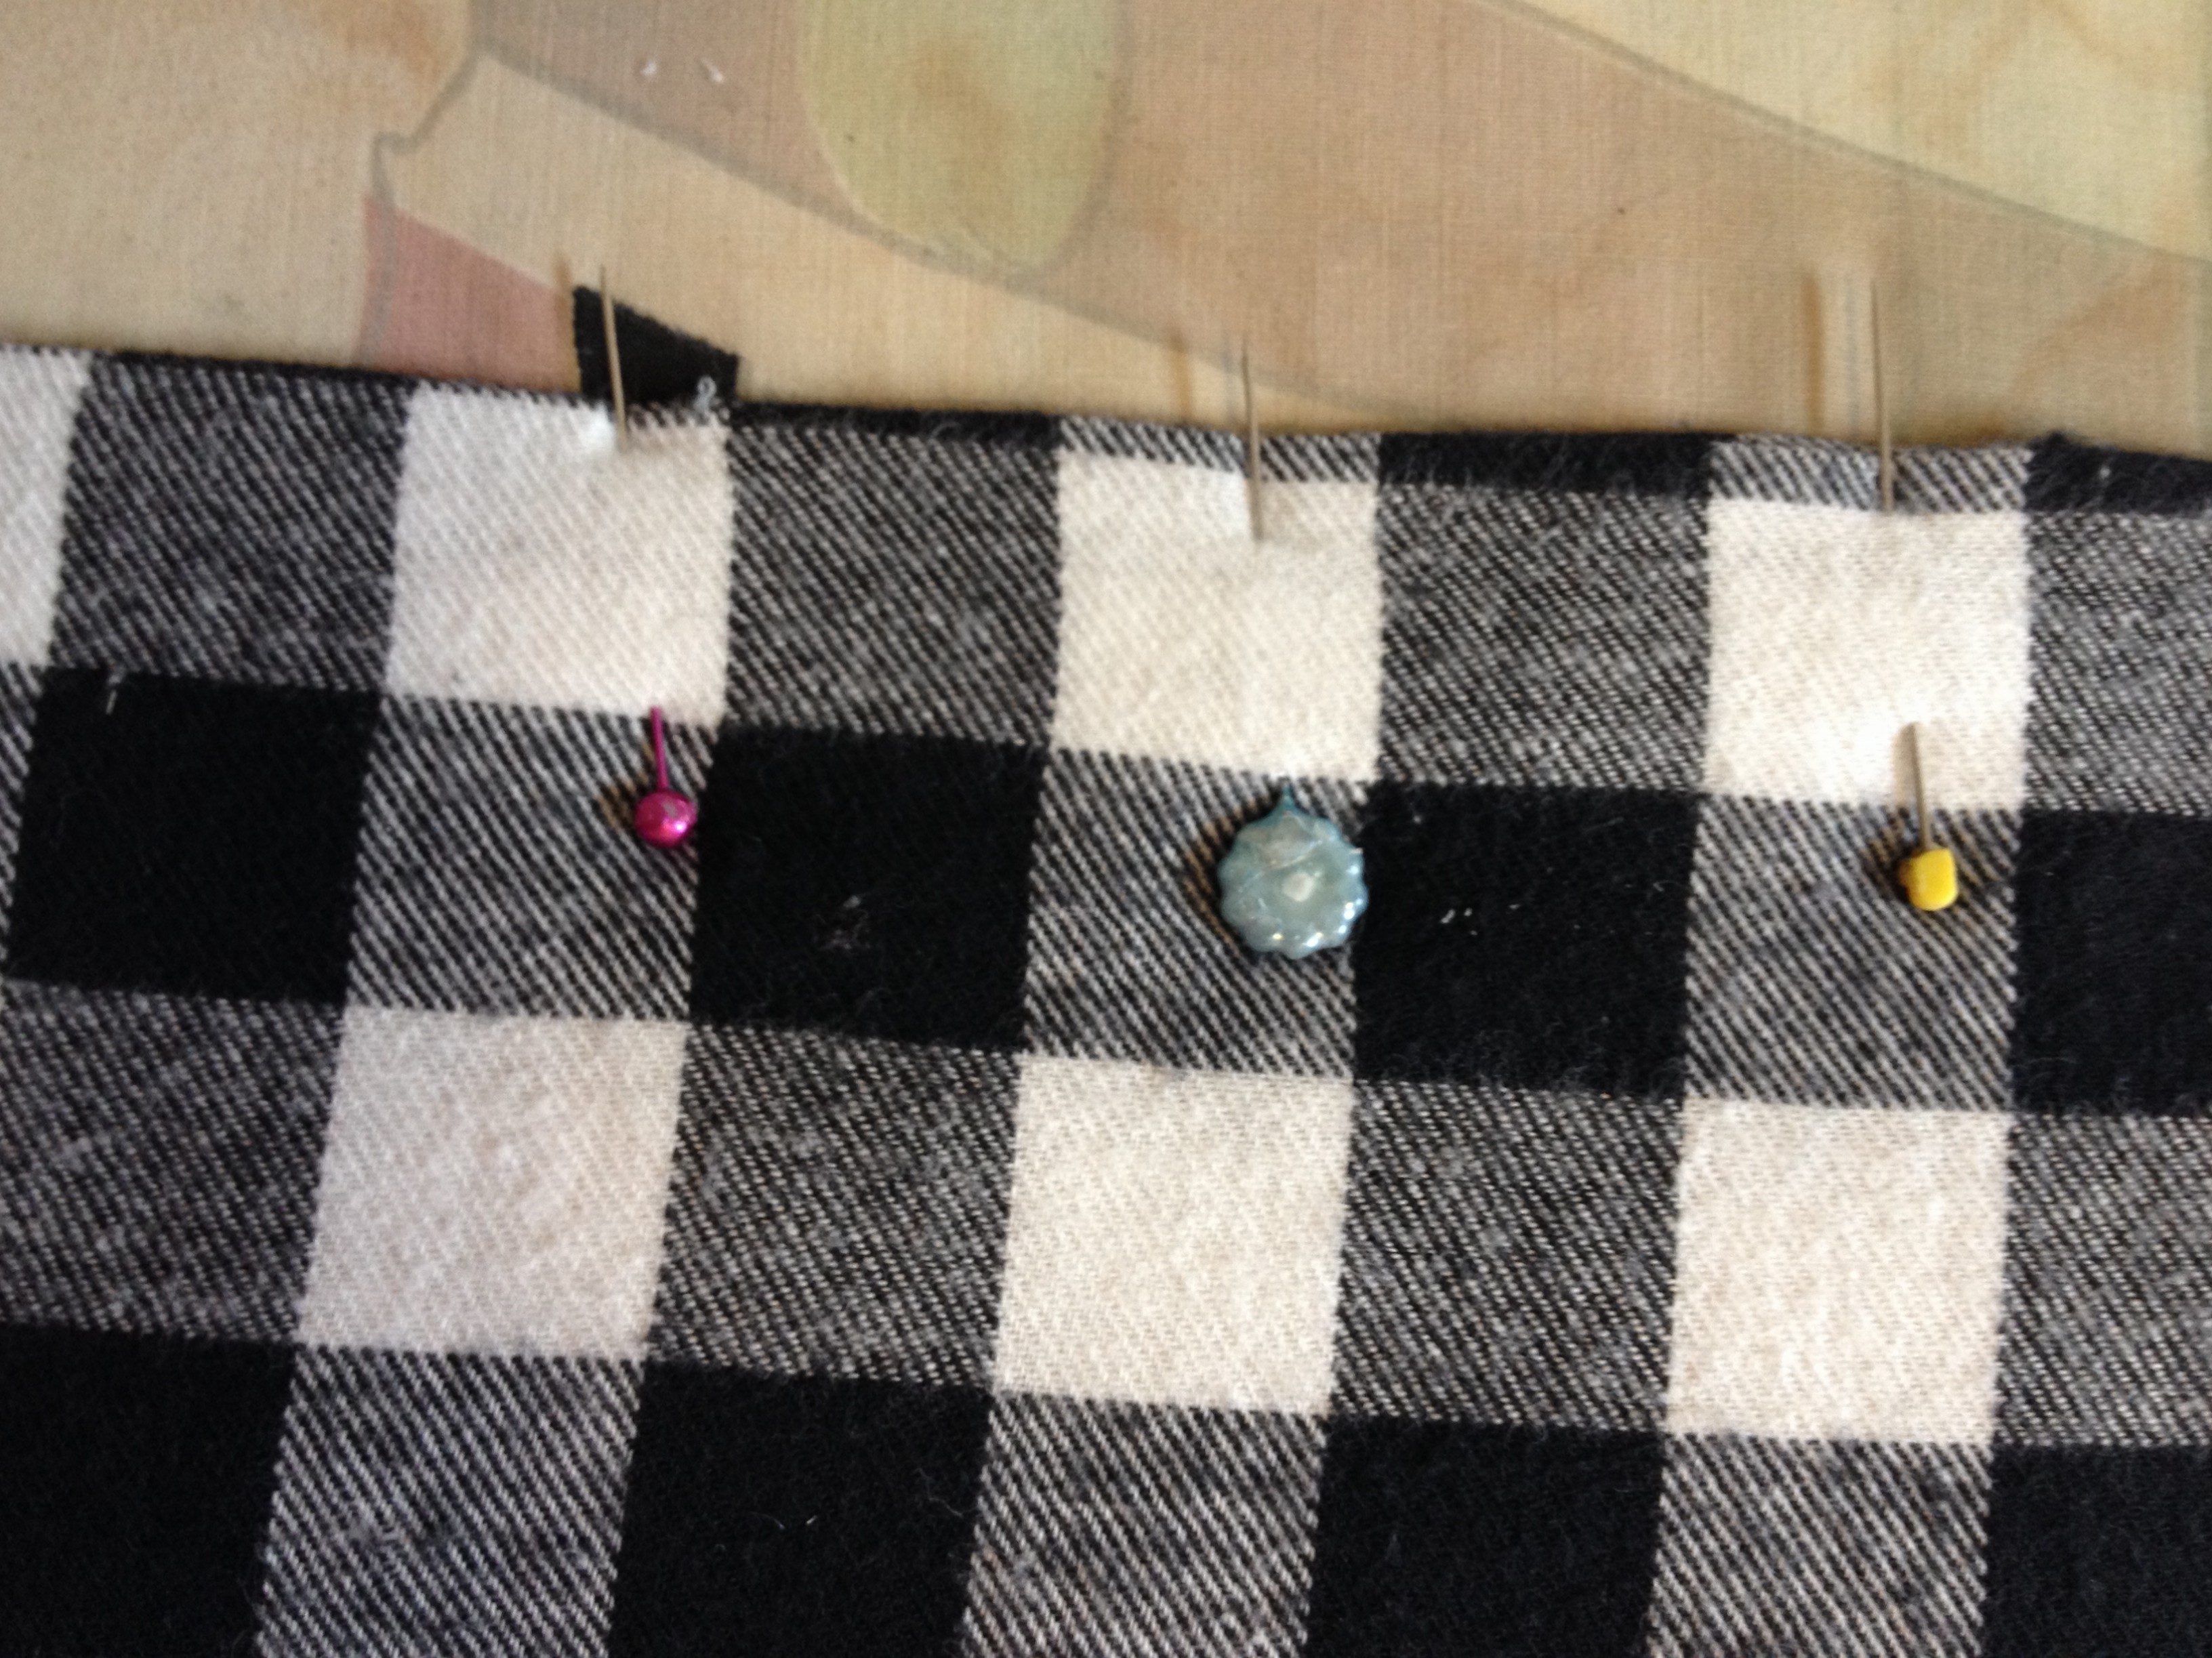
Almost done! You only have two seams left! Turn your fabric inside out again, so that you can see the seam. Open both up and lay them on top of each other. You want to have the outside fabric on one side and the inside fabric and lining on the other. The scallops will have to lie to one side ; just fold the outside fabric over. Pin together, matching edges.
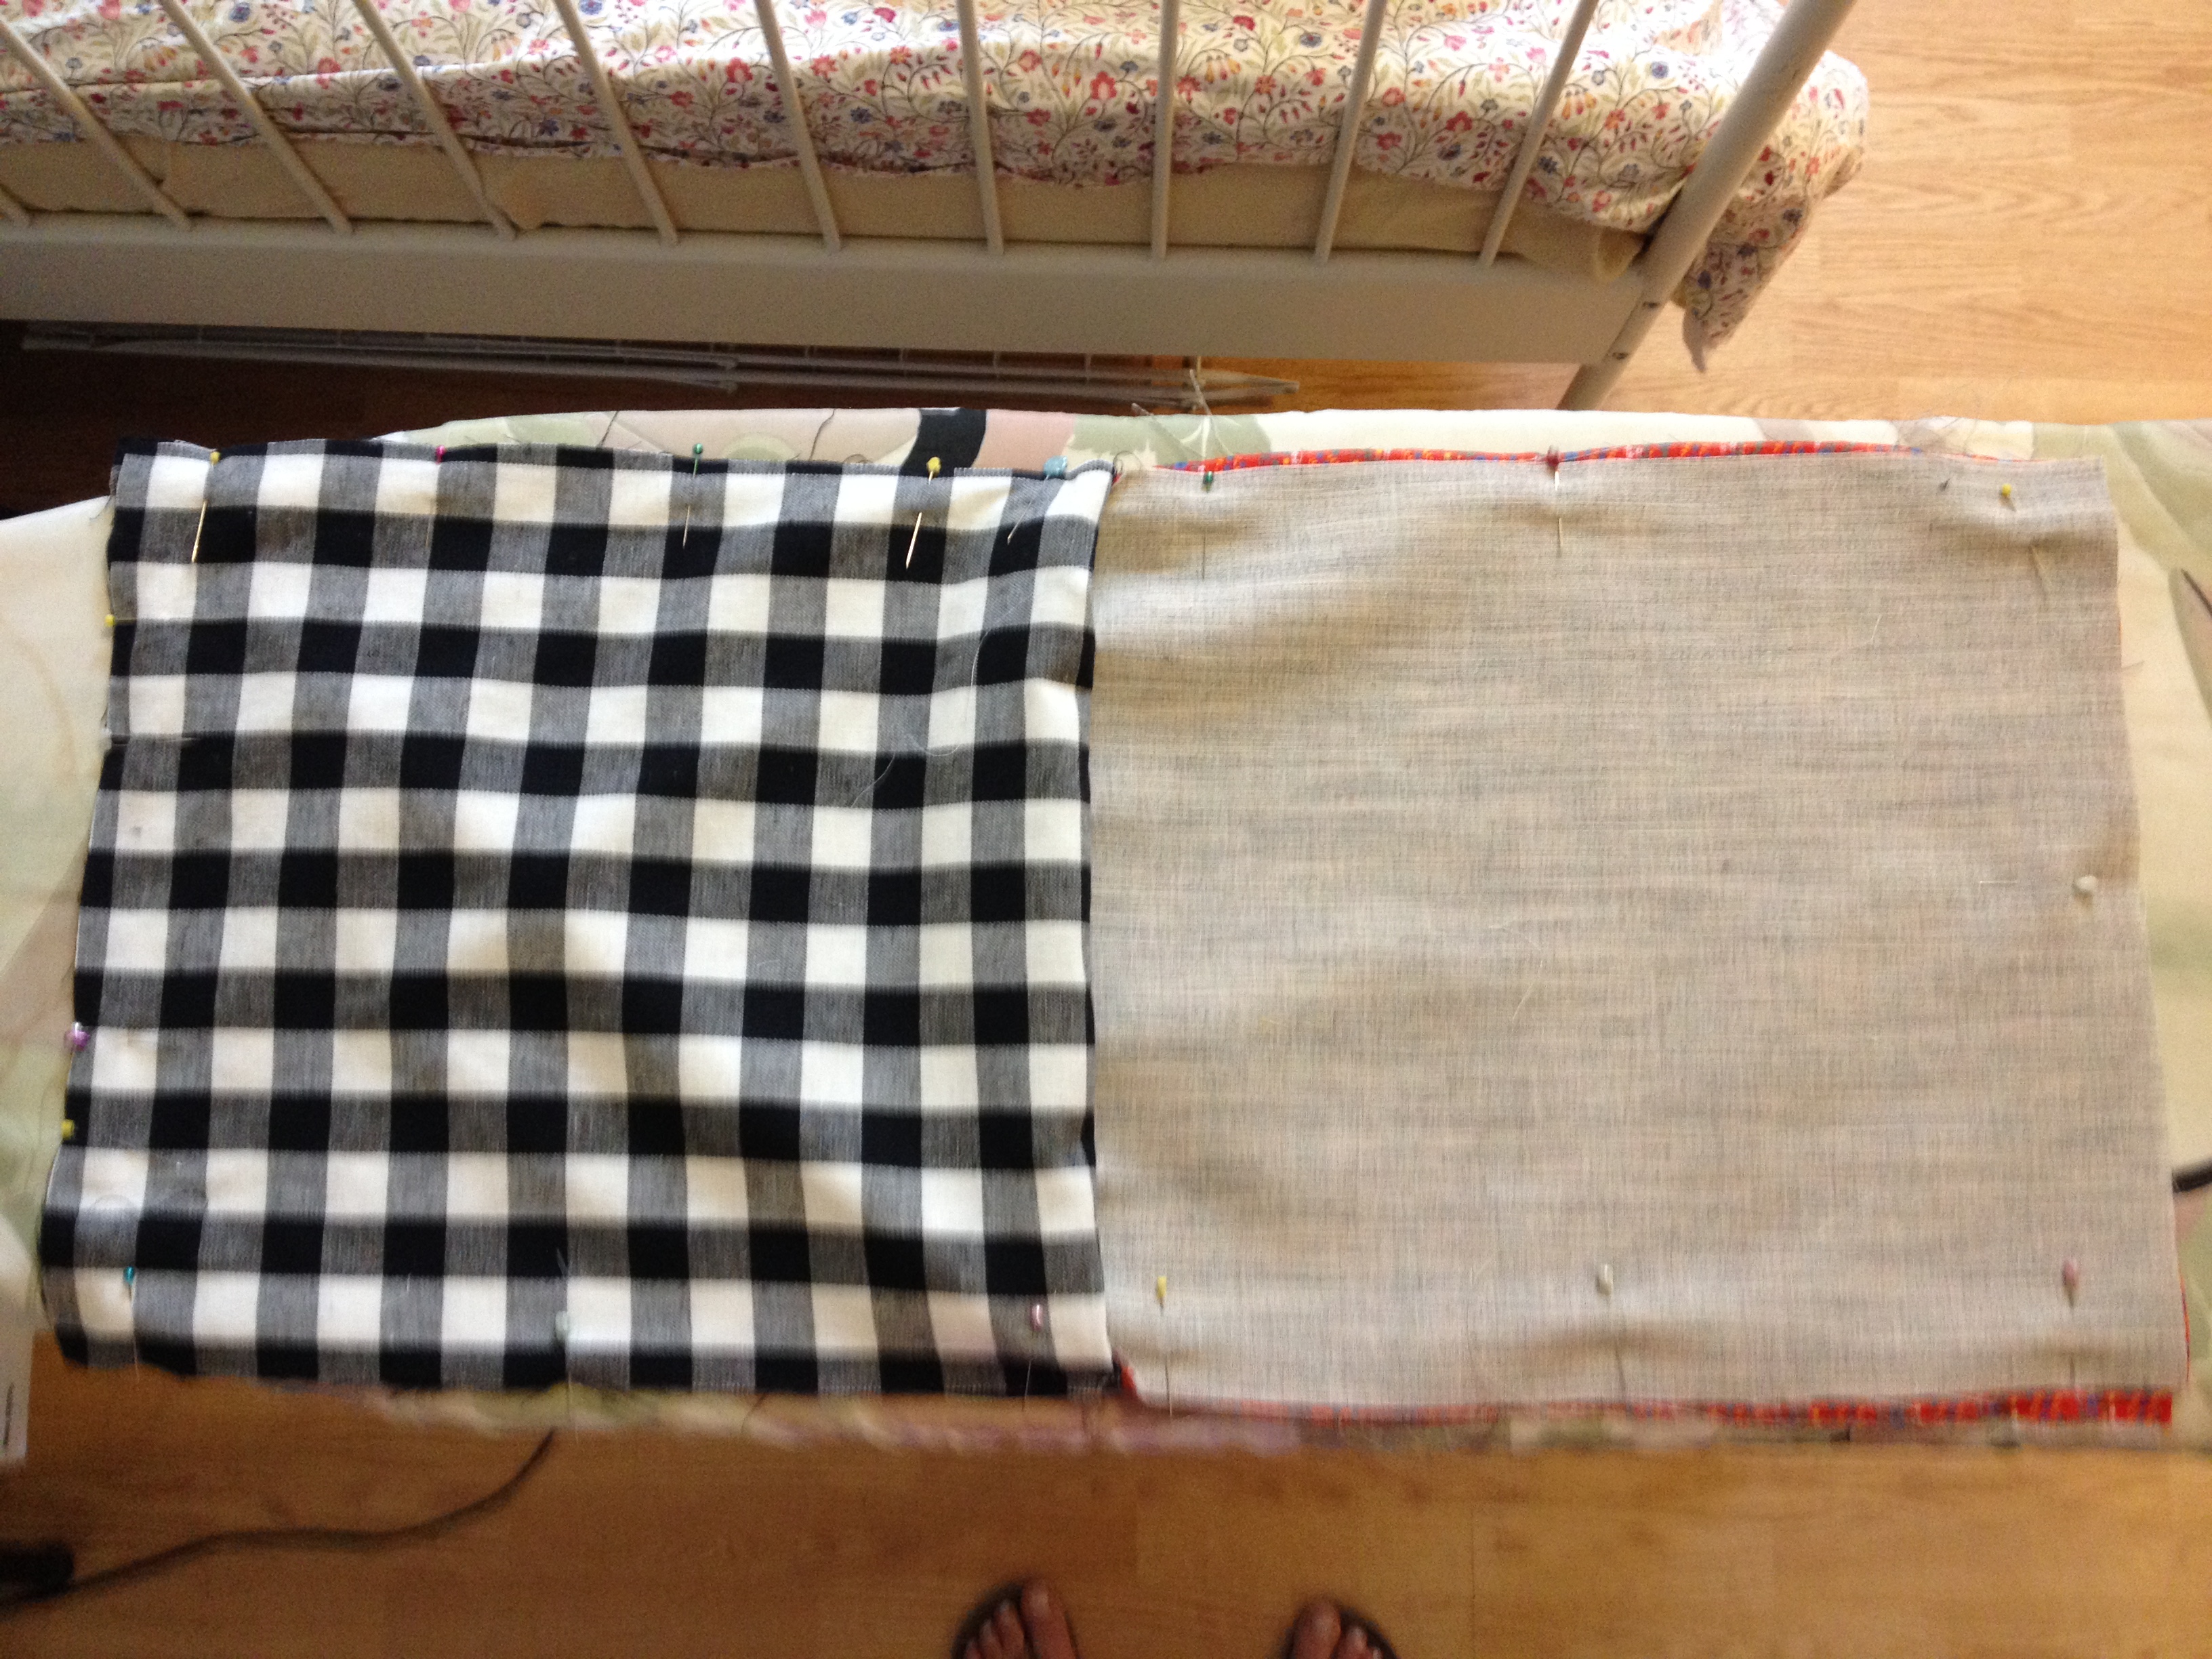
You will sew one big, continous seam all around the rectangle, leaving about a 4-inch gap so that we can turn it right-side out.
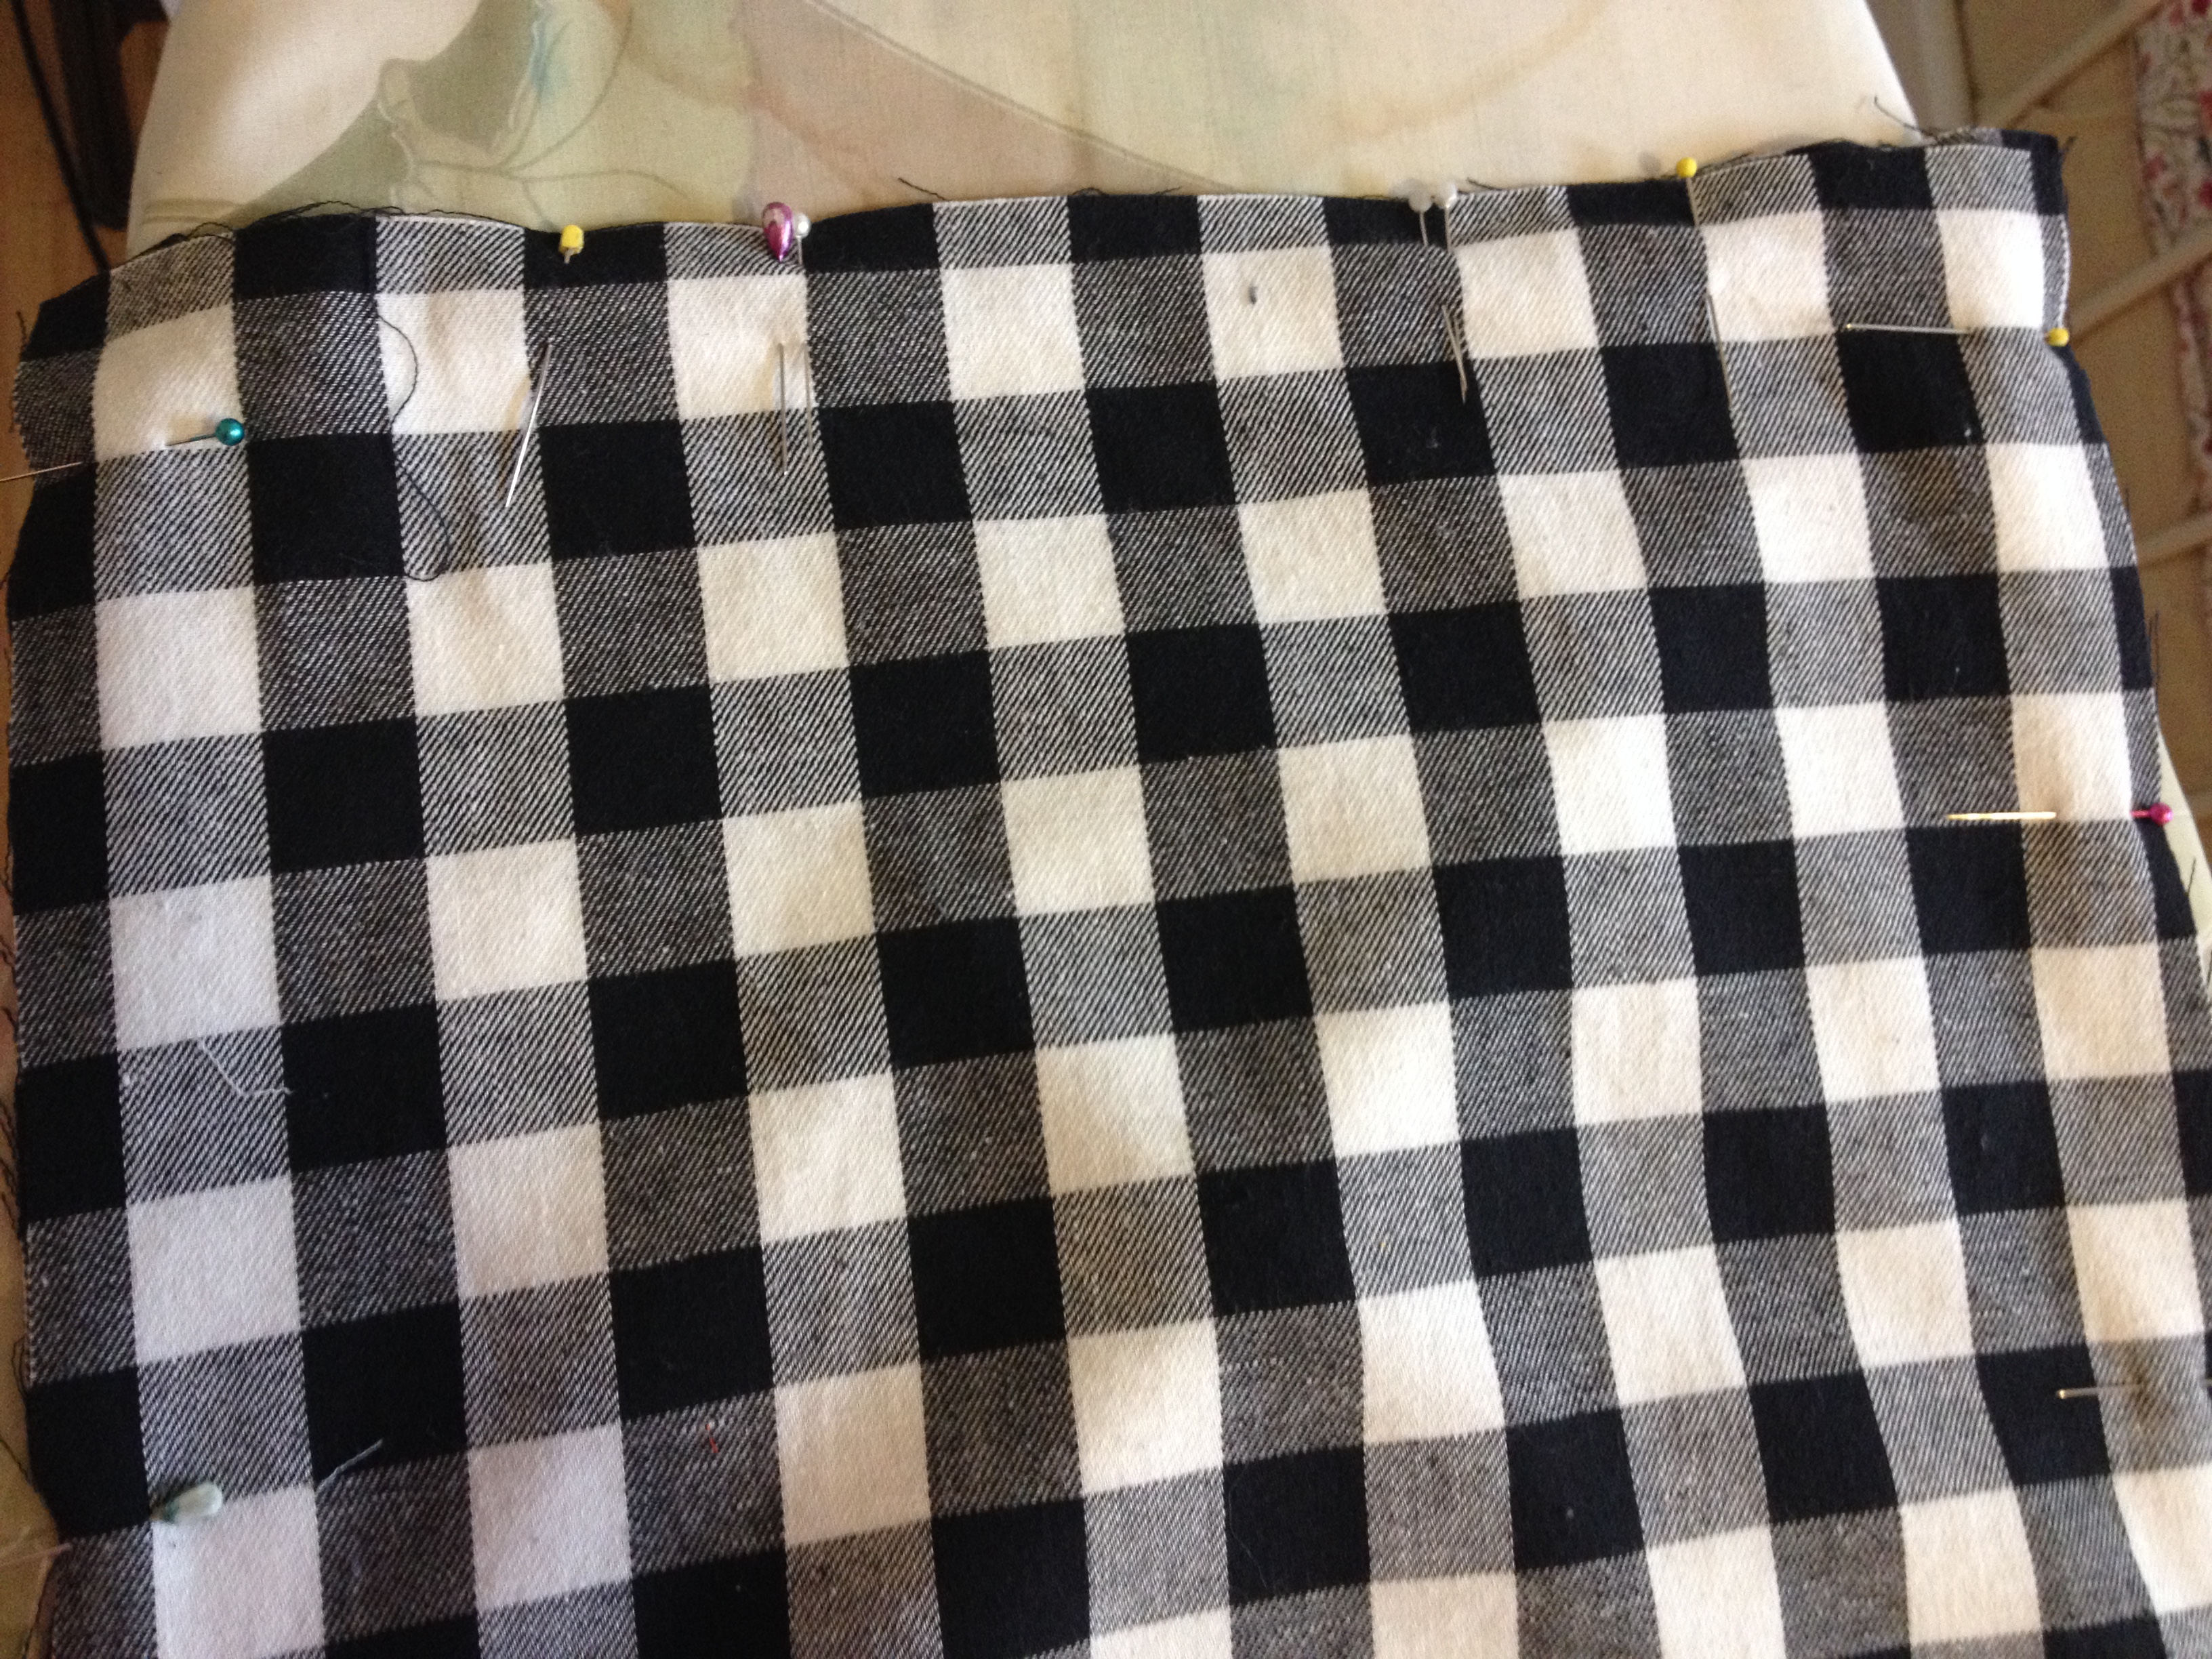
I’ve marked the start- and end-points with two pins to illustrate. You can do the same if you think it will help you remember when to begin and stop.
Sew and trim seam allowances to 1/4 inch, trimming corners at a 45 degree angle. That sewer-speak for cut off little triangles ont the corners, but don’t cut the seam! This makes your corners nice and sharp.
 Turn right side out. Use your pencil (or the corner of a ruler) to make sure they are nice and pointy!
As always, press your seams to make them crisp. (Side note, this is called “marrying” the seam. How nice! I thing really it’s meant that you’re joining the two pieces of fabric together forever and really finishing the seam when you press it.) When you’re pressing, make sure to fold in the fabric at that little gap in such a way that it appears as if the seam continues. Pin.
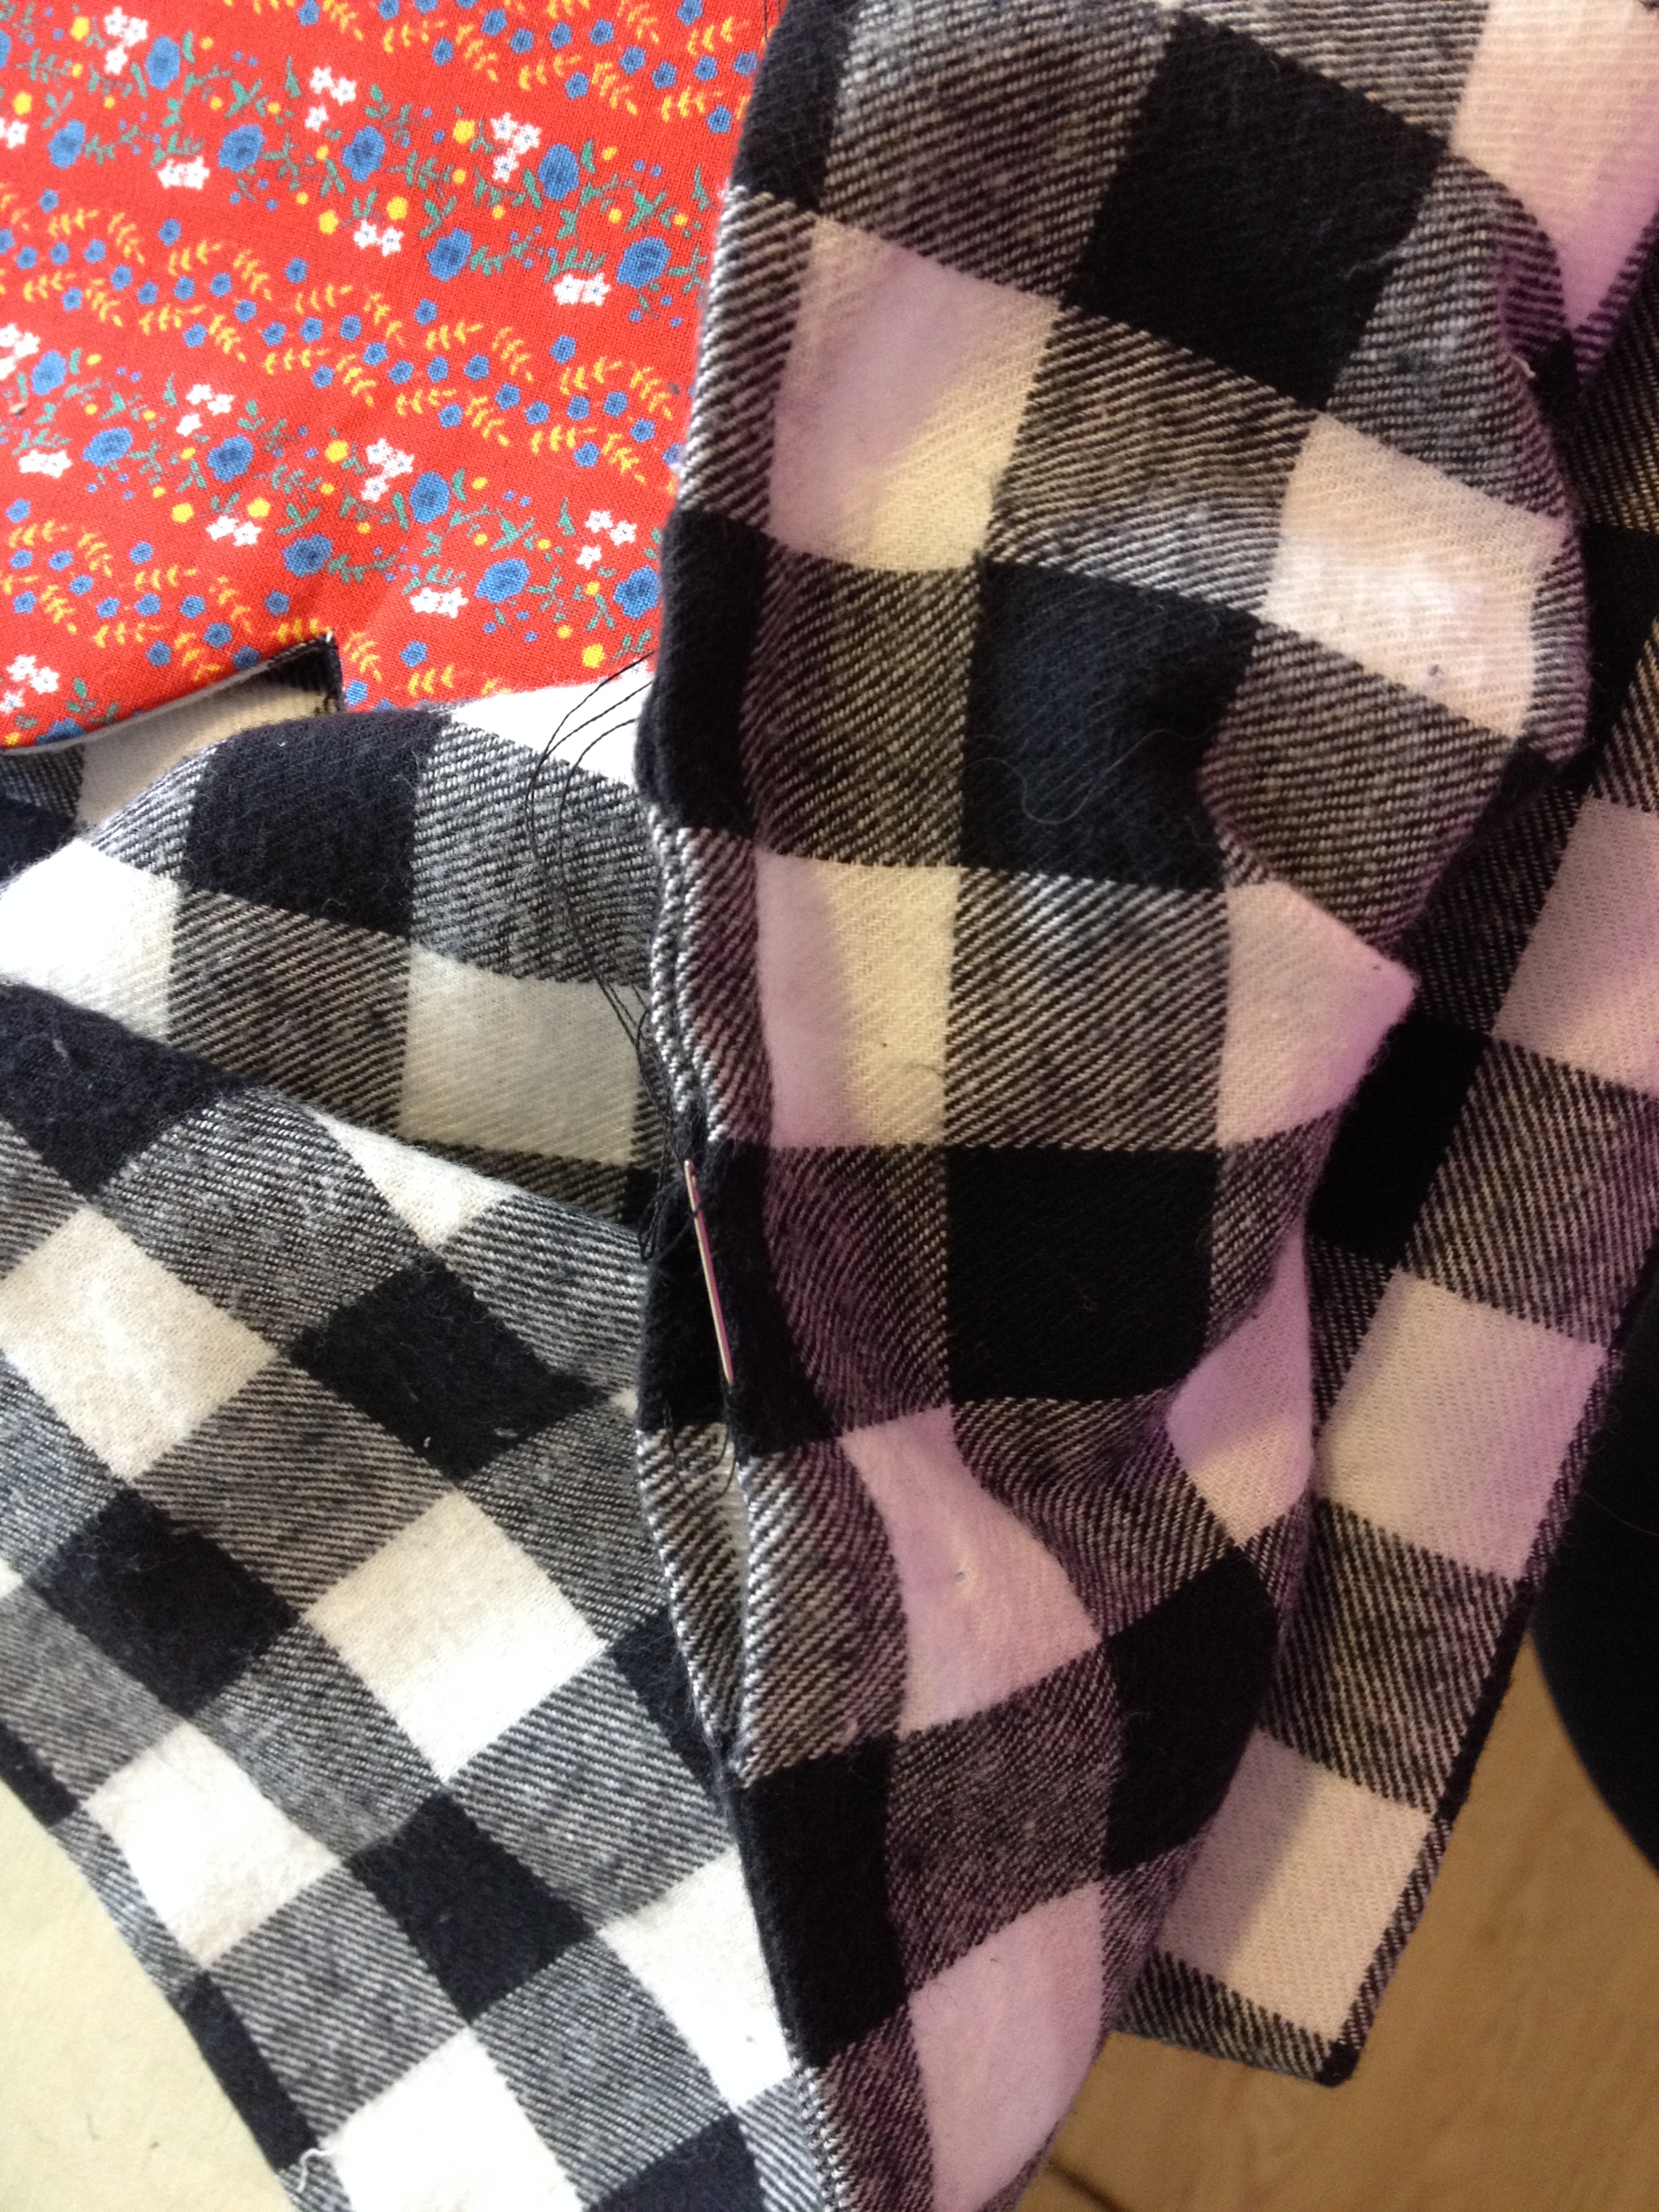 Using an invisible stitch (also called a mattress stitch), close off the seam. Once you are done, choose which side of fabric you want to be the outside today, and turn it out! Stash your stuff and fold over the top to finish your look. You can add embelishments such as a bow or rosette. You can also attach straps when it’s unfolded and make it into a little tote!
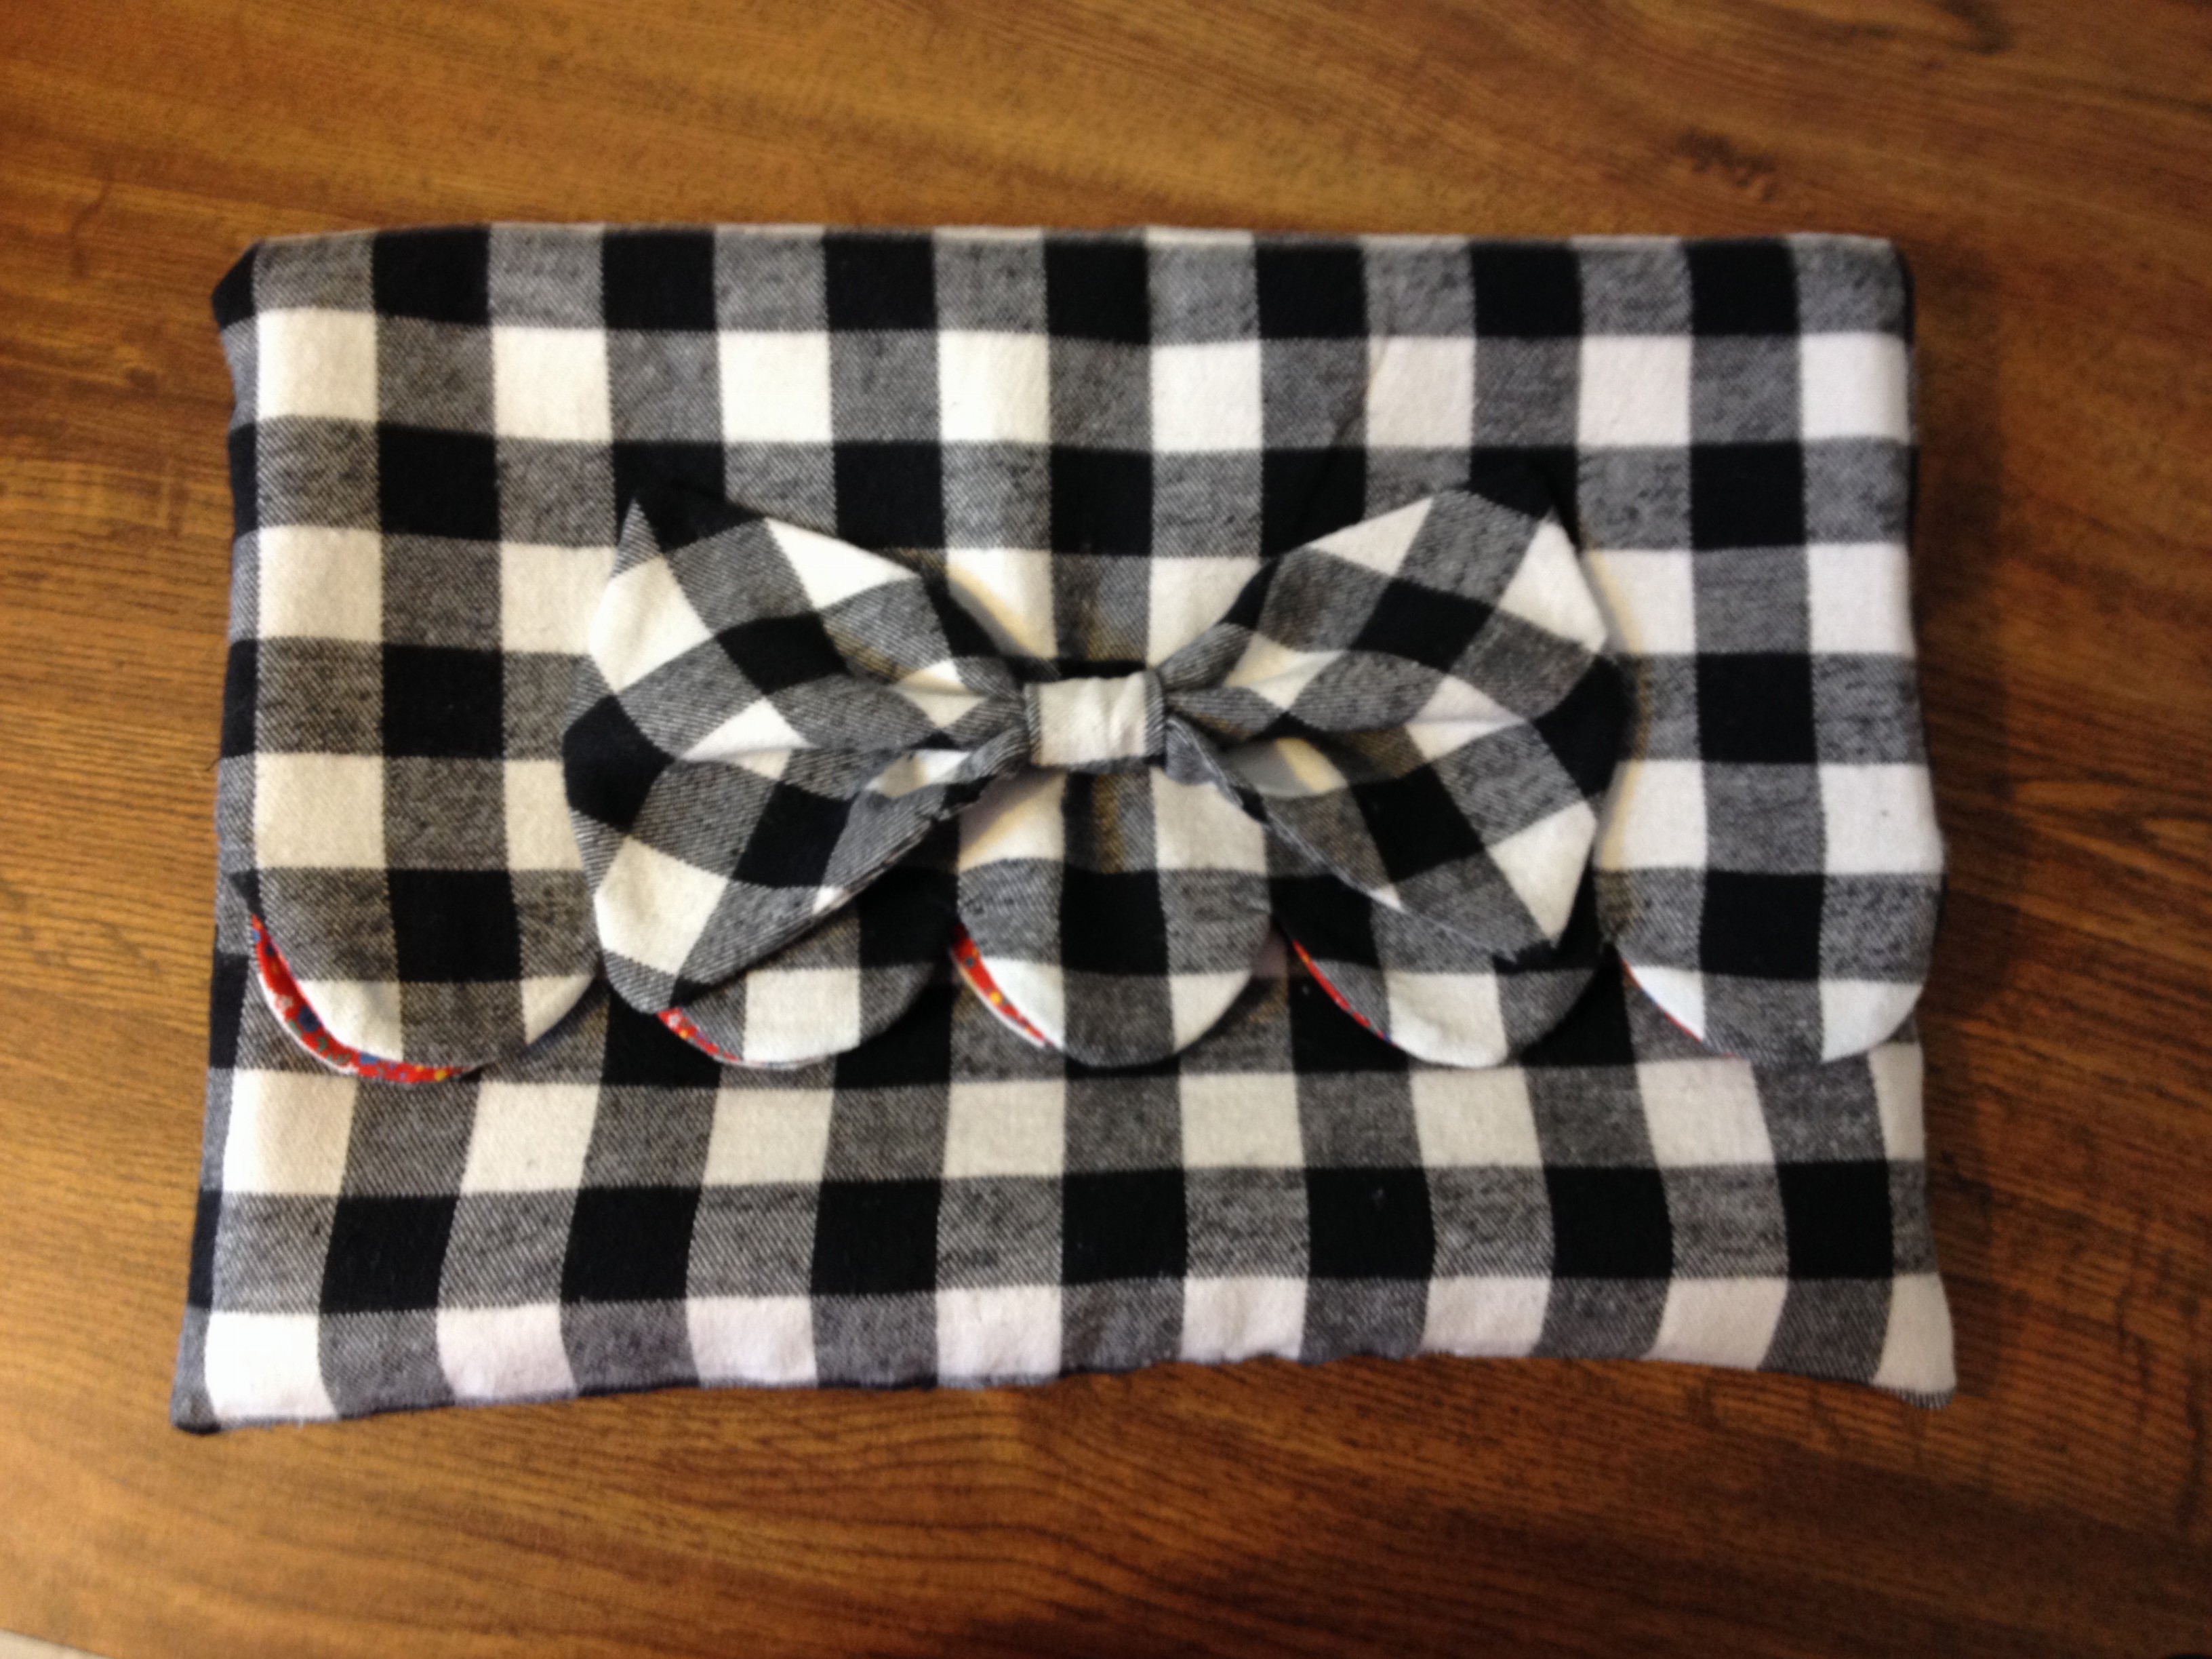

[…] A scalloped edge is surprisingly easy. […]