 It’s no secret that I love bows. Not only are the super adorable and go with everything (in my humble opinion), but they are also super fast and easy to make. Even if you have never in your life sewn anything, you can totally do this!
For this project, you need:
-scissors
-ruler
-pencil and paper (or chalk)
-a 12 inch by 12 inch piece of fabric
-a needle
-thread
-straight pins
-an iron (if you haven’t got one, a hair straightener will work! Just make sure it’s clean)
**Newbie Note!** If you are buying fabric for this project, you have a few options. Walmart and other craft stores often sell pre-cut pieces that will absolutely work for this. You can also go to a fabric store and get some cut. If you’ve never been to one, the fabric is sold on a bolt (a big roll) that you have to take to a counter to be cut. Fabric comes in two widths, 45 inches and 60 inches. Depending on your project, you might need to pay attention – the pattern will tell you how much to get of either. For this project, if doesn’t matter. When you get to the counter, you will ask for a certain length of fabric. Depending on where you go, they will measure in either meters or yards. Generally, the smallest amount of fabric a place will cut is 0.1 metres (10 cms or about 4 inches) for this project, I reccomend 0.25m or a quarter of a yard. Some places will also cut a “fat quarter.” If you ask for a quarter of a metre (or yard) at a fabric store, you will get a rectangle 45 or 60 inches long by a quarter of a metre long. A fat quarter is a square of fabric a half metre by a half metre. They both give you the same amount of fabric, but the latter tends to be better for crafts (or making bias tape – yay!)
Before you start, make sure to iron your fabric if it’s wrinkly. If you don’t have an iron for clothes, a straightening iron will work (sidenote: I’ve totally used my straightener to iron my cuffs and collar when in a pinch!) Next, cut a piece 8 3/4 inches square and a small rectangle 5 inches by 2 1/2. You might notice that your fabric has a “good side” and a “bad side,” especially if it’s a print. The official terminology is the “right side” (good side, the side you want on the outside) and “wrong side” of the fabric.
Fold the square in half and pin the sides together. You will sew the two three open sides together, leaving a gap about 3 inches long on the longest side. When you sew your seam, you want to sew about 1/4 from the edge. This is called the seam allowance. Most patterns use a seam allowance of 5/8 of an inch, but for this project 1/4 inch is all we need. If you are sewing with a machine, 1/4 inch is measured by keeping the edge of the fabric along the edge of the foot.

Once you’ve finished sewing, turn it right-side out so the seams are hidden and you can see the right side of the fabric. Press (this is sewing speak for iron) the rectangle flat, making sure to fold in the edges of that gap we didn’t sew. Pin it closed and press.
Sew this gap closed using an invisible stitch, or blind stitch. This video shows how to do a blind stich.

Next you’ll be working on the band that will cinch the bow. Fold your small rectanngle in half lengthwise and sew down the side with a 1/4 inch seam allowance. Turn it right side out.

Press the band in such a way that the seam is in the middle. You want to hide it once you put it on the bow.
 Wrap it tightly around the middle of your bow and pin.
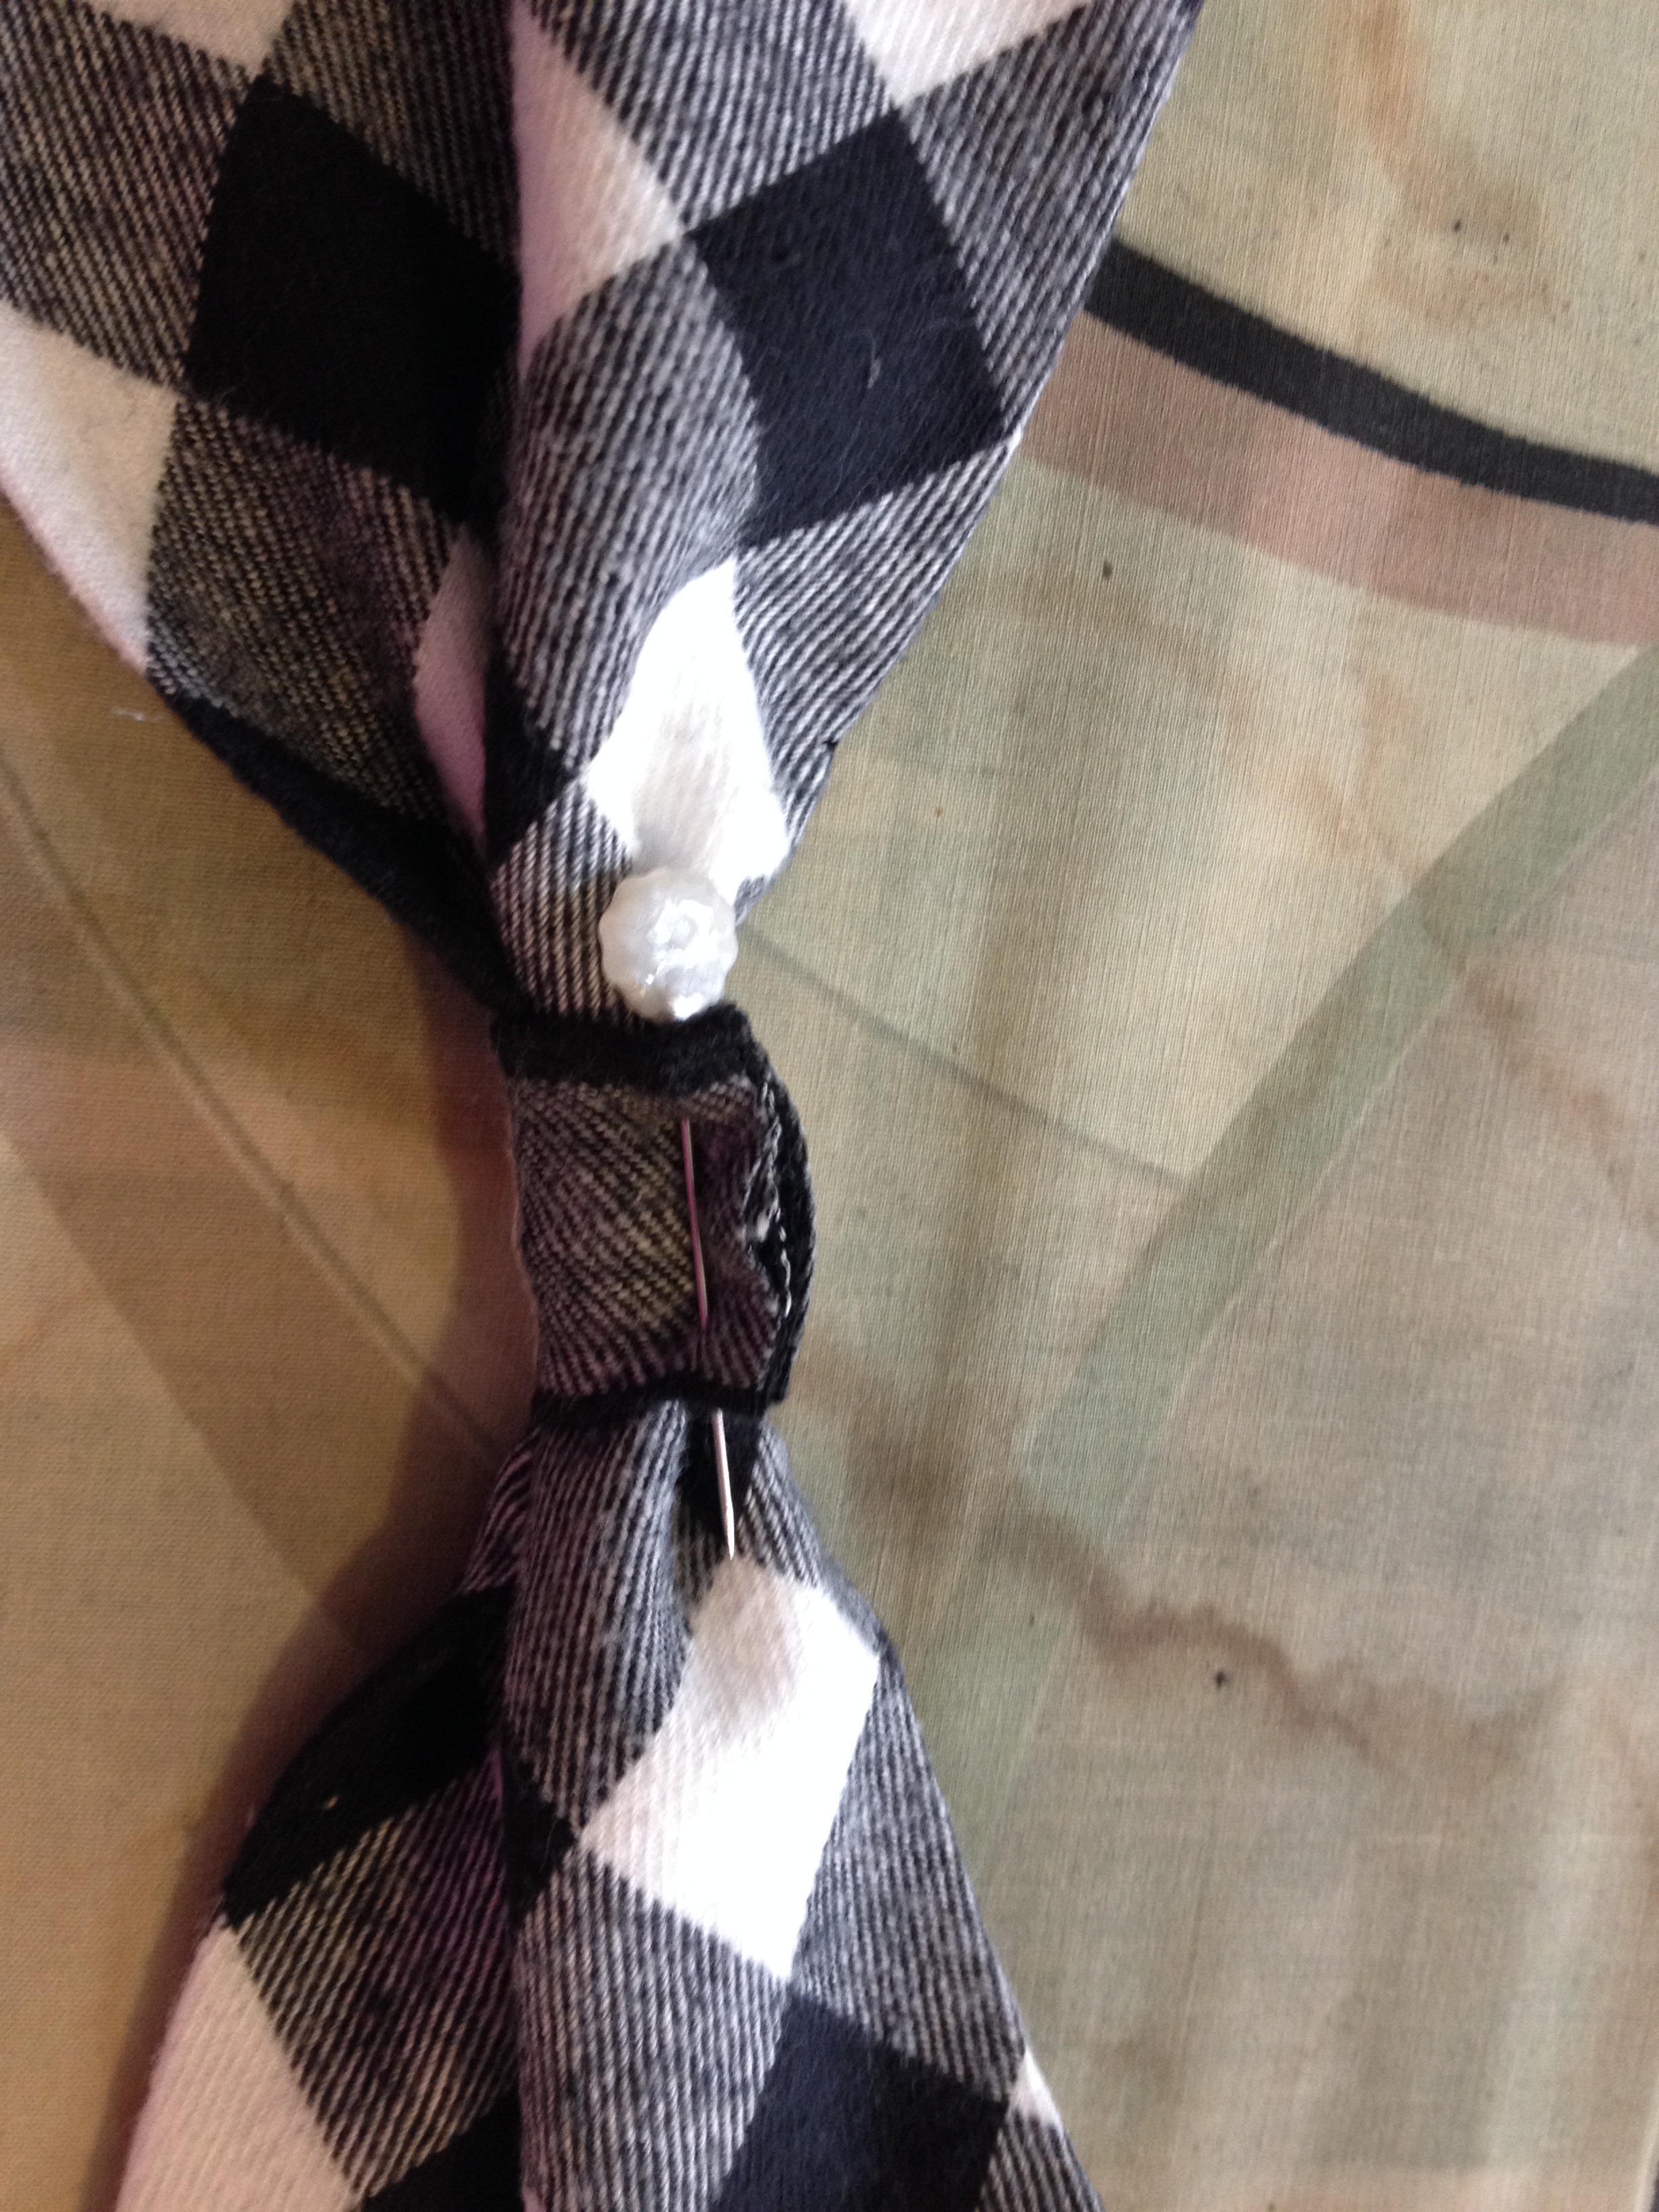 Trim excess fabric and sew.

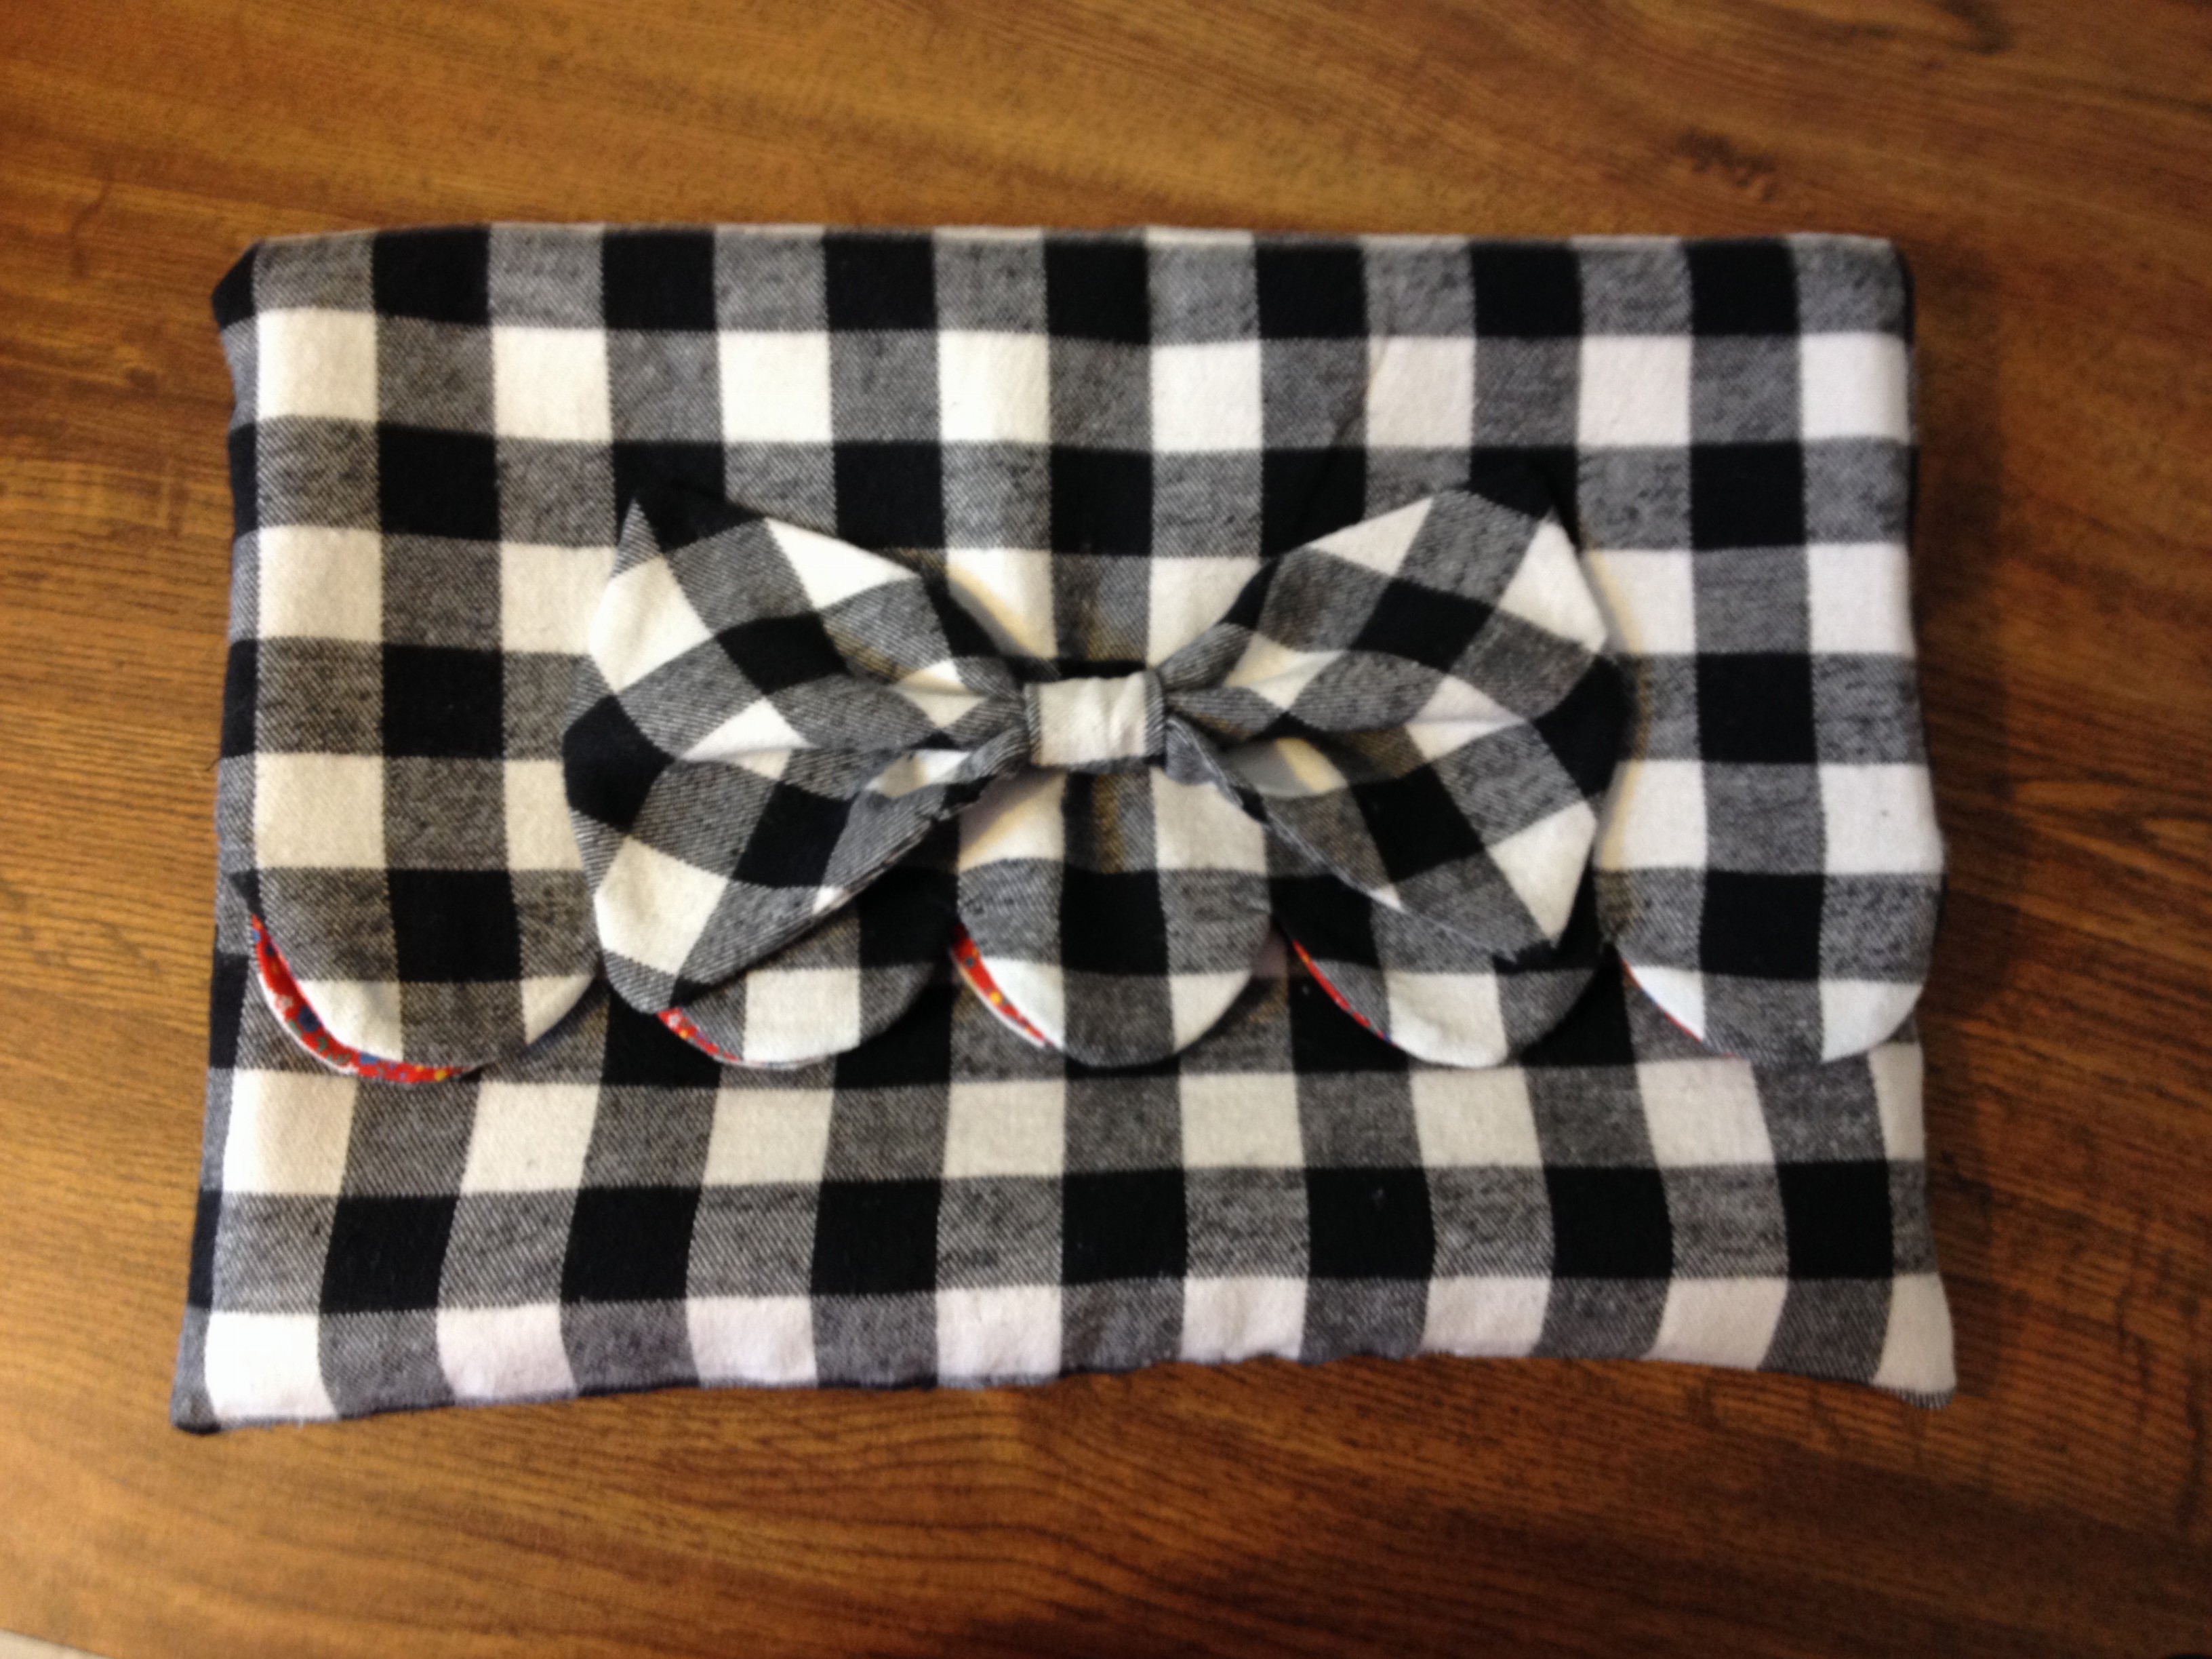
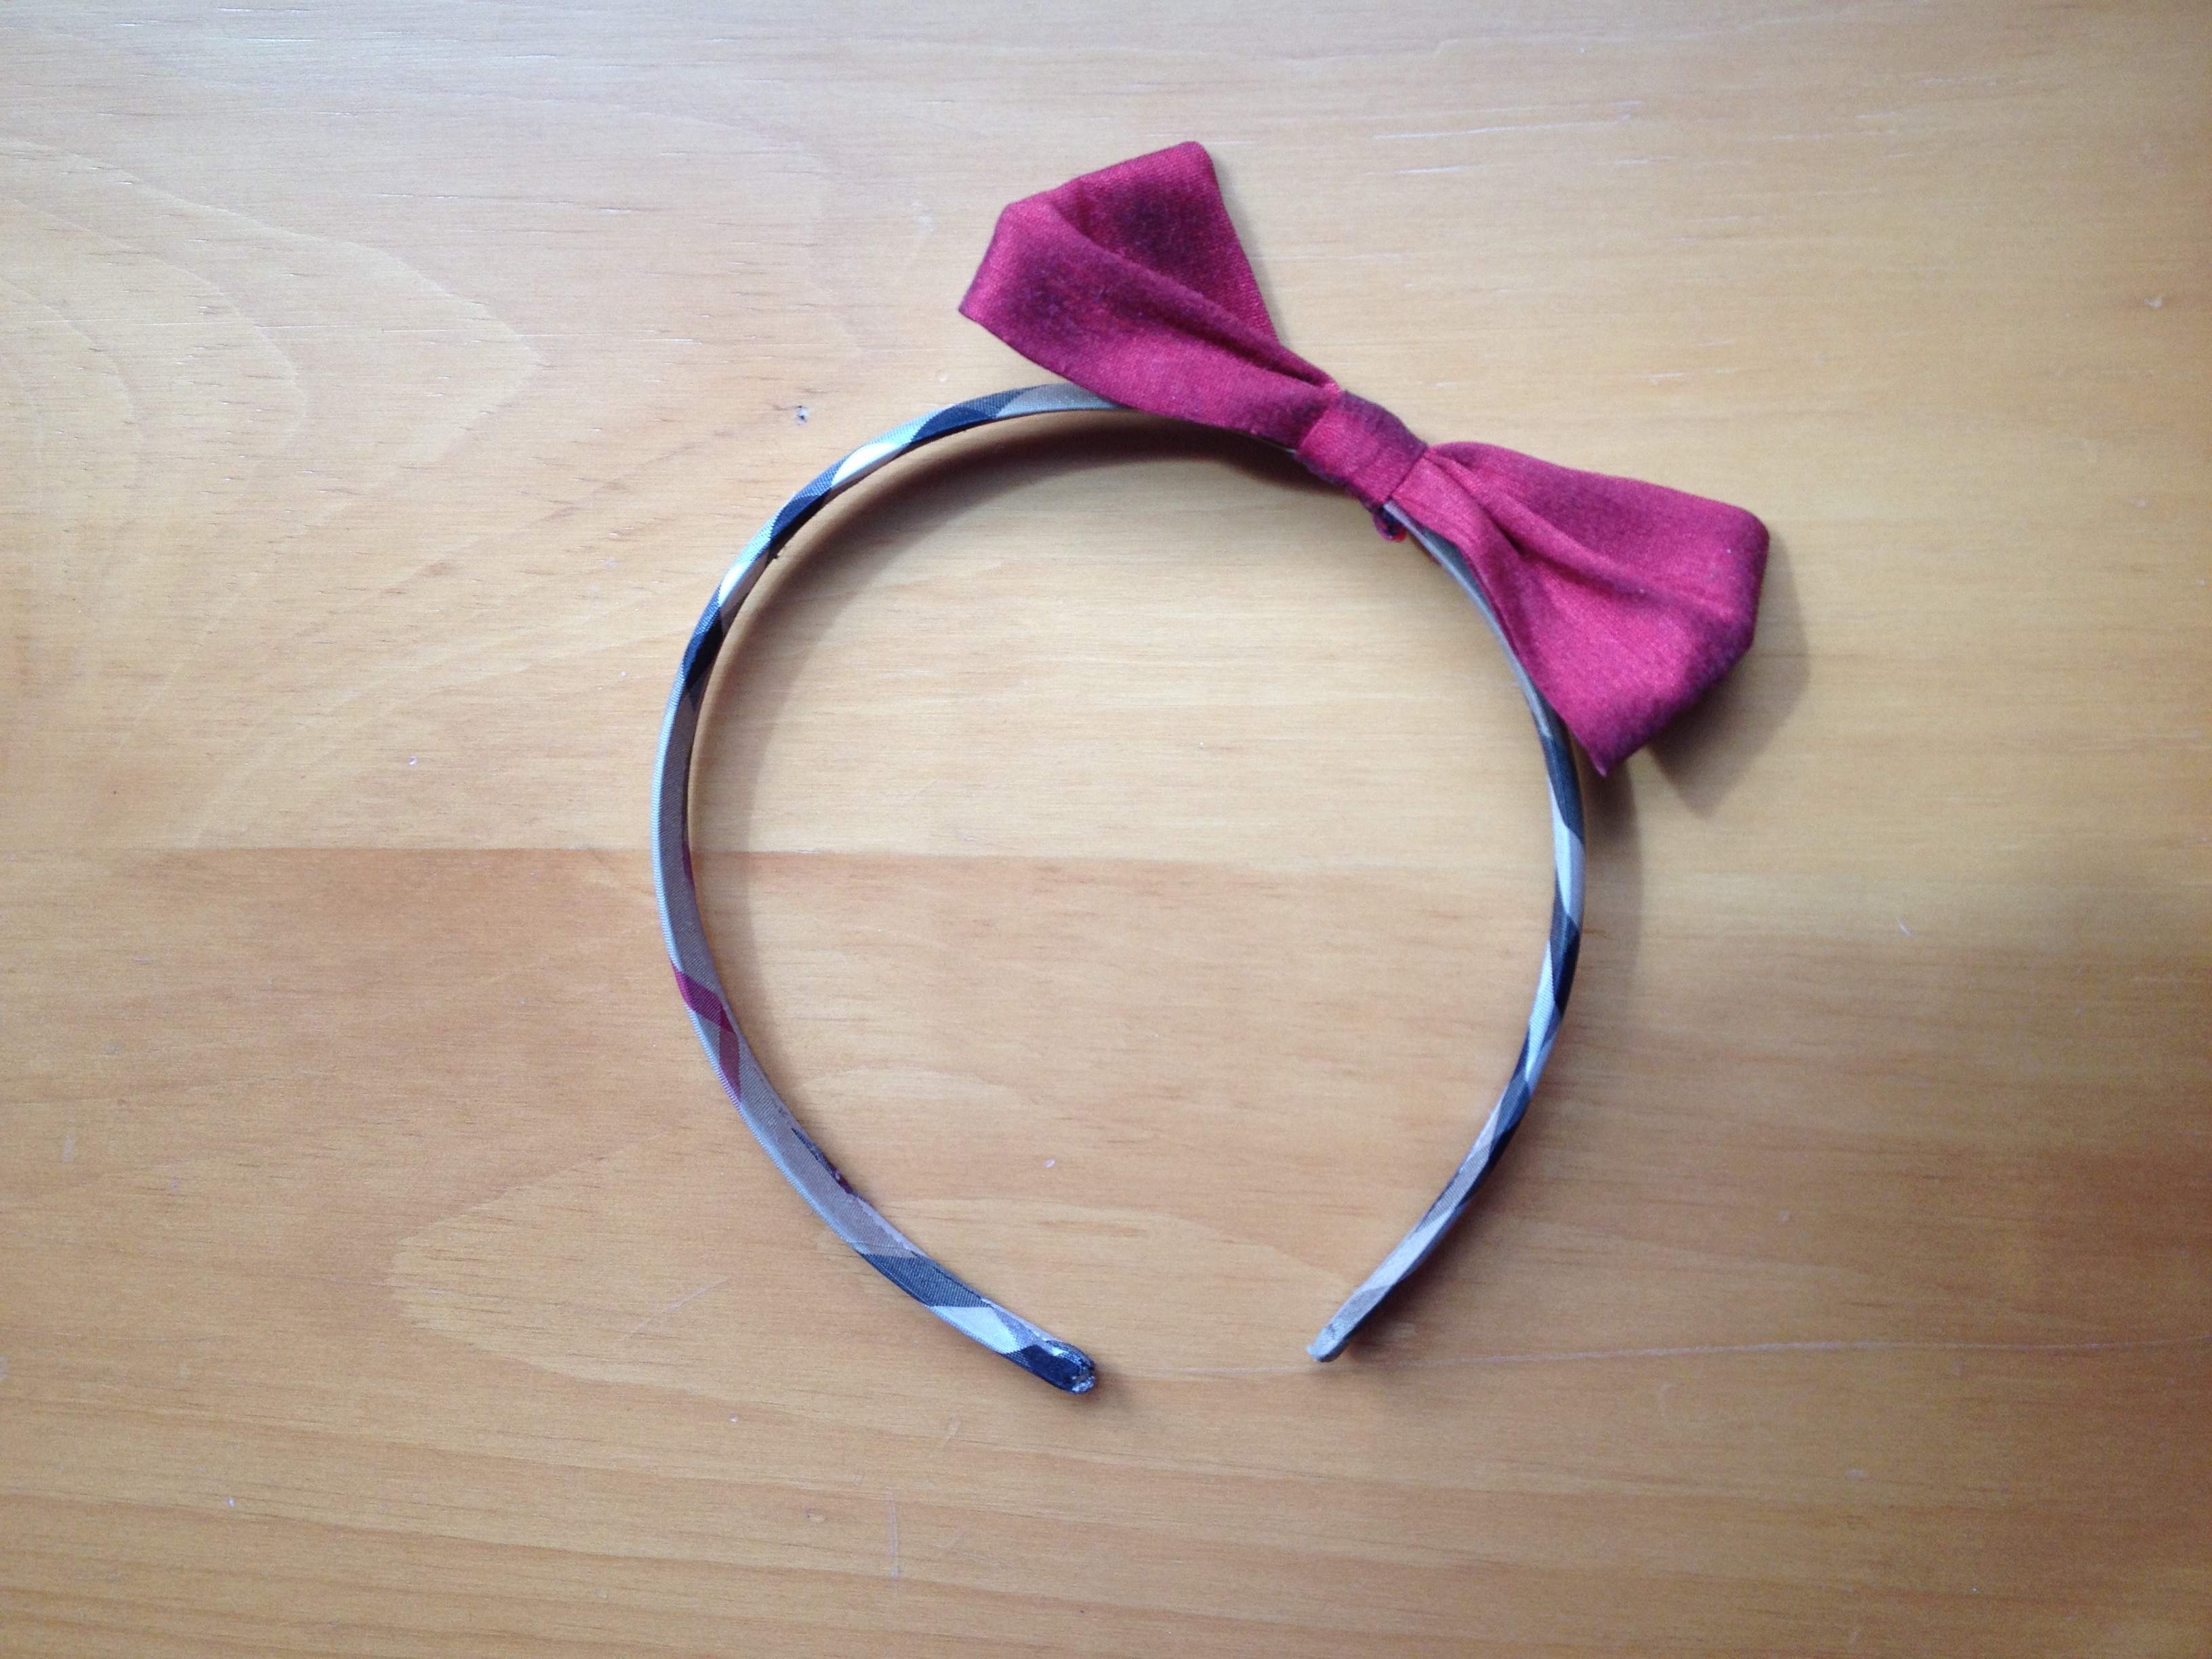
Your bow is done!
You have several options to use your bow – I sewed this one to a pin, so I could attach it to this clutch I made (Tutorial to coming soon!). You can also slide a headband or bobby pin through the band and wear it in your hair. You can even sew it to a hair elastic to spruce up your pony.

[…] Sewing bow embellishments is really easy! […]