If you’ve been around for a while, you know I loooooove working with plaid. Honestly! Some people are so scared of it, but I honestly find it so satisfying (and sometimes easier!) I’ve come a long way since my first forays into plaid and want to tell you it’s not as hard as you think! Please don’t think you need to do all of these things to have a great experience working with plaid. I’ve written them in the order I think you should learn them. Essentially, start at the beginning of the list and keep reading until you reach a trick you haven’t tried before. Stop there. Try that thing a couple times. Master that thing. Try something new the next time.

- Choose your pattern wisely. Pick something with less seams for you to match!
- Buy 50 per cent more fabric to match. (ie. If you pattern tells you to buy 2m, get 3. You’ll thank me.)
- Pre-wash and dry. Even if you don’t plan on machine drying the garment, I always dry it on hot when I pre-wash just in case it ends up in there by accident. You don’t want shrinkage to ruin your matching!
- Decide how important it is to match the pattern. The bigger the stripes, the more obvious when they’re a bit off-kilter. Skinny stripes are way less important to get bang on.
- Decide the seams where you want your plaid to match up. You can’t match everywhere. Prioritize centre front and back. Side seams are less important because your arm is often down and covering it!
- Cut on one layer (ie don’t fold your fabric). Trace you pattern pieces so you have both sides or a mirror image.
- Decide on your “dominant stripe” and make sure it is centred how you want. Be ware of Xs on your boobs.
- Mark “stripe guides” on your pattern pieces to help keep things straight. I often mark horizontal, vertical and diagonal (bias) lines.
- Mark your seam allowances on your pattern so you know exactly what will be visible when you sew.
- If you’re working off of a PDF pattern, consider tracing to a translucent pattern paper you can see your plaid through.
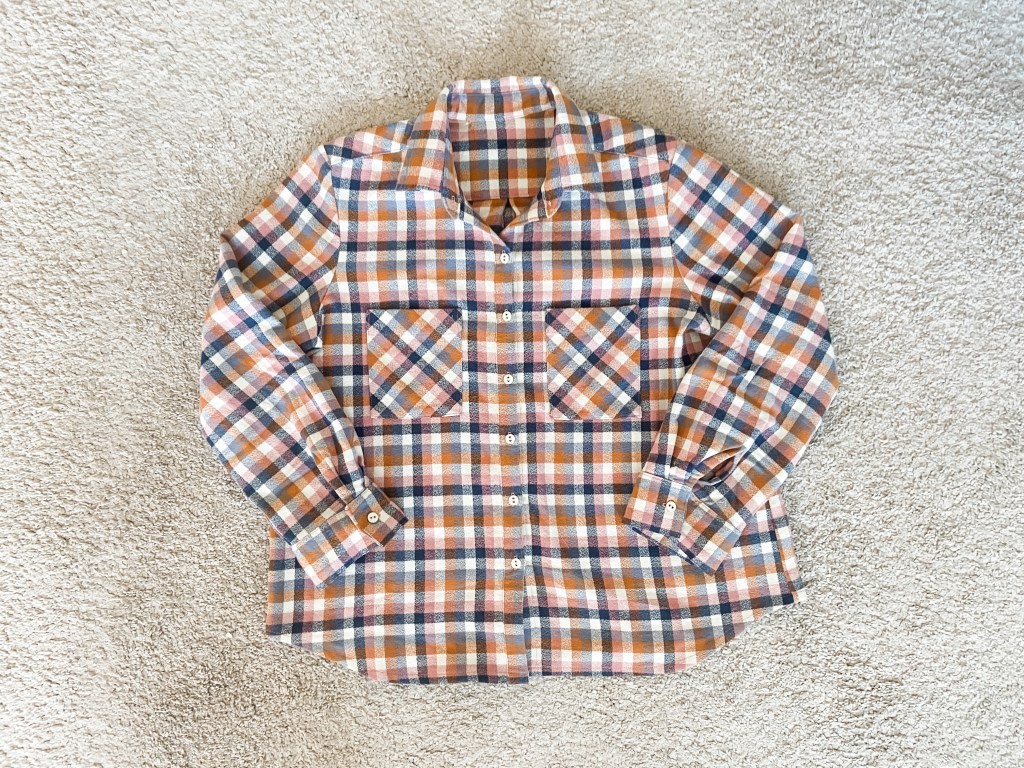
- Cut some pieces on the bias. This works well for things like plackets, yokes or pockets so you don’t need to worry about matching. Depending on the fabric and pattern piece, you may need to stabilize with some interfacing.
- Use a gluestick, wonder tape or steam a seam to hold together tricky seams. Depending on the fabric you’re using, even a bit of shifting can make something look crooked!
- Wait to cut certain pieces. If you’ve got a lot of fabric, it might honestly be easier to wait to cut certain pieces that will be finicky to match. I ended up re-cutting my button placket anyway so next time, I’m going to wait until my shirt fronts are ready and I can really visualize where the stripes will be.
- Don’t plan seams to land on a sort of dividing point between colours. If your seam allowance is off by 1/16 of an inch, it’s super obvious when the fabric is black on one side of the seam and white on the other.
- Place pockets in the middle of a stripe. Similar to the previous tip, place the top opening of a patch pocket in the middle of a stripe. The opening will inevitably gape and it looks obvious when it opens to reveal a different colour underneath.