
It’s tank top season! Finally! If you live in Canada, you know what I’m talking about. If you’re anything like me, your summer uniform is shorts and a tank, which means you start panicking on the first really hot day of summer and realize you need to make yourself about thirty (or maybe just three) hot-weather tops. Here’s everything I know about tank tops.
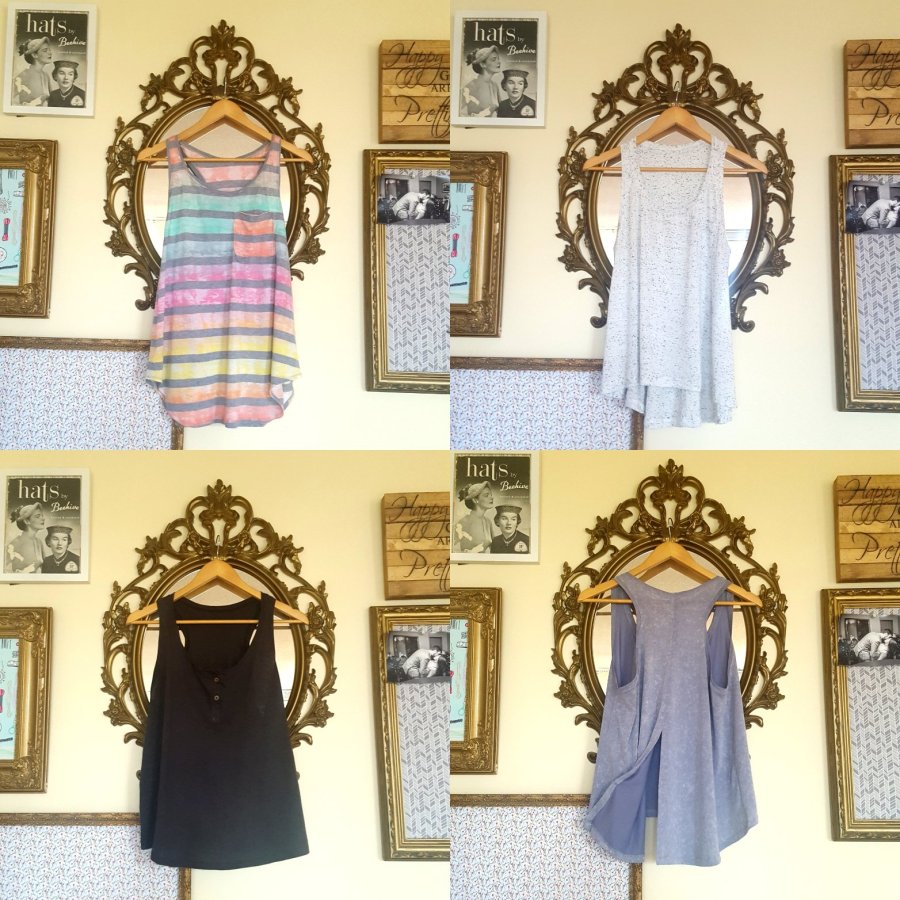
To be very honest, I haven’t had to experiment with too many tank top patterns, because I found it easer to choose one as a block and hack it to suit my needs. I find these three cover all my bases:
The Adventure Tank by Fancy Tiger Crafts (This one has both a racer back and muscle tee option)
The Pony Tank by Chalk and Notch (a swingy tank that still hides your bra straps)
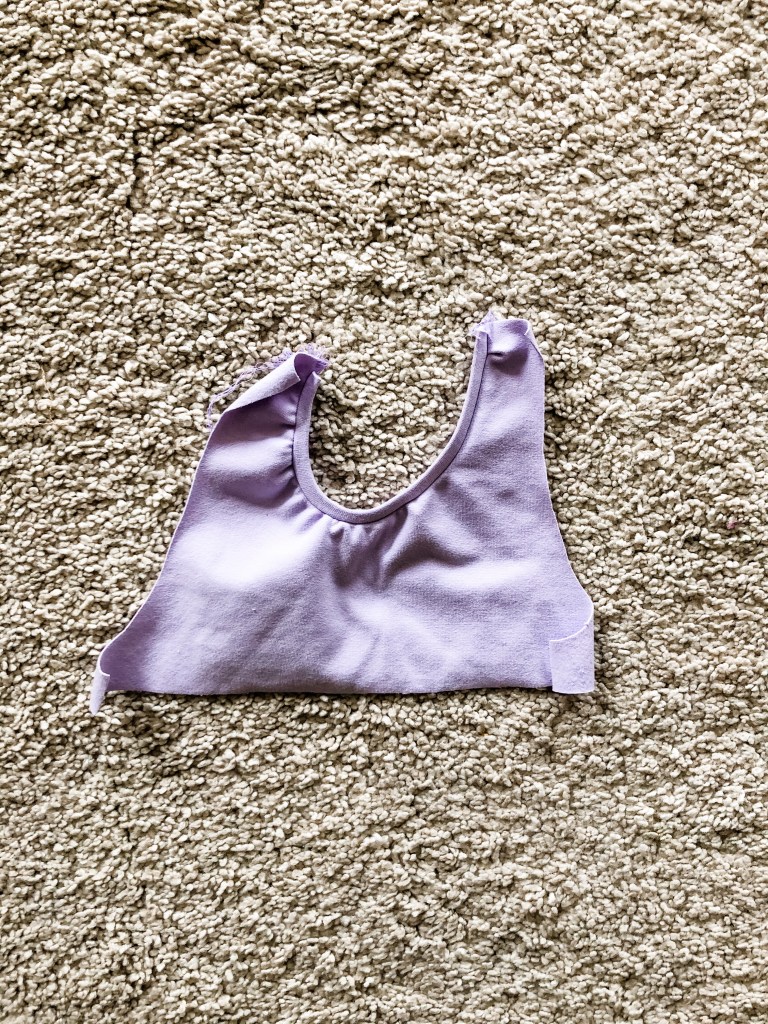
Julia Camisole by Jalie (A swingy spaghetti strap cami plus a bralette pattern – I plan on hacking mine to have a built-in bra)
I find the biggest challenge to making a nice-looking tank top is all about the neck and arm bands. It’s taken me a long time to figure out the tricks involved in really smooth, professional-looking bands and the awesome thing is that you don’t need a coverstitch.

- The ideal length of your bands depends entirely on the stretch and recovery of your fabric. Recovery is how well your fabric bounces back after being stretched. If you fabric has poor recovery (basically stays stretched out once you pull it) you will need to cut a shorter neck or arm band. Read the pattern instructions to find out the recommended amount of stretch in your fabric. If you have more or less stretch, you’ll need to adjust the length of your bands. If you have less stretch than recommended, add an inch or two of extra length. In this case, err on the side of adding too much as you can always add more. Be careful of using fabric with less stretch that advised because it can drastically adjust the fit of the top – especially if there is negative ease (meaning the top stretches to fit over your body)
- Pin the band to the opening with the top inside out. It’s just easier. Trust me.

- Distribute fullness of the neck (or arm) opening using the “loop” method instead of stretching. I divide my band and opening into fourths with pins and start by pinning the band to the neck opening at the centre front and centre back. Pin at the halfway points in between. Check that there is an equal amount of slack or “loops” hanging in between each set of pins. If one loop is bigger or smaller, your band won’t sit straight and will have spots that pull more or less. Continue by pinning once more in the middle of each loop, dividing your neckband into fourths. Check again that all of your loops are equal.
- Before you sew, check how big your loops are. If your loops barely hang, your neckband is too long and is going to flip towards the outside, showing your seam. Cut off an inch, re-attach the ends and pin again, keep doing this until you have nice little hanging loops (for me, they usually hang down about a centimetre when my neckband is pinned in eight sections.

- If your loops are really long, there is a good chance your band is too short and you’re going to get puckering in your neckline. Cut your neckband again, giving yourself a couple extra inches. Again, err on the side of too long because you can always cut it down later!
- If you don’t want to topstitch stitch the seam allowance down on the bands later, but are afraid that the seam allowance is going to show, make your band a little bit wider. Even if the seam allowance does flip up, it will be hidden.
- When sewing your band to your opening, don’t look at your seam allowance. Keep your eyes on the amount of fabric on the left of your foot. This is the part that matters most when getting a really even-looking neck- or armband.
If you want to learn about making neckbands, the Megan Nielsen River Top has some of the best methods and instructions on doing a v-neck band and also a knit binding. I highly recommend checking out the pattern and sew-along.
Even though this post focussed on knit tanks, I also wanted to mention my favourite woven tanks (and ones I want to try), too:
The Ogden Cami by True Bias
The Ashton Tank by Helen’s Closet
The Eucalypt by Megan Nielsen patterns

Wish I’d read this earlier. Completely hashed two tanks as the bands were too long. It’s something I just can’t seem to get right, it the tension when sewing seams and hems. Made the life sew savoury gathered back tank. One version was ok, but fabric was too stretchy. The other one I used too long bands for the arms and had managed to cut the fabric upside down. Will refashion into undies.