

You know what babies love? Snuggles. Being thrown in the air. Pretty much all food. Anything their older sister does not want them to touch. You know what they don’t love? Hats.
I know the fit on the Oliver + S Bucket Hat is supposed to be tight so the hat stays on, but realistically, is a baby going to leave it on? Heck no. Definitely not my kids! I knew this when I made my first hat when my daughter was about a year. I quickly slapped together a bit of a strap and it did the trick, so I finessed the process when making a new hat for my son this spring.
If you’re not familiar, the Oliver + S Bucket Hat is a free reversible hat pattern for babies to kids about five years-old. I love it because it’s quick and can be made up of woven scraps. I’ve even scaled it down to make a matching one for my daughter’s doll. For a baby, some kind of strap is necessary.

For me, the strap had to have some elastic in it for comfort and needed to be a velcro closure for ease of use. I also knew I didn’t want to lose the ability to reverse the hat, so I added buttonholes to feed through the strap. I took a ton of pictures of the process, so here’s the tutorial:

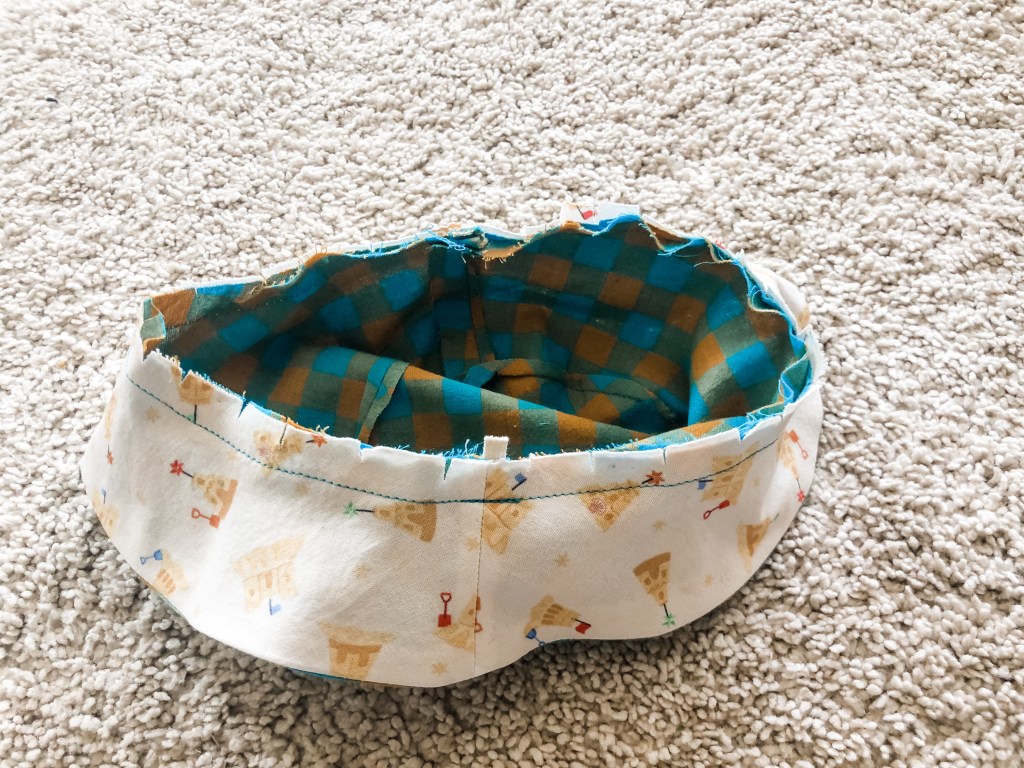
1. Sew the hat as directed until you’re just about to attach the crowns to the brim. You should have two separate crowns and the brim is stitched together along the outside edge.
2. Cut out two strips of fabric 2 inches by 10 inches. You can absolutely use bias tape if you press it all open. Cut two 6 inch lengths of 1/4 or 3/8 inch elastic. I made the 12-month size for my son, so you may want to add a bit of length if you’re making your hat for a bigger kid.
3. Fold in half lengthwise and pin. Stitch one end and down the length of the tube with a 3/8 inch seam allowance. Trim seam allowance and turn right side out.
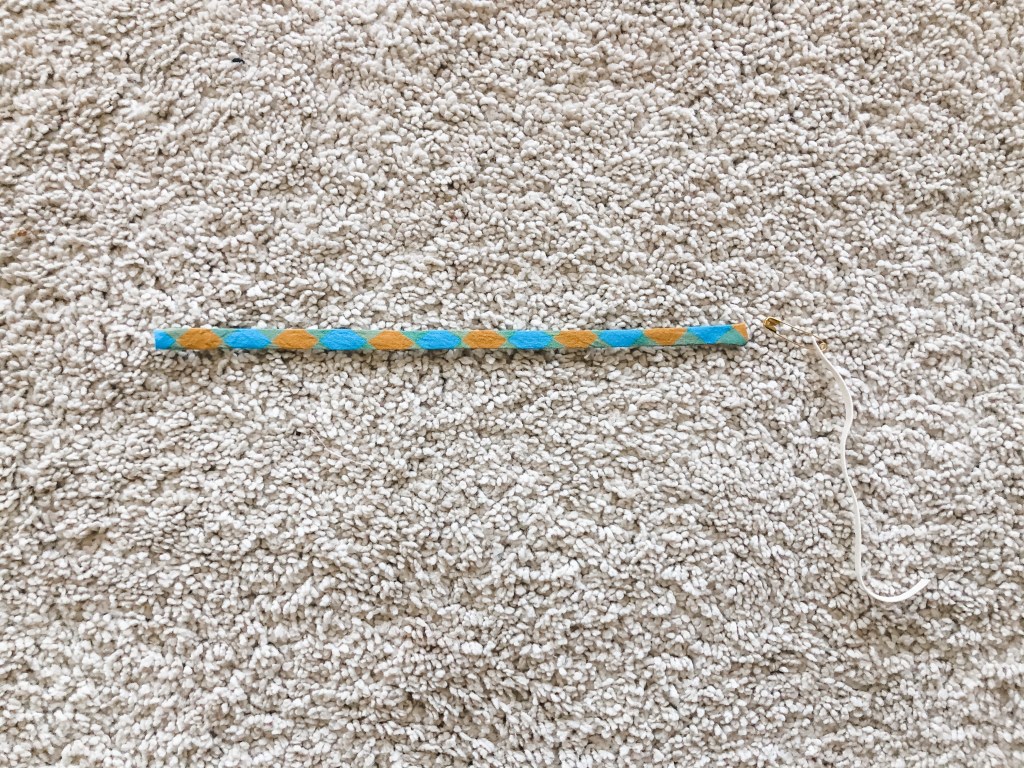
4. Turn in raw edges of one end 1/4 inch and press. Using a safety pin, feed elastic into tube, being careful not to pull it all the way through. Just before the loose end of the elastic is pulled into the fabric tube, grab it and very carefully feed it in. You want it to feed it in just far enough that it isn’t visible on the outside. Pin into place. Stitch across this end securing the elastic and closing the opening.
5. Check that the elastic is secured. Continue to pull the elastic through using the safety pin. Once you can see the safety pin and some elastic out the open end, pin and baste across this end to secure elastic. Remove safety pin. You should have a strap that bunches over the elastic which is secured at both ends. One end is finished and one end is raw and basted.
6. Move the gathered fabric so that the 1 1/2 inches of the strap closest to the finished end lay flat. This is where you will attach the velcro. I cut a 1/4 inch strip from regular velcro. Do not use self-stick velcro (from a craft store or dollar store) as it will gym up your machine. Pins are hard to use with velcro so try wonder clips, a glue stick, wonder tape or steam-a-seam. Stitch the velcro in a rectangle shape just inside the edges or the velcro. Repeat with other strap.
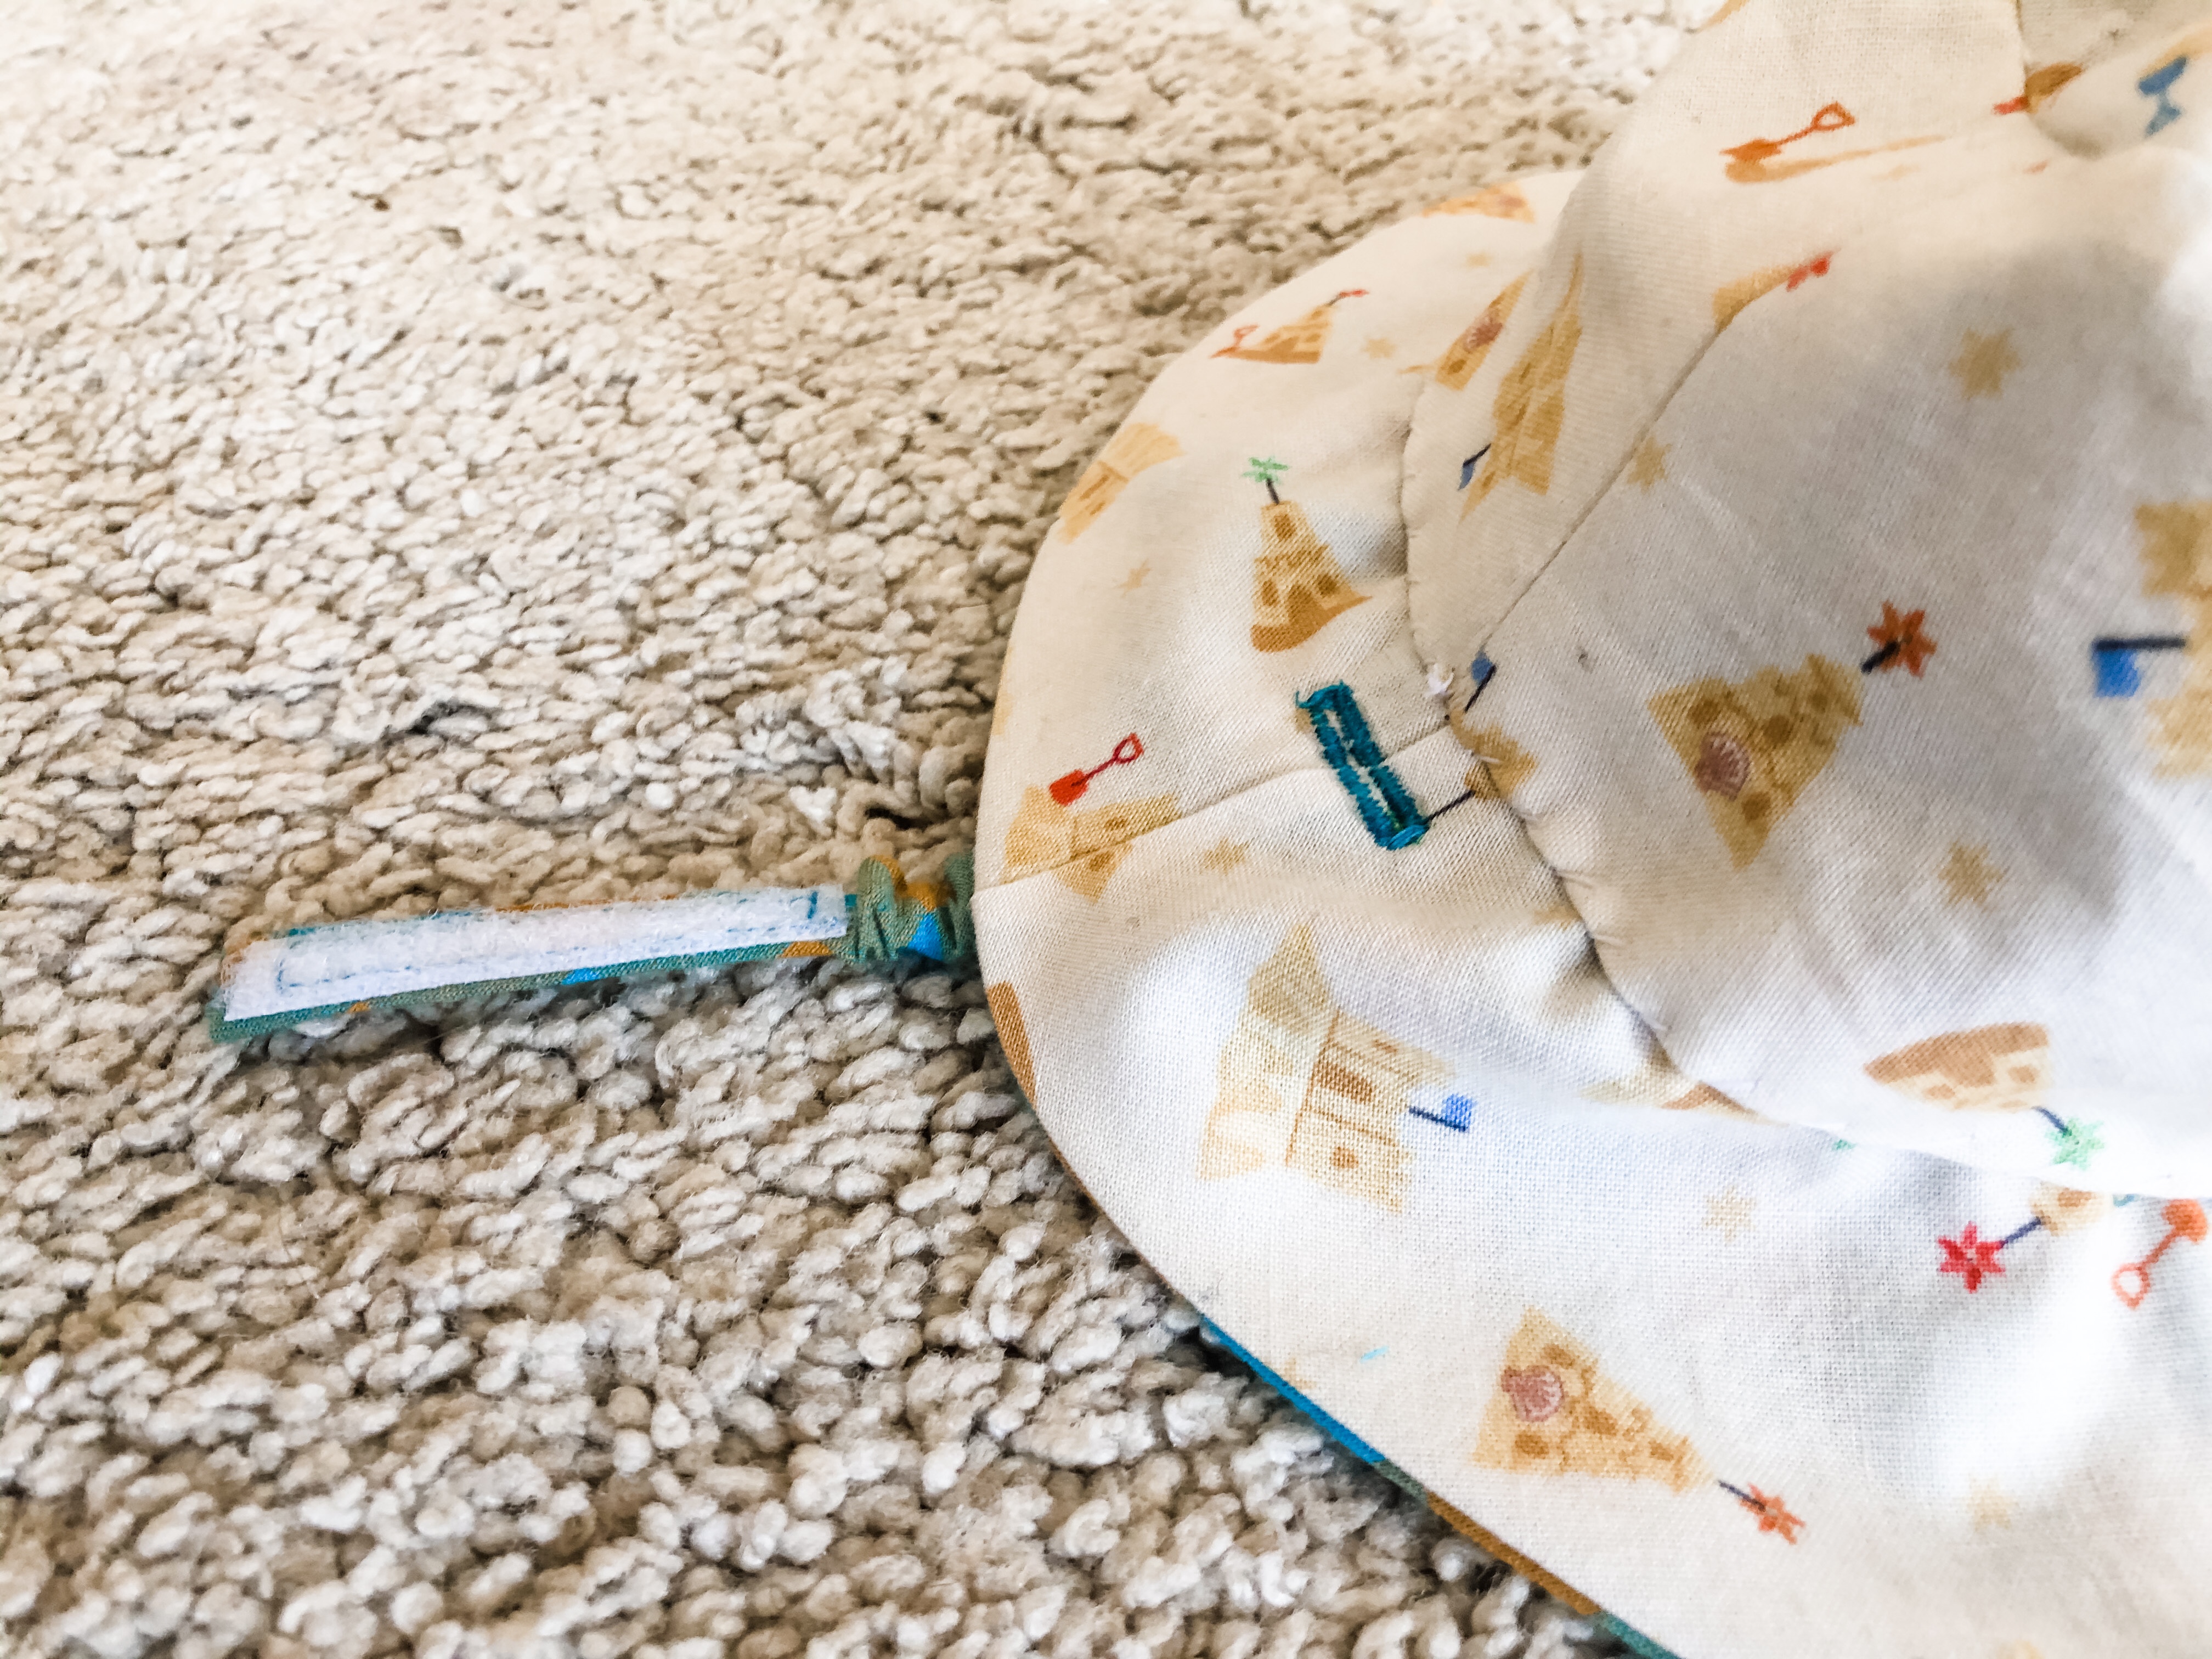
7. Baste the raw ends to the raw edge of the brim at the side seams. Make sure that your straps are placed in such a way that the velcro attaches both straps without having to twist one.
8. Attach the brim to the crown as per the instructions. If you’re making this hat for the first time, I highly recommend hand-stitching the second crown piece instead of attempting to do it on a machine. It’s near impossible to get everything lined up for the stitches to be straight on both sides.

9. Make a button hole through the brim at the side seam as close to the crown as possible. Don’t do what I did and stitch the strap into your buttonhole 🤦♀️

10. Cut open the buttonhole and enjoy! To ensure a really nice buttonhole, I suggest using fray stop and a buttonhole cutter to make it really clean.

Great ideas to add a strap and to make a cute matching hat for her doll.