
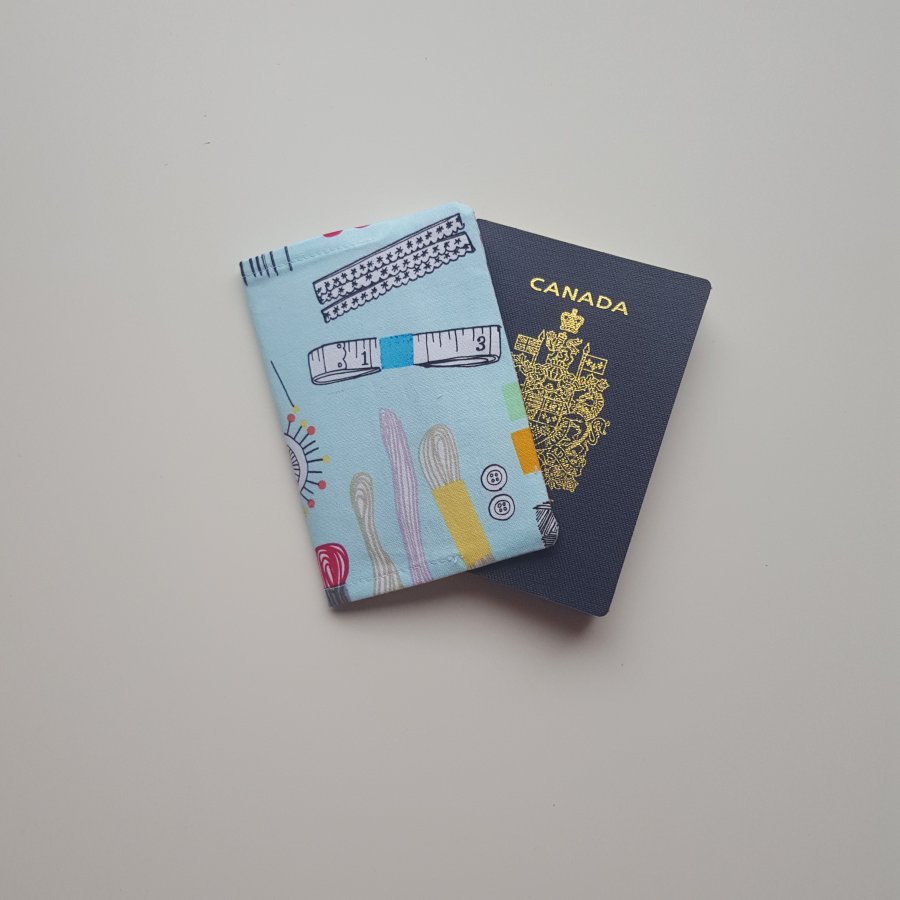
 This is the quickest, easiest little project that can be whipped out during a short nap or over the course of a couple of commercial breaks. It’s easy as pie if you are a beginner sewist or don’t have a machine. These little passport holders make the perfect little gift (or stocking stuffer, because, really, who hasn’t already started their Christmas crafting?) and can be cut out of teensy scraps or fat quarters.
For this project, you need:
- -Basic sewing tools (needle, thread, machine, scissors)
- -an iron
- -fabric scraps or a fat quarter
- -0.2 m or 6-inch length of fusible interfacing. I found the stiff, craft weight interfacing worked well here.
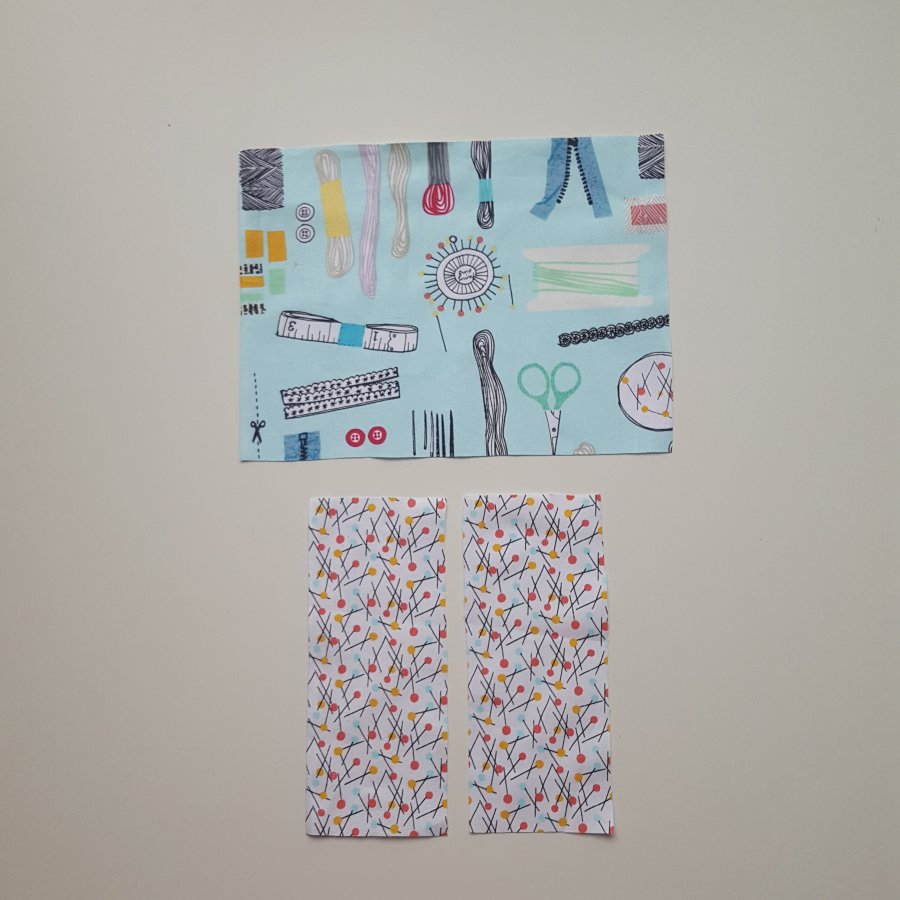
To start, cut out three rectangles of fabric and three rectangles of interfacing:
- One piece 8 1/2 inches by 6 1/4 inches
- Two pieces 3 1/4 by 6 1/4 inches
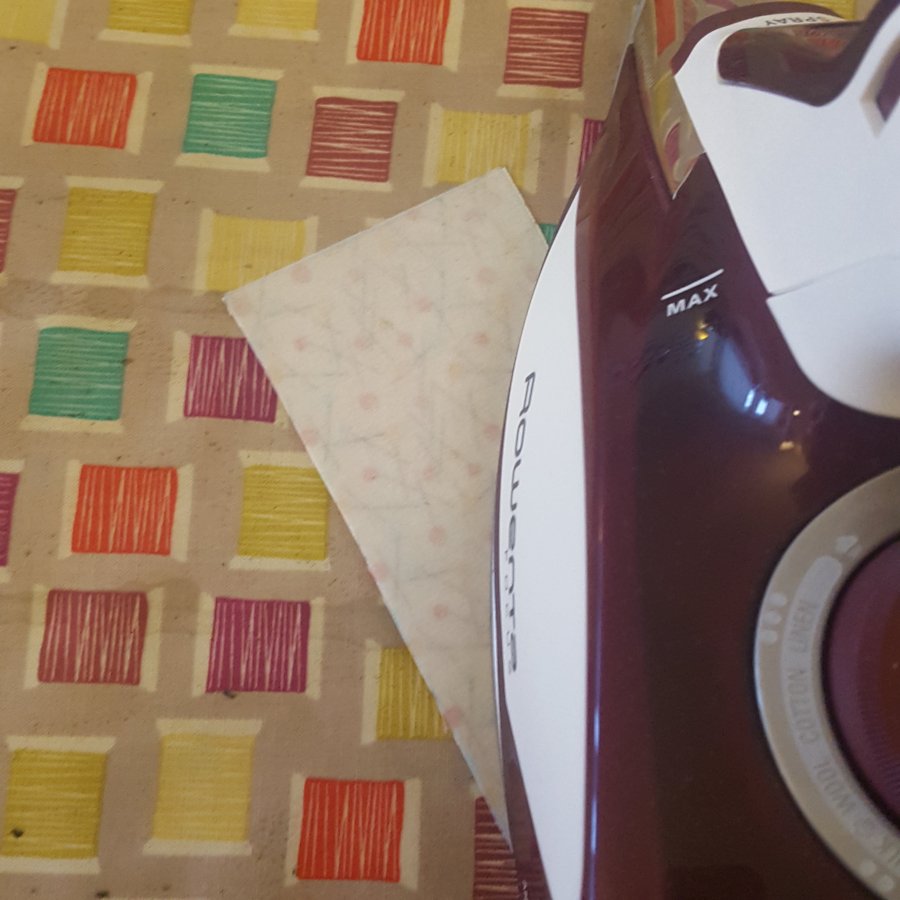
Next, fuse the interfacing to the fabric. If you haven’t done this before, you want to put the shiny side (glue side) onto the wrong side (the side you don’t want showing) of the fabric. Set your iron to high heat and turn off the steam. Place the iron on the fabric/interfacing and leave it there for about 20 seconds, not moving it. If you have a automatic shut off iron, keep it there until the light flashes to indicate it’s shutting off. Meanwhile, get you machine or needle ready. Repeat until you have covered all of the interfacing/fabric.
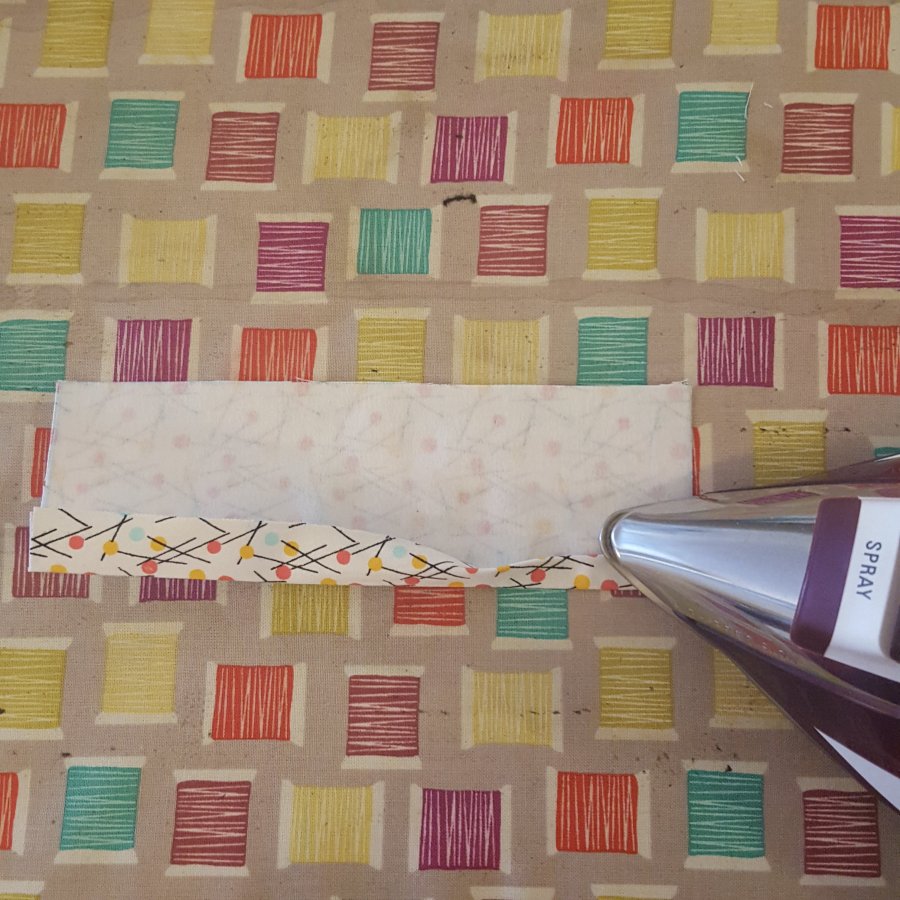
Then, fold under 5/8 inch of one long edge of each smaller rectangle and press, making sure to turn the steam back on. Fold again so that the raw edge touches the crease made by pressing a moment ago. You should have a neat little 1/4 inch edge. Stitch the length of this folded edge at 1/4 inch (or the edge of your presser foot.
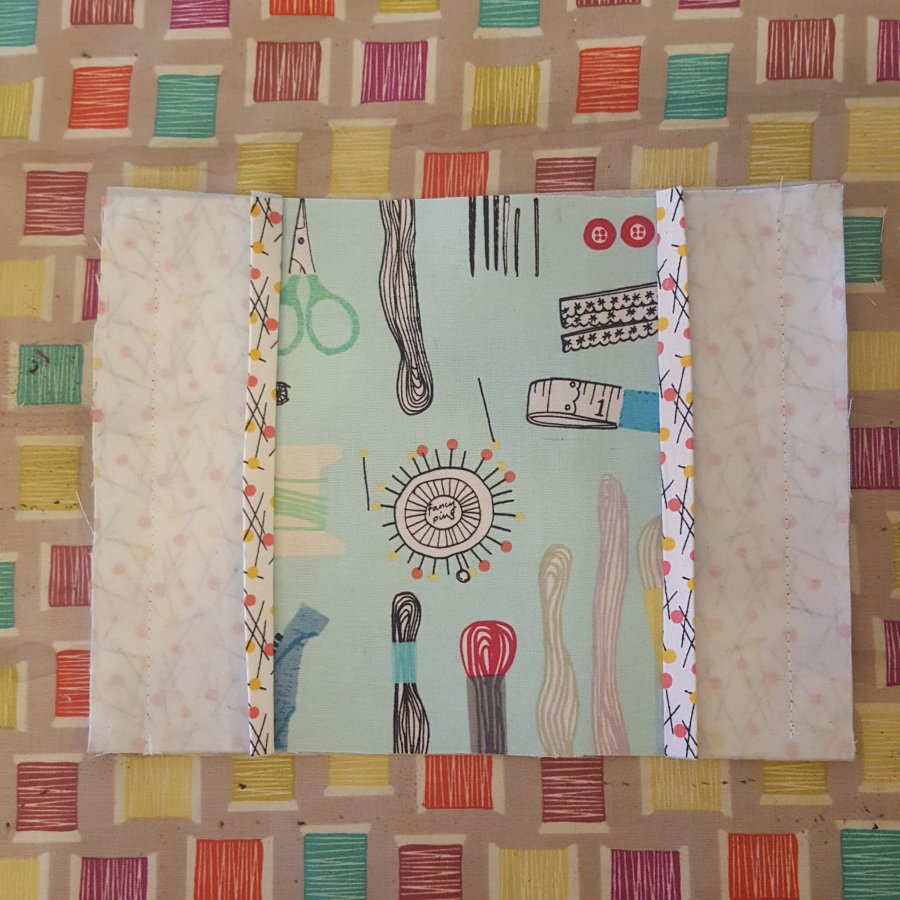
Now, pin the raw edge of the smaller rectangles to the edges of the longer rectangle, right sides together. Stitch at 5/8 of an inch. Press open and trim as close as you are able to the seam. Since we’ve interfaced these pieces, we don’t need to worry about the fabric fraying.

Next, fold the side rectangles back so their right sides are against the right sides of the larger rectangle. Stitch at 5/8 of an inch ONLY along the flap.
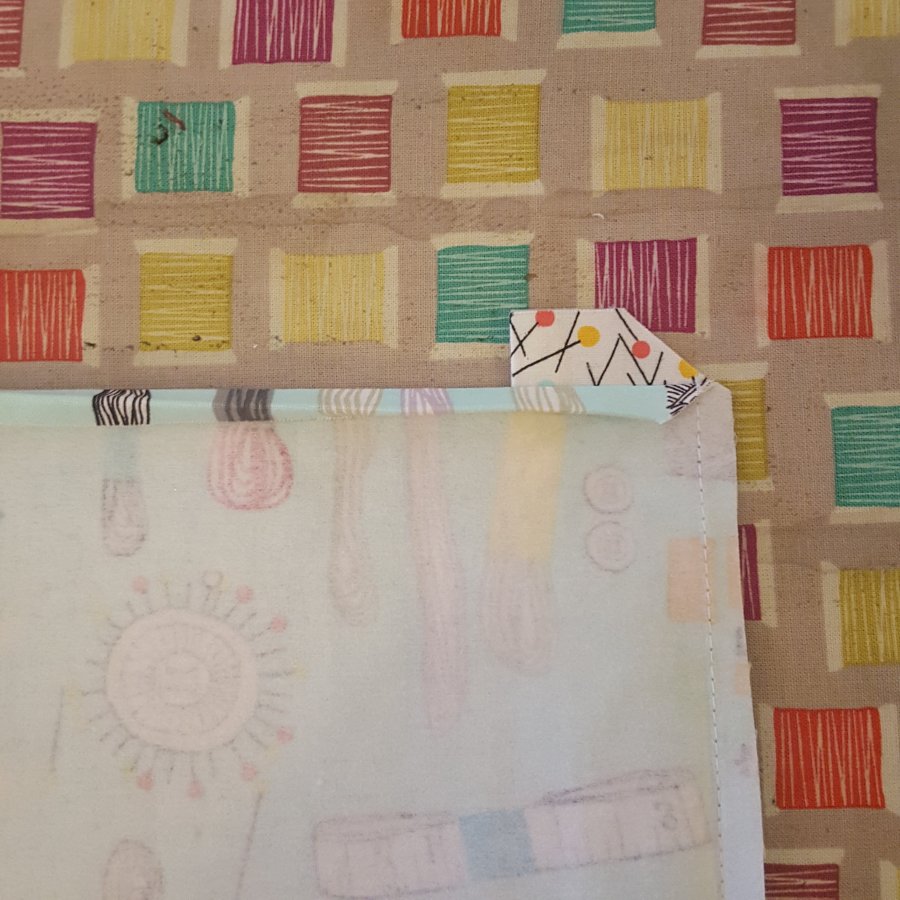
Then, press open and down the seam allowance of the larger rectangle. The raw part of this rectangle should automatically fold down at 5/8 of an inch. Fold inside like the edges of smaller rectangles so that you have a neat 1/4 cuff. Repeat for the other side.
Stitch along this line at 1/4 inch, making sure NOT to sew down the flaps.
Trim corners at 45 degrees, then trim any extra seam allowances.
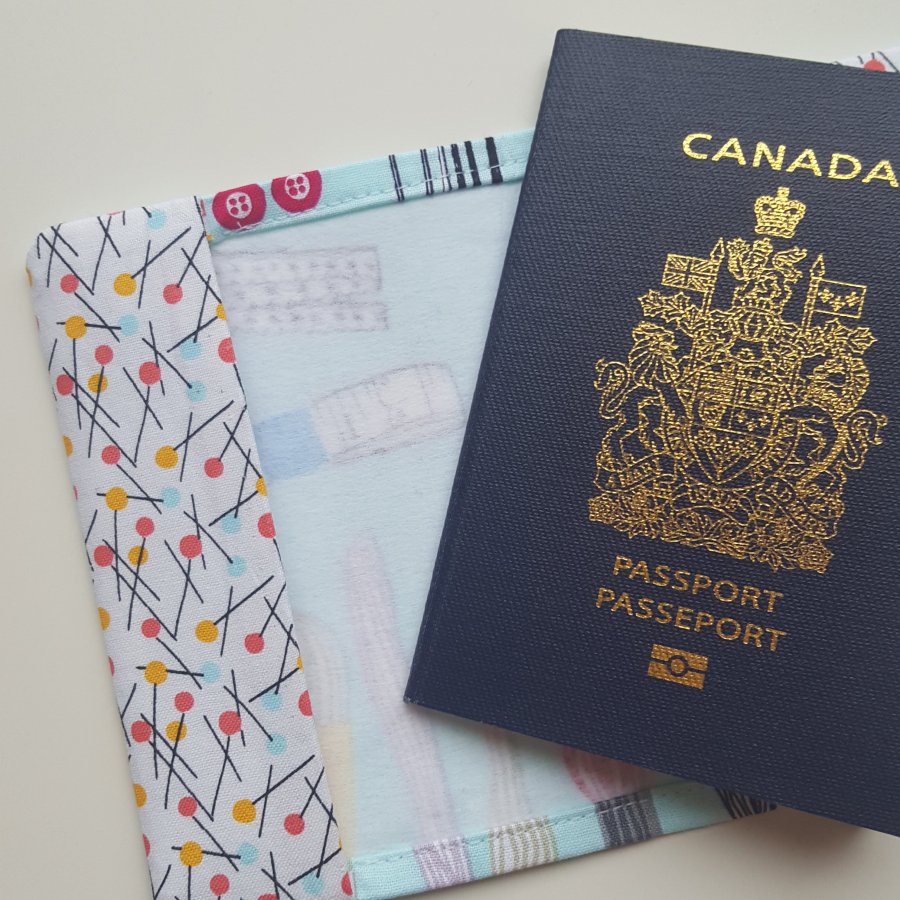
Turn, press and slip your passport inside. You’re done!
