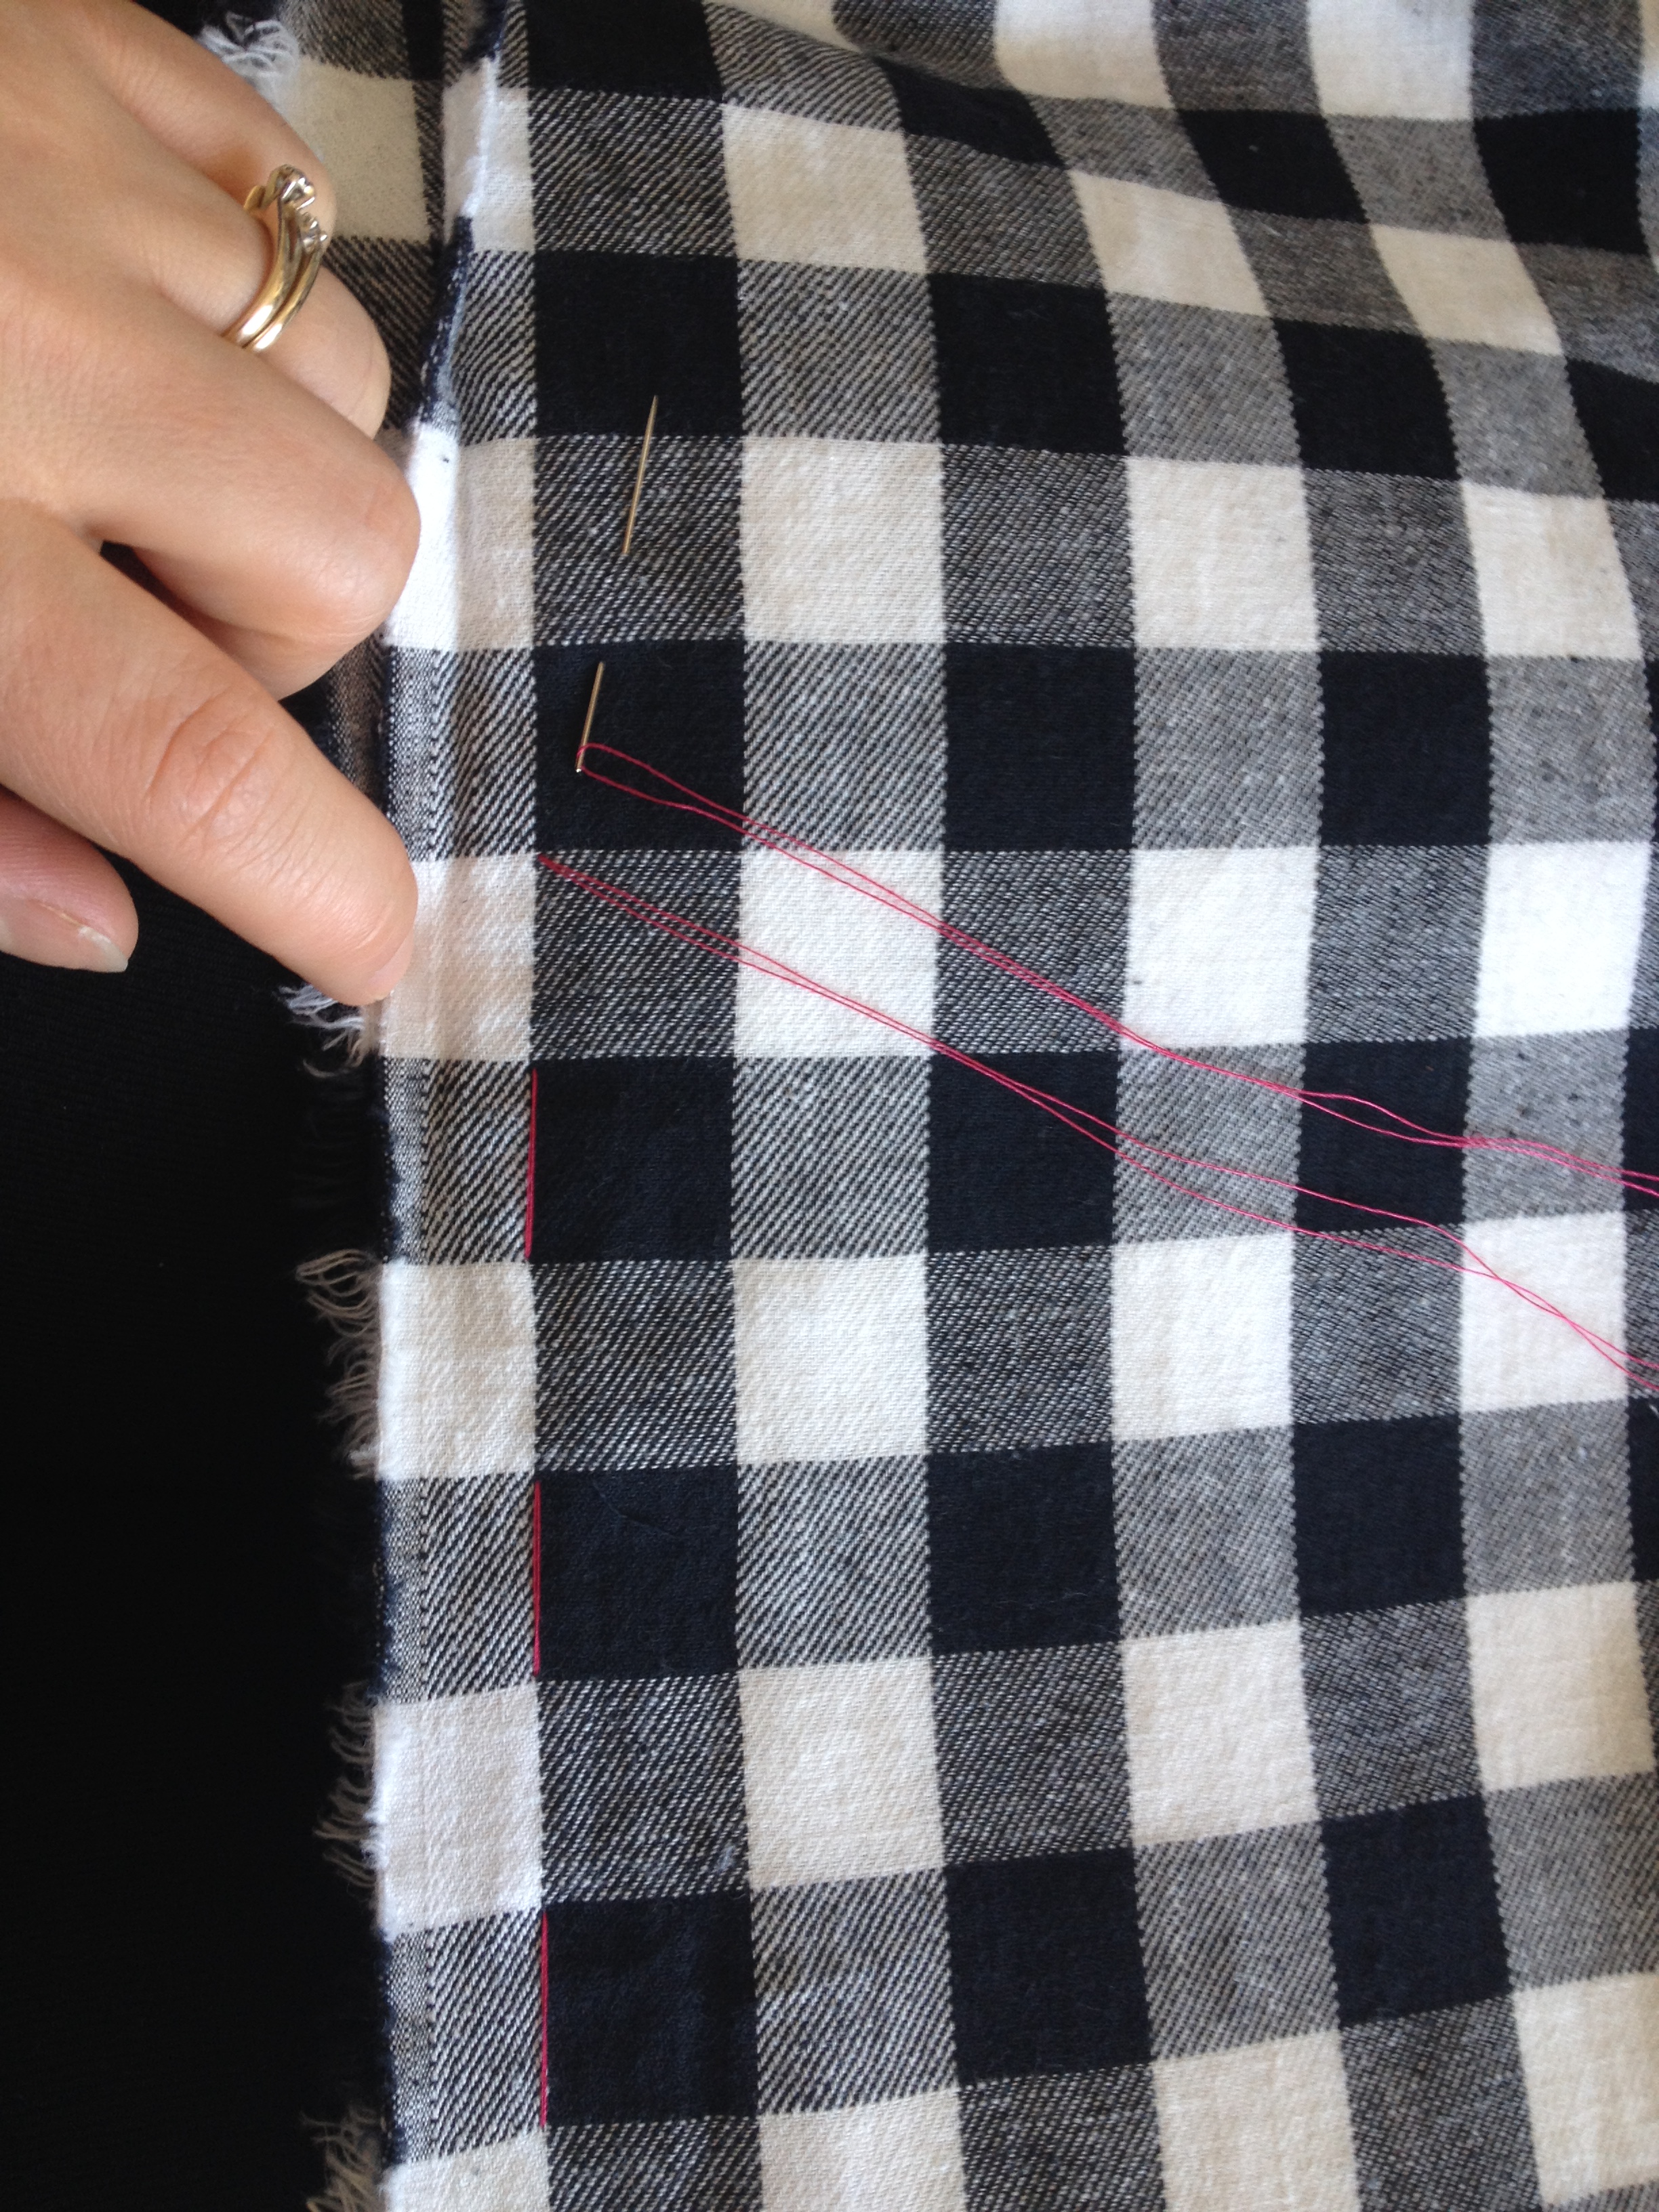
 I am so glad I picked easy patterns for the blouse and skirt, because matching up the checks ended up being a huge pain. In doing my research, I discovered that pinning the fabric together when folded made sure that the checks stayed flat. I found that the pins had a tendency to move, so when making the skirt, I used a contrasting colour to tack the layers together.
 Because the check on the skirt was so much larger, I had a much easier time getting the fabric folded straight. I spent a lot of time laying out my pieces and using fold lines and calculating seam allowance in order to have my check lay the way I wanted them to. You’ll notice that the middle front seam starts in the middle of a black check and the pattern looks continuous. This took some math to place, but I’m really glad I too the time.
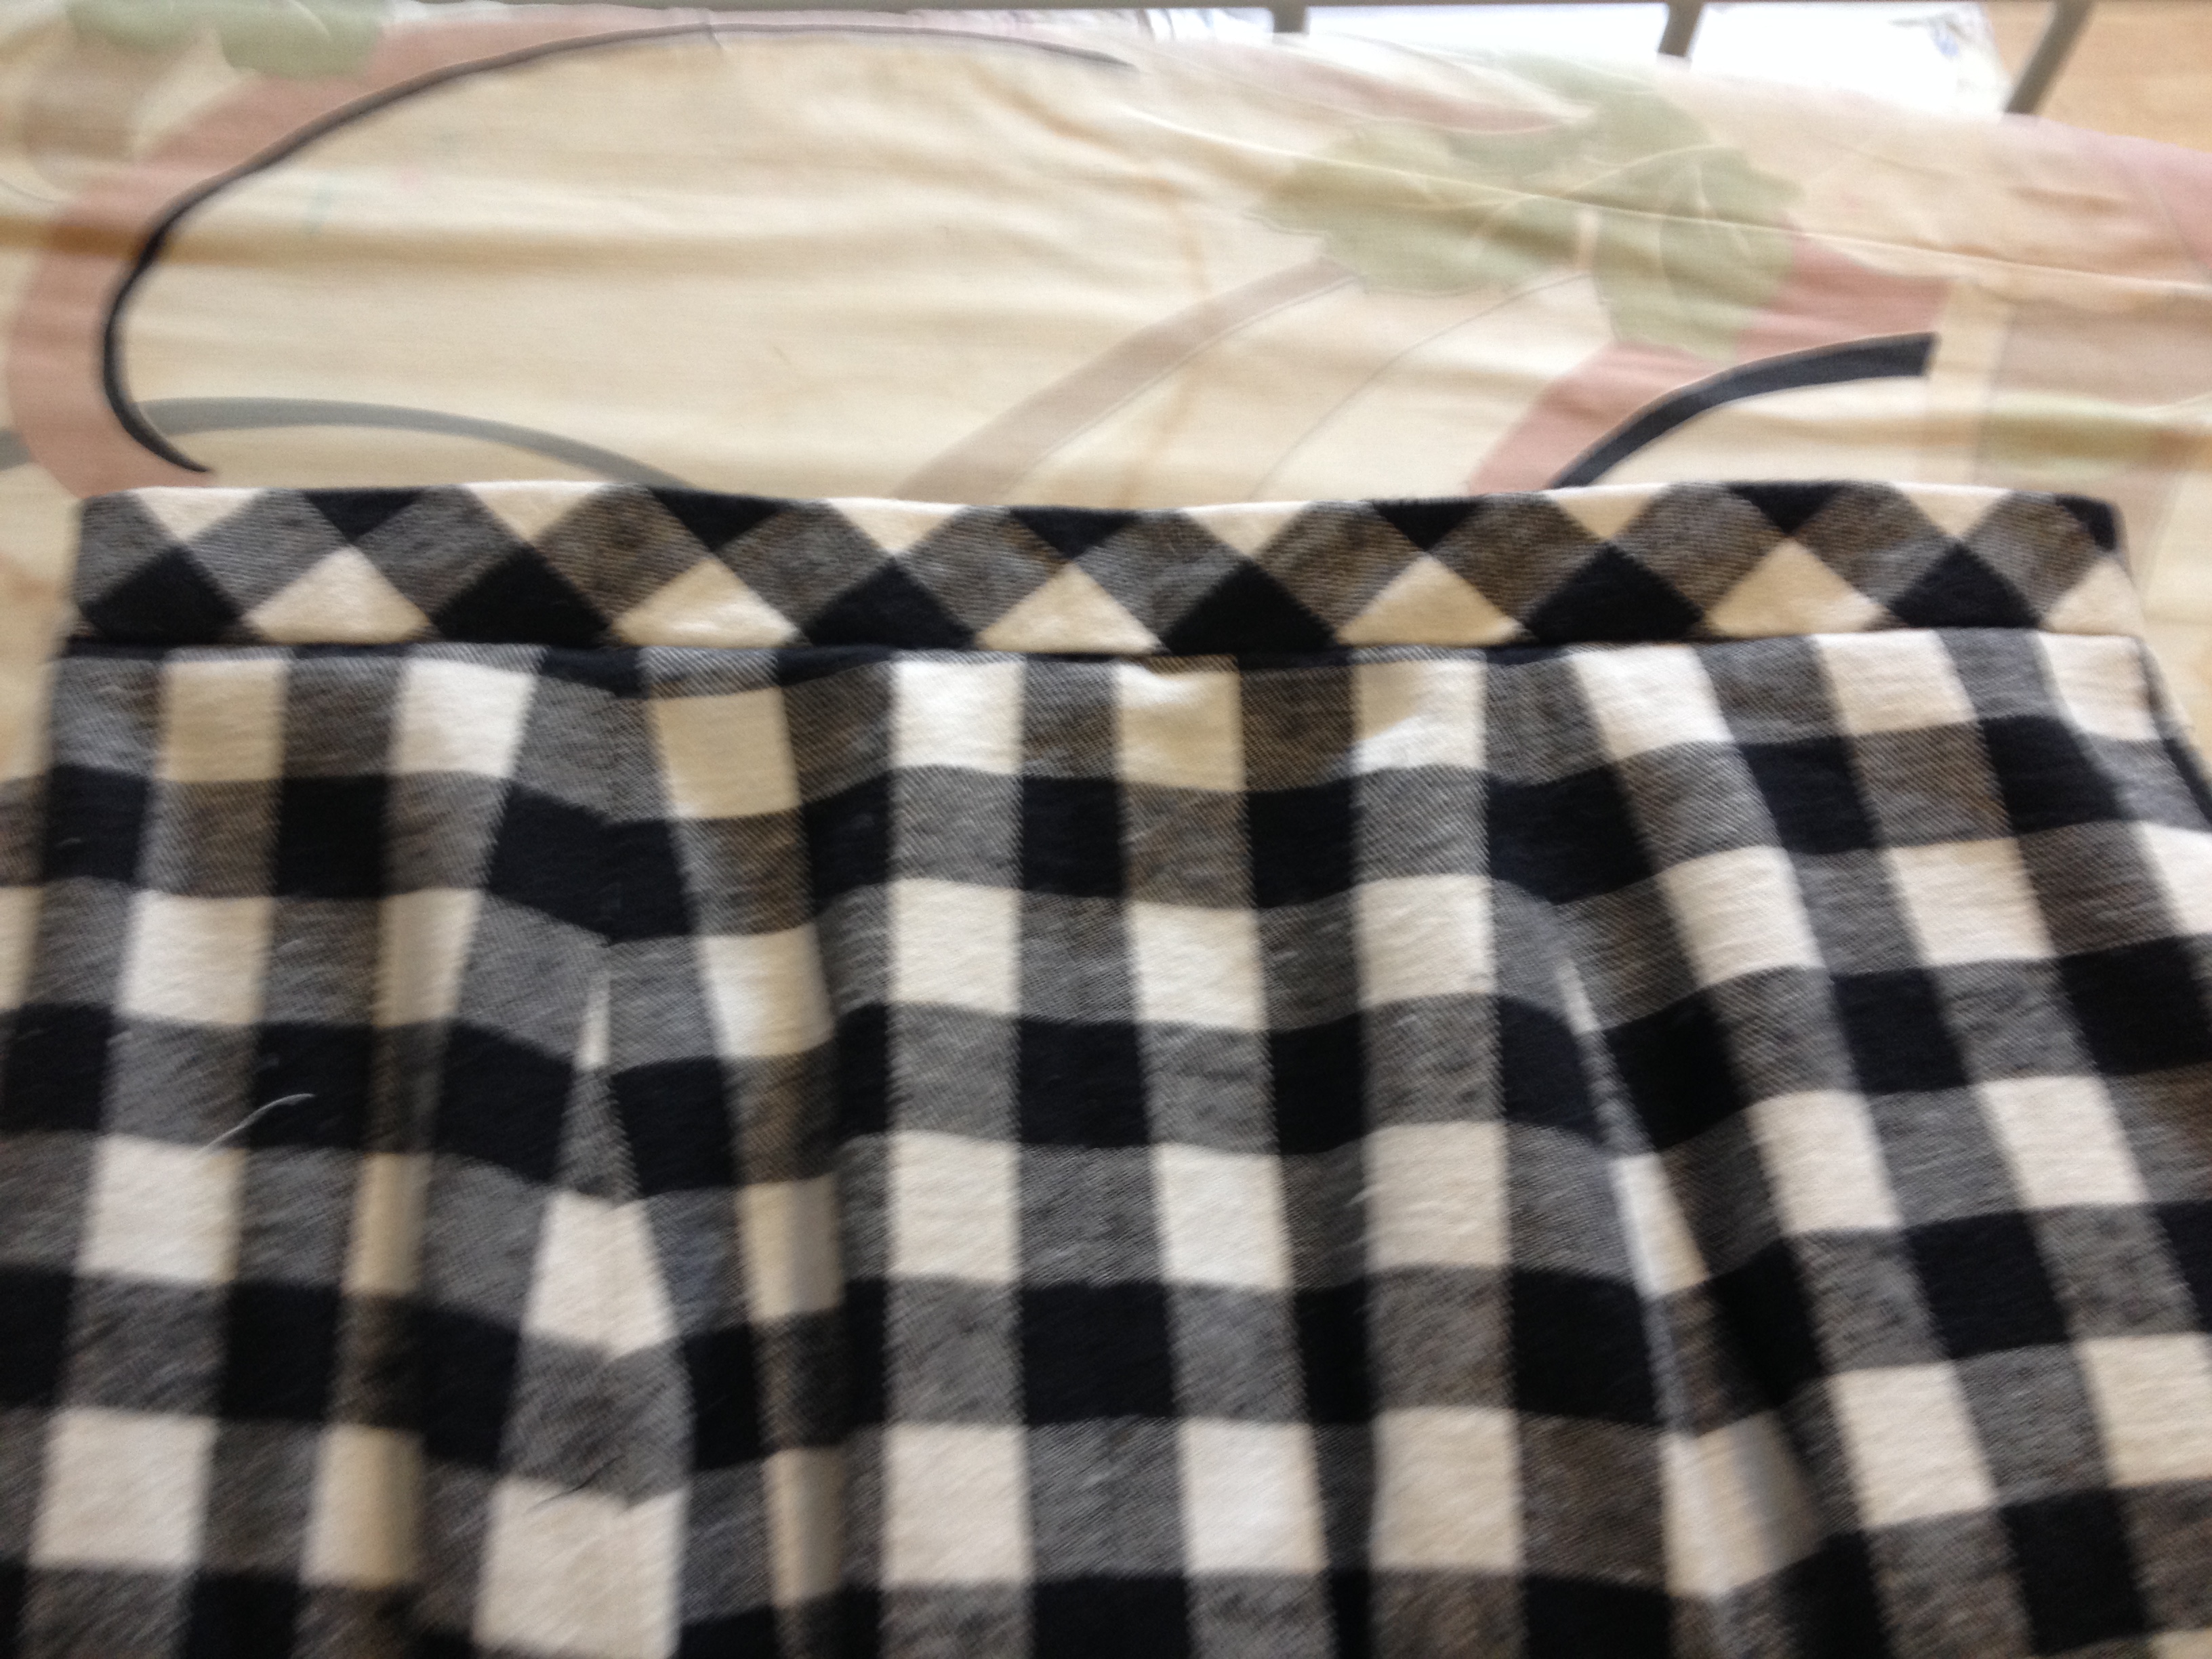
 My other favourite part is the waistband. I decided to cut it on the bias instead of the grain to get the fun diagonal look. I took my time to make sure that the front middle had a perfect half-diamond in the black. I used thread later to trace it to make sure it was exactly even when I attached it to the skirt. I’m happy with the way it turned out (especially since the pattern boasted the disclaimer “Not suitable for obvious diagonals.” Ha!)

My second favourite part is the fact that I added pockets. The pockets in the pattern were only meant for the culottes, but I love pockets if I can get them! To make sure they laid flat I understitched the inside of the pocket. I learned this technique making a skirt last year and it has quickly become one of my favourite tricks to make something look really finished.
 I also took my time to research the fit of the skirt. I prefer a really tight waist and have run into trouble using the sizing charts on a pattern. I couldn’t find the finished measurements anywhere, but ran into this blog about wearing ease. It helped me to figure out what size to make and helped me to avoid spending hours completely re-making the garment because it was three inches too big (this has happened, and is not fun to deal with).
 Overall, I’m really happy with the result. If you look closely at the collar of the blouse, you will see that I used the larger pattern for the collar band on the inside and for the underside of the collar on the outside so that if I pop the collar, I’ve added an element of interest. I honestly think I may start buying little scraps of fun fabric to do this from now on. My next project is a chambray blouse (Same pattern, but with the rounded peplum and the peter pan collar) and I might grab something summery for the underside of the collar. Until then!
 (Side note: I’m currently watching “Gentlemen prefer blonds” and Jane Russell is wearing a fabulous short trapeze coat in a large black and white gingham, lined with lemon yellow. Love!)

[…] I sort of forgot about her, until I stumbled across her blog post about sewing ease while making the gingham skirt and placed a hold on her book Gertie’s New Book for Better […]
[…] The black and white gingham check peplum […]
[…] It’s super important to understand ease when making things fit! […]