I’ve gotten a lot of question about the shirred dress I sort of improvised last week so I thought I would give you a run-down of what I did. Be warned that I figured out a lot of this on the fly and this is in no way a detailed tutorial. That said, it was pretty easy to put together and you can totally do it to!
The Fabric
Everything I read about shirring said that it works best on lightweight fabrics. I used a lightweight linen I picked up at Blackbird fabrics about two weeks ago with a thick vertical stripe. It worked very well and I highly recommend it in general but also for a shirred dress.

The Pieces
The beauty of this dress is that it is comprised almost completely of rectangles. I made the main body of the dress out of two rectangles (front and back) but you could easily do one piece of fabric with just one side seam depending on your measurements and fabric width.
My hips are my biggest part and measure close to 50 inches right now. I decided to do two panels each 30 inches wide. I had about a half inch seam allowance (I matched up the stripe instead of worrying about a specific seam allowance) meaning I gave myself about 8 inches of ease. I did a few tests and found that the shirring reduced the width to 60 per cent – meaning that a 10-inch piece of fabric would shrink to 6 inches when shirred. You may have to do some math to figure out if the 8 inches of ease will work for your bust.
I made the body rectangles 34 inches long. I essentially held the fabric up to my body and measured from my upper bust to about my knees.
For the ruffle, I cut two 12-inch strips as wide as the fabric. This was overkill and I ended up chopping off four inches of width when I got it on my body. When choosing the length for something that will be gathered, I always aim for something that is 50-100% longer than what it’s being attached to for a nice full ruffle. This would have meant two pieces about 60 inches long, but my fabric was only 56 inches wide. I honestly think it’s about the perfect fullness.
I’m going to tell you all about what I did for the straps later because I actually figured them out once the dress was constructed.
Construction
Here’s the order of operations for putting together this dress:
- Sew one side seam
- Finish top edge by folding over 1/4 inch, pressing and then folding again. Due to the shirring, it’s possible that the inside of the top edge will be visible, so make it look good.
- Do the shirring (more later)
- Stitch together second side seam
- Stitch side seams of ruffle
- Gather ruffle
- Attach ruffle to bottom of skirt
- Hem skirt
- Attach straps (more later)

Shirring
I am not an expert in shirring, so I highly recommend doing a bit of your own research before getting started. I looked at a couple YouTube videos and reels before I got started but that’s it. Here’s what you do:
- Wind your elastic thread on your bobbin by hand. You want it to be just a bit tight. I recommend winding three or four bobbins to start because they run out fast
- Mark your lines of shirring. I started a scant 1/4 inch from where I had finished the top edge. You’ll likely want to do either 1/2-inch or full-inch increments
- Using the longest stitch length on your machine stitch along the first line you marked
- You can backstitch at either end, but do so carefully and slowly so as not to break your elastic. I also recommend tying the ends of your elastic together when you join the second side seam and make a tube. I’ve already had one elastic come undone.
- I started with five rows of shirring at 1-inch increments, tried it on and then added two more rows. I wanted the shirring to just cover my bust, but you may want it to go a little lower.
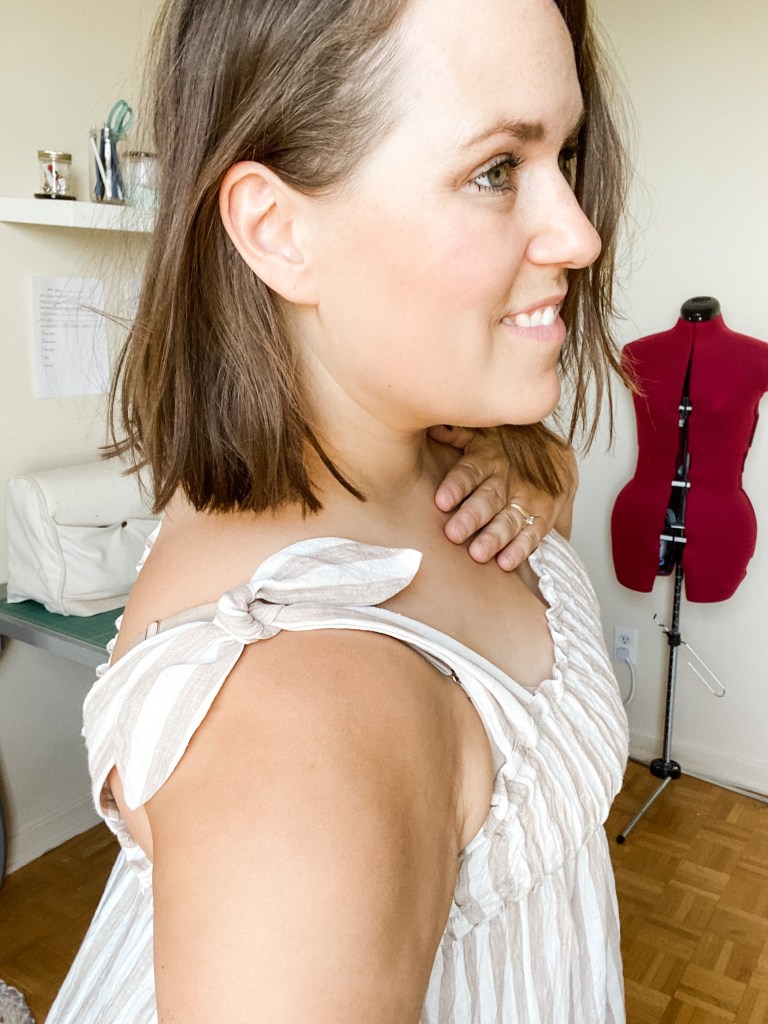
The straps
The straps were a bit of a conundrum so I tried a few things on. What I landed on were straps wide enough to cover my bra straps that tied up at my shoulder. Here’s how I drafted them.
I basically started with two 2-inch by 12-inch rectangles. I pinned them on one shoulder at the front and back where I wanted them and then tied them together over my shoulder. I unpinned them while still tied and trimmed the ends to be curved instead of straight. Next, I un-tied the knots and looked at the crinkles to figure out where I needed to narrow the rectangle to make it easier to tie.
Lastly, I pressed my little mock up in half, traced around it on some folded pattern paper and added a 1/4 seam allowance. I cut it out, I folded it and voila! Beautiful, curvy, symmetrical strap!
I attached the straps by pinning the raw edge of the strap to the wrong side of the top so that the strap is facing down toward the hem. I stitched them together along the stitch line that finished the top edge of the bodice. I then trimmed the strap seam allowance to 1/8 inch, folded it up and stitched to the top edge of the bodice at 1/16 inch. That’s it!

Thanks for this. Dress is very cute.
Thank you!