
 If you follow me on Instagram, you know that I bought a Baby Lock Cover stitch last week. This is has been a long time coming as I’ve been increasingly frustrated with my ability to easily and prettily finish knits. I decided that I would finally buy myself one as a gift to myself for having another baby. And also, practically, I’m going to be wearing knits from now until I go back to work in September 2020 so it makes sense to make sewing them easier.
I decided to go to the Ottawa Sewing Centre as I’ve had them service my Janome and I wanted to buy from somewhere local to have the chance to ask questions after bringing it home and get help if I needed it. I went in to do some research initially and got a lot of great information. When I went back to buy, I again got a ton of support and had a really great experience buying my machine.
The Ottawa Sewing Centre had three cover stitch machines: an Elna , a Brother , and a Baby Lock. The Elna and Brother were comparable in price, but the brother does a double-sided cover stitch and and had the free arm option which would make hemming tight tubes like leggings much, much easier.
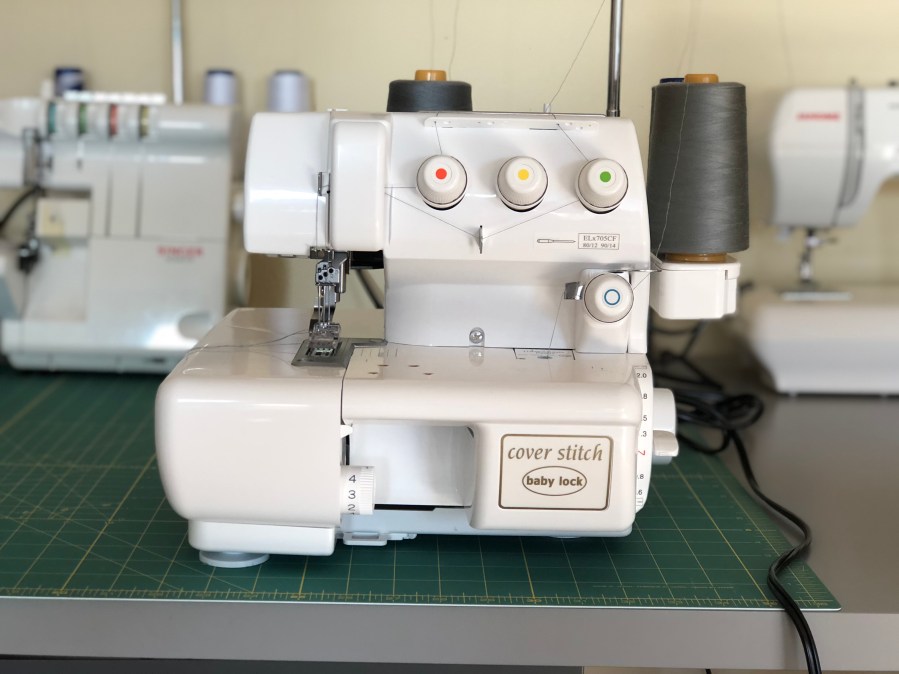
The Baby Lock was in a league of its own at double the price ($1699 – on sale from $2500 apparently). While it only did a single-sided cover stitch and did not boast the free-arm option of the Brother, it does have the air threading and the reputation of being a smoother ride and more reliable machine. For these two reasons, I opted for the Baby Lock over the brother.
Set-up on the Baby Lock was pretty easy. The manual is fairly clear and nicely colour-coded. Threading is actually simpler than threading a serger as three of the threads are on top with only one looper that goes underneath. The only trouble I had was figuring out the looper thread with the air-threader. What I didn’t understand (and do now) is that you may need to pump the air-threader lever a few times to get the thread all the way through. The machine comes already set up with a four short threads and a small swatch with a sample cover stitch already sewn on. This allows you to see what everything should look like and know that everything (including the tension) works.
 I took about 3.5 hours to set up the machine, try a few attachments (more on that later) and finish a simple tank dress using my serger and the cover stitch. I would say this is very easy to set up and that if you wanted to thread your machine and start hemming something basic using your iron and some pins, it would maybe take you a half hour.
I had very clear goals when purchasing my cover stitch. I wanted to be able to make hems easier, prettier and faster as well as any kind of binding (think necks or armholes on tank tops). I wanted to be able to make tanks, t-shirts and leggings super simply with less fuss.
As a result, I bought three attachments right off the bat and tried them all out already. I got a clear foot on the advice of Johanna of The Last Stitch and am actually astounded that this does not come standard on all cover stitch machines. The clear foot is key if you are hemming anything in the round and want to finish your seam nicely. Buy this foot when you buy your machine. You will need it.
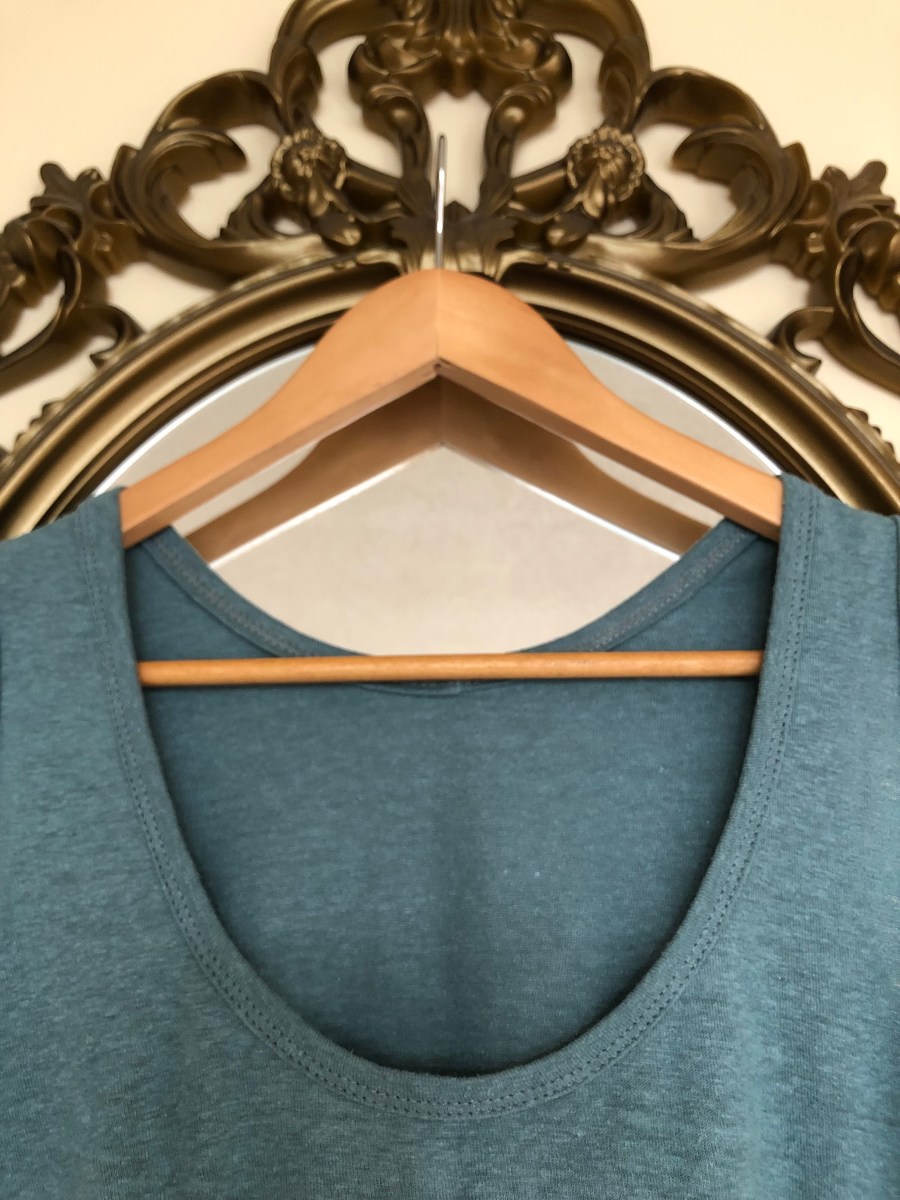
 I also purchased an attachment for binding. Make sure that you pick up the attachment meant for both knits and woven bias bands. I figured this would be helpful on necklines and armholes and boy was I right! I will never do a basic neckband again. Not only is this a prettier finish, but also significantly easier than making, pressing and pinning a band. I got the 15 mm attachment and am very happy with the size. This very intimidating-looking attachment isn’t too hard to figure out conceptually, but took a good amount of fiddling to get the placement just right. As it is, I know I don’t have things perfect, but it bound everything nicely and I’m happy with it.
 The one interesting about the binder is that it completely changes the way you construct your garment. You cannot use the binder in the round, so you need to leave your neck and arm holes open. For example, for my tank dress, I sewed one shoulder seam, bound the neck, sewed the other shoulder seam, bound the armholes, then sewed the side seams. When you go back to your serger to sew these seams, you are sewing through very thick chunks of ten layers of fabric at the beginning or end of your seam. The only way to sew these together keeping the ends perfectly lined up is to use a hump jumper or jean-a-ma-jig to keep your presser foot level.
 The last accessory I bought was a single downturn feller to help me do hems. It appears the standard hem is 5/8″ but the Ottawa Sewing Centre only had 1″ and 1/4″ in stock I knew I wanted to try it right away. I grabbed the 1/4″ feller as I do make a lot of of kids clothes. This attachment was much easier to get going than the binder, but still took a bit of adjusting to get the spacing right. When I did, though, it was magic as I have never hemmed anything so quickly and evenly in all my life.
 My only other piece of advice for people buying a cover stitch is to stock up on thread cones. I figured I would just switch my cones from my serger to my cover stitch at the end when I was ready to do hems. Using the binder completely changes the order you sew in and so that is not possible. I am definitely going to go stock up on my basic colours (white, black, grey) to have enough to thread both my serger and cover stitch at the same time.
Let me know what else you want to know about cover stitch machines! I have a lot of plans for experimenting and trying things and want suggestions on what to try next!

That’s really interesting- I have the basic Brother and its great on flat surfaces but hen it comes to any kind of seam it has a hissy fit, so much so that I haven’t been using it. I will try the hump jumper to see if that helps, thanks for the tip. Keep us updated on the Baby Lock (if you can!) I am really curious if it is worth the investment. Particularly if the threads snap during wear, which seems to happen to me as well.
I do everything with the serger and lock stitch sewing machine. Attachments are available for the standard sewing and with the double needle plus binding and hemming attachments I do a lot that looks like what you show as the result of your cover stitch sewing. I have read a lot about cover stitching, but could not see what actually is the extra that one can do with it, apart from what can be done with sewing machine and serger. Please show some more?
[…] but it works on me because I’m short. I’m still playing around with my Baby Lock coverstitch and thought I would try the 1/4 inch single downturn feller foot on a woven. If you chose to do […]
I hadn’t thought about the extra cones aspect…good point!
What are your thoughts on a combo serger/coverstitch? I like the Accolade but not sure if the combo is the best idea?
I just bought a Babylock Coverstitch yesterday. I bought the clear foot with the machine and would like to try the 15mm binder that you recommend. That will be my next purchase.
I’m so happy I found your Babylock Coverstitch review! I couldn’t make up my mind about which machine to buy. Thanks so much for sharing your journey. Babylock Coverstitch is the one!!!
I’m glad you found it helpful! I still love it two years on 🙂
thank you so much, as I cannot find many reviews for this particular machine.