
I realized this weekend that October is half over and that’s an issue. We’ve had such a warm fall that I am having trouble getting into a headspace where I understand that winter is coming. All that to say that I told myself that I would have my anorak done before November, when I would really need it, and well, that means I have two weeks to get it done. Gulp.

Date: Monday, October 16
Time sewing: 1 hour; 45 minutes
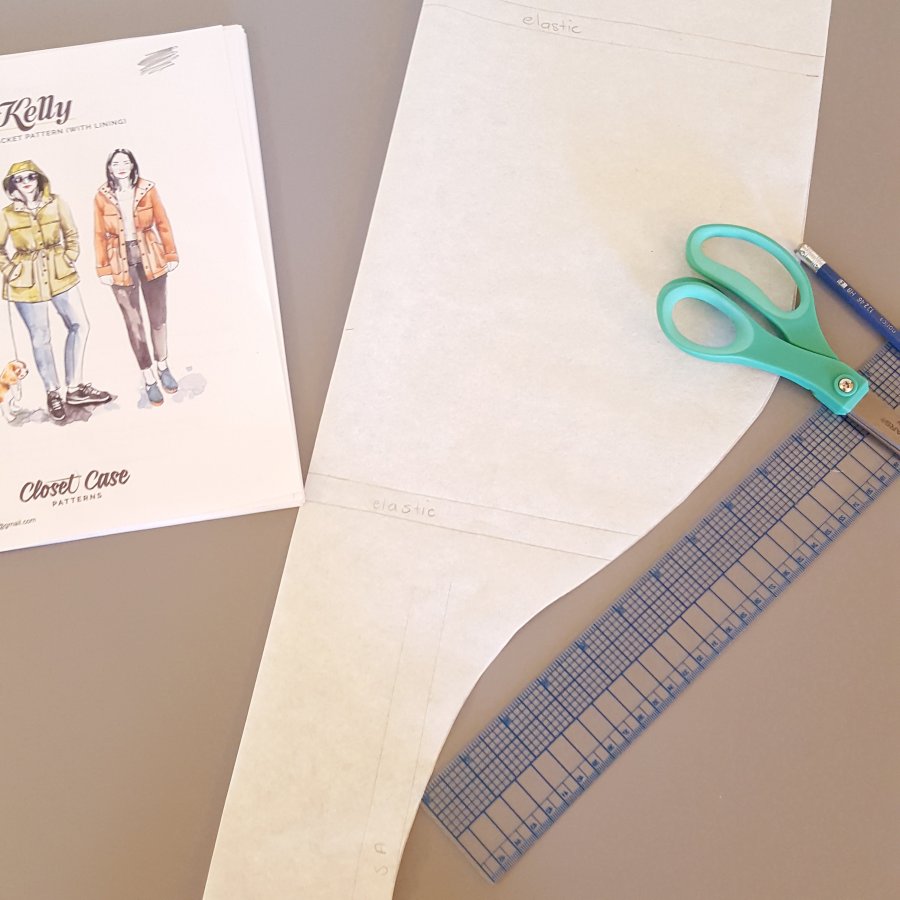
What I did: I got all of the pattern pieces graded and cut out in the morning. Later, I worked on pinning the pieces I would need for the muslin, but realized I only had enough fabric to do the body pieces. I figured I would just cut into an old muslin for the hood and sleeves (which are actually the reasons why I am making a muslin), but my old mock ups live in the closet of the room where the baby sleeps, so I had to stop.
Date: Tuesday, October 17
Time sewing: 45 minutes; 50 minutes; 40 minutes
What I did: During Baby’s first nap, I finished cutting out the pieces for my muslin (out of old dress muslins – I don’t know why I bothered to keep these, but I guess they have come in handy!). I also got the hood and sleeves sewn together. During second nap, I got the muslin almost completely together. Later, I managed to get the sleeves set and figure out what alterations I want to make.
Date: Wednesday, October 18
Time sewing: 55 minutes; 20 minutes
What I did: In the morning, I made alterations to my pattern, which ended up just being shortening the sleeve by an inch. I toyed with the idea of making the hood a bit smaller as I HATE when hoods fall into my eyes when wearing them up. This one doesn’t look too bad, and I figure with the stiff fabric and thick lining, the hood will have enough body on its own to stay up.
I managed to get done all of the pieces that need to be cut twice from the outer fabric when the baby sort of went back to sleep.
I also drafted my babywearing/maternity panel. I’m just trying to figure out how to work the zippers so I only have to make one panel than can go both ways. My first idea is to install a third, upside down zipper in behind one on the jacket, but am having trouble visualizing the plackets to figure out how that will work. My second idea is to install a second zipper onto the babywearing panel. Right now, I’m leaning to a second zipper on the panel as I’m more okay with it looking weird due to a twin zipper. It will probably be hidden by the placket anyway? Does anyone out there have any clever hacks?
Date: Thursday, October 19
Time sewing: 1 hour 15 minutes
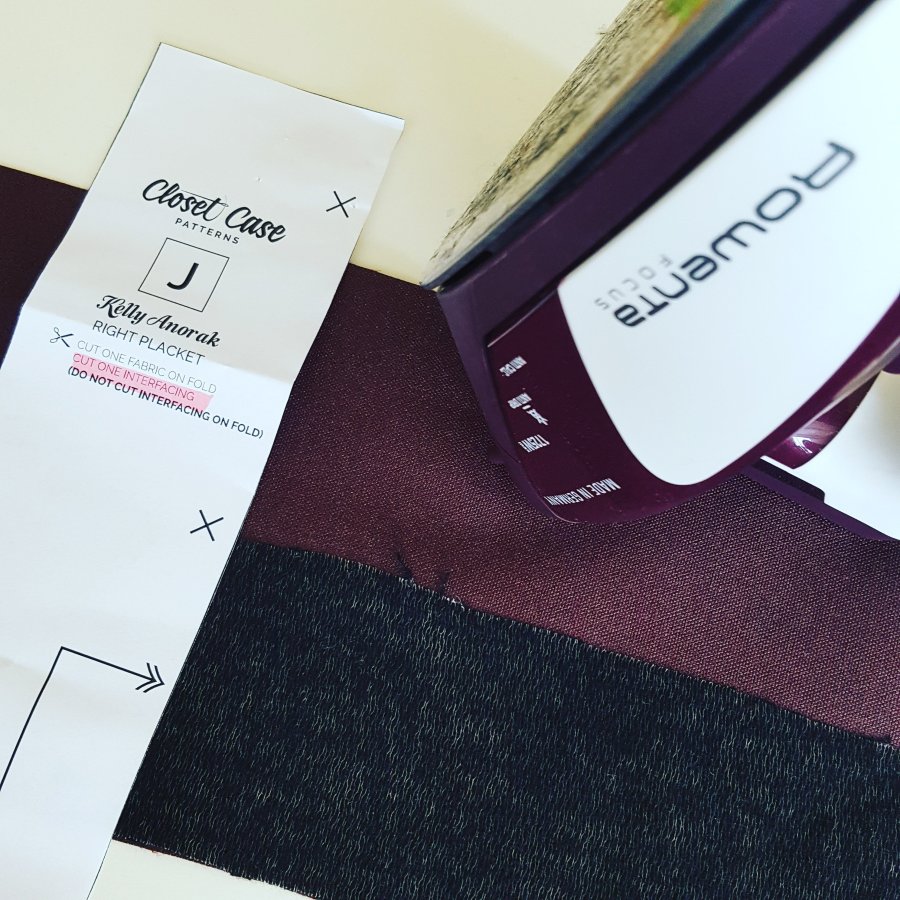
What I did: I cut and fused all of my interfacing and, while waiting in between, marked all of the notches on the lining in chalk. (I find it hard to see cut out notches on serged edges.) I also did a run to the store to pick up a handful of supplies including thread, extra zippers and grommets (I ordered the Kelly Anorak Hardware Kit, but decided I needed more for the babywearing panel. In retrospect, I should have just bought two), needles, elastic cord and nifty reversible zipper pulls (also for the babywearing panel). I also picked up the fabric for my Linden Swap – it’s a gorgeous maroon stretch velour and I really hope my secret recipient likes it!
Date: Friday, October 20
Time sewing: 45 minutes; 20 minutes; 5 minutes; 1 hour 45 minutes
What I did: I was feeling really good about my progress and thought I might even do TWO days worth of tasks today, but didn’t count on the amount of research I would need to do. I should have spent more time reading up on working with waterproof fabrics before starting, but I guess hindsight is 20/20, right? So, I realized quickly that pressing would not be terribly easy due to the super thick nature of the canvas and the waterproof coating. I set to the internet and learned some interesting things. Most of the links I came across spoke specifically about thin nylon, so a lot wasn’t relevant. I had also already washed and dried a swatch, then the actual fabric as well as tested it with my iron (with and without steam), so I knew that my fabric could withstand some heat, while most websites warn against using much head at all lest you melt off the waterproof coating.
I did learn, however, that these treated fabrics often show needle/pin marks, so I need to be careful to pin only in the seam allowance. This is proving really difficult as this fabric DOES NOT take pressing and I reeeeeeeaaaaaally need pins to keep things in place. I’m realizing now just how much I need a clapper, as I think it would really help make these presses a bit crisper. I am also seeing the advantage of wonder clips. But for now, I will make do!
Here are some of the links I found most helpful when dealing with waterproof fabric:
https://blog.plushaddict.co.uk/2013/07/31/a-waterproof-fabric-guide/
https://themakersatelier.com/journal/sewing-waterproof-fabrics
I also learned that flat felling a seam makes it more resistant to water. I had originally decided to do a fake felled seam as it would be enclosed under the lining anyway, but I figured I might as well learn something new anyway. It turns out sewing a flat felled seam is ridiculously easy and might actually have been faster than the substitute the pattern offers. I am totally convinced this is an awesome finishing technique.
While making dinner, I read up on how to make the pockets.
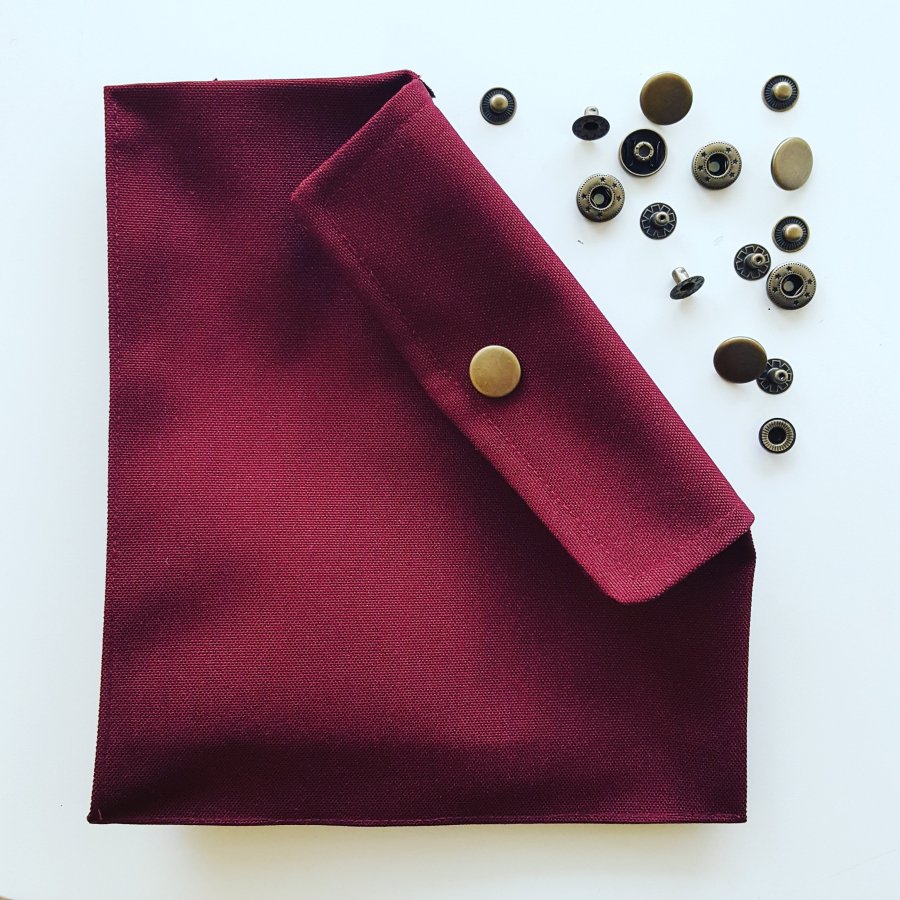
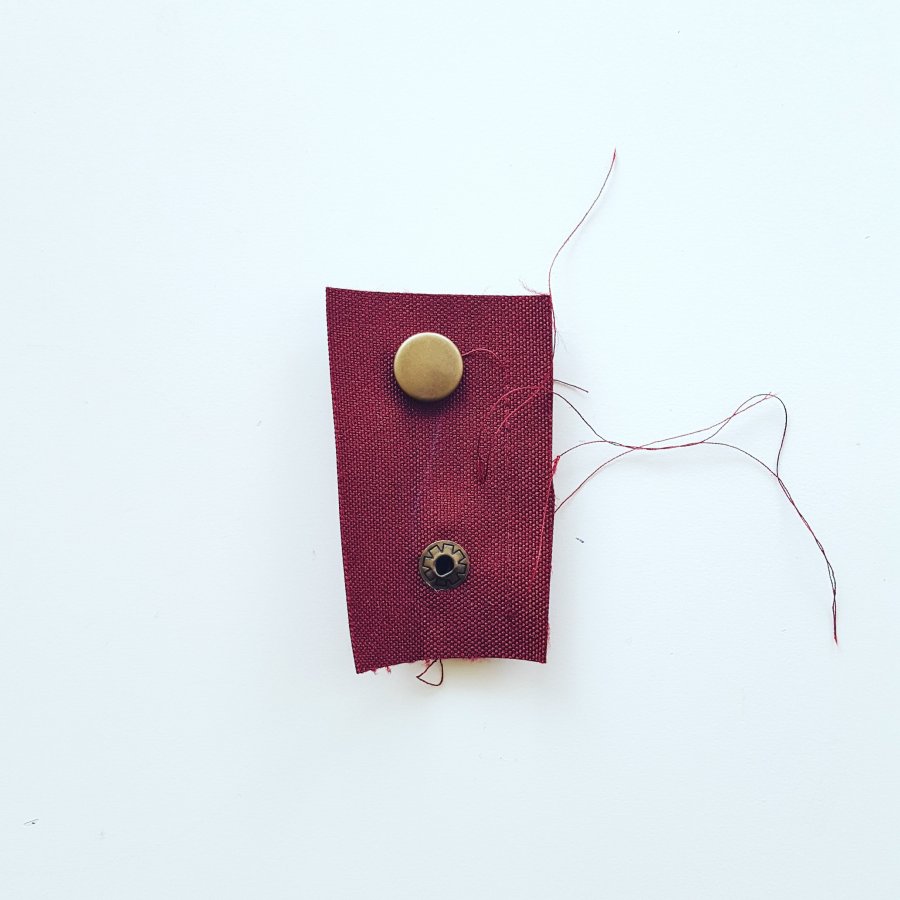
Huzzah! Mail arrived with the hubby today and just in time, too, as I was sorely in need of my hardware kit for my Kelly Anorak. I couldn’t resist and spent the better part of the evening working on the pockets, including putting in the snaps. The tutorial on the Closet Case Patterns website made it super easy.

Date: Saturday, October 21
Time sewing: 1 hour 5 minutes; 35 minutes
What I did: The hubby and I are falling back into our winter routine with hockey/sewing night in Canada, (or at least our living room). I got the pockets sewn onto the jacket fronts (they look pretty awesome, guys), sewed the yoke (I’m pretty much a pro at the burrito yoke method, now) and got the side seams done. Still ahead of schedule.
Date: Sunday, October 22
Time sewing: 5 minutes
What I did: I wore the sleeveless jacket around for a bit and toyed with the idea of the drawstring. Since buying by fabric, I’ve gone through several different plans with the drawstring. I originally thought I would forgo a casing and just stitch a tunnel between the lining and outer fabric to make sure everything got cinched in nicely. Then, I realized that the netting layer of the pre-quilted lining would likely catch when I fed the drawstring through. Next, I considered putting a contrasting casing on the lining and top-stitching through all layers of fabric.
Then, I thought I would put in a casing with the outer fabric, as the pattern calls for. I played around with pulling in the waist with bias tape to see how the fabric would gather and the answer is, it doesn’t. I figured as much considering the outer fabric is so stiff. Normally, I like a waist in my clothes, but The fabric has enough body that it provides a nice, clean line all the way down, so I think I am going to leave it drawstring-less. This also means that I get to use the nice hardware for a hood drawstring which seems more important.
Total time sewing this week: 11 hours 20 minutes
What I learned:
- I continue to be amazed by how much sewing I manage to get it when I keep myself on a schedule. Holy moly!
- Keeping a swatch in your top drawer is super handy. I can’t tell you how many times I took it out this week to test stitches, snaps or match thread and loved not having to dig through my WIP bin to find a scrap.
- All about waterproof fabrics. See above for links.
- How to sew a flat-felled seam. It is way easier than it looks, is super durable, and looks fantastic. I am 100 per cent a flat-felled convert.
